


Flashlight Review: Lumintop FW1A

Introduction
The previously reviewed TLF/BLF FW3A flashlight, which was the first commercial torch with adjustable strobe frequency, has further evolved into a large family of FW series models made by Lumintop. This review is of the single emitter FW1A version.
Disclaimer
The Lumintop FW1A was purchased from Neals Gadgets, through which I have an affiliate link. Product Link.
The FW Family
The original TLF/BLF/Lumintop FW3A had three emitters, which wasn’t optimal for most light painting connectors/adapters as much of the beam was attenuated by the connector. There are now more variants in the FW series, which are proving very popular with flashlight enthusiasts:
FW1A – 1,200lm max brightness, 40,000cd peak beam intensity,1xCree XP-L HI LED, 18650 battery.
FW1A Pro – 3,500lm max brightness, 11,000cd peak beam intensity, 1x Cree XHP50.2 LED, 18650 battery.
FW21 – 2,800lm max brightness, 12,000cd peak beam intensity, 3xCree XP-L HI LED, 21700 battery.
FW4A – 3,600lm max brightness, 10,000cd peak beam intensity , 4xCree XP-L HI LED, 18650 battery.
FW3A – 2,800lm max brightness, 10,000cd peak beam intensity, 3xCree XP-L HI LED, 18650 battery, also available in various colours, Titanium, Stainless Steel, Copper, and Brass.
LM10 – a very expensive special edition version of the FW3A.
Other variations that do not fit light painting connectors include the HL3A headlamp, and much larger FW21 Pro.
Note 1: In all of these lights the strobe modes run at 2.8A current, which results in approximately 750 lumens (possibly a bit more in the FW1A Pro).
Note 2: The max brightness reduces very rapidly – see Beam and Output section.
Of the above options, the FW1A appears to be most suitable for most light painting purposes, especially long tools such as swords, tubes, rods, and fiber optic cables which are illuminated with minimal light gradient. This is due to the FW1A having a single LED emitter and reflector, with an impressive 40,000cd peak beam intensity, despite the more sensible 1,200 lumen max output. The slightly larger triple emitter FW21 is recommended by Eric Paré for his Light Painting Tubes system. As this system does not have a connector/adapter then multiple emitters may be more preferable over a single emitter. The more floody FW1A Pro may be better for lightblading and fiber optic brushes, though I had no issues with the FW1A using these tools.
Construction
The (TLF/BLF) Lumintop FW1A is a reasonably priced, compact flashlight that uses a rechargeable 18650 rechargeable Li-ion battery. The head (25.5mm diameter) will fit into light painting connectors from Light Painting Brushes, Light Painting Paradise, and Light Painting Tubes. Two different clips are included. The instructions are also very good, and in English, German, and Chinese.
The emitter in the reviewed version is a (genuine) Cree XP-L HI emitter, with cool white 1A tint. Other tint and emitter options are available including neutral 3D and warm white 7A XP-L HI, and cool white 1A XP-L HD emitter with a floodier beam. I don’t recommend the less efficient Luminus SST20 emitter for light painting unless you really need 95CRI and a horrible green tint.
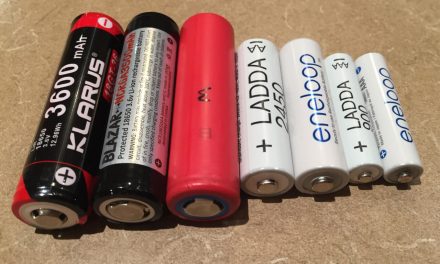
The FW1A will only work with unprotected, flat top, 18650 Li-ion batteries which need to be purchased separately. I would recommend 3500mAh Panasonic/Sanyo NCR18650GA, LG MJ1, or Samsung 35E batteries. You will also need a Li-ion charger. If you happen to purchase the FW21, then you will need a 21700 Li-ion battery of which I recommend a 5000mAh Samsung 50E.
The original FW3A had issues with the tail e-switch falling apart, this has been fixed in newer versions of the FW series with a retaining ring added. It is still advised to insert the batteries by unscrewing the head. There is unfortunately still no proper mechanical lockout. I’ve received a report of a FW3A being easily damaged by falling into water, and I haven’t tested to see if the FW1A is any better.
Lumintop FW1A Box
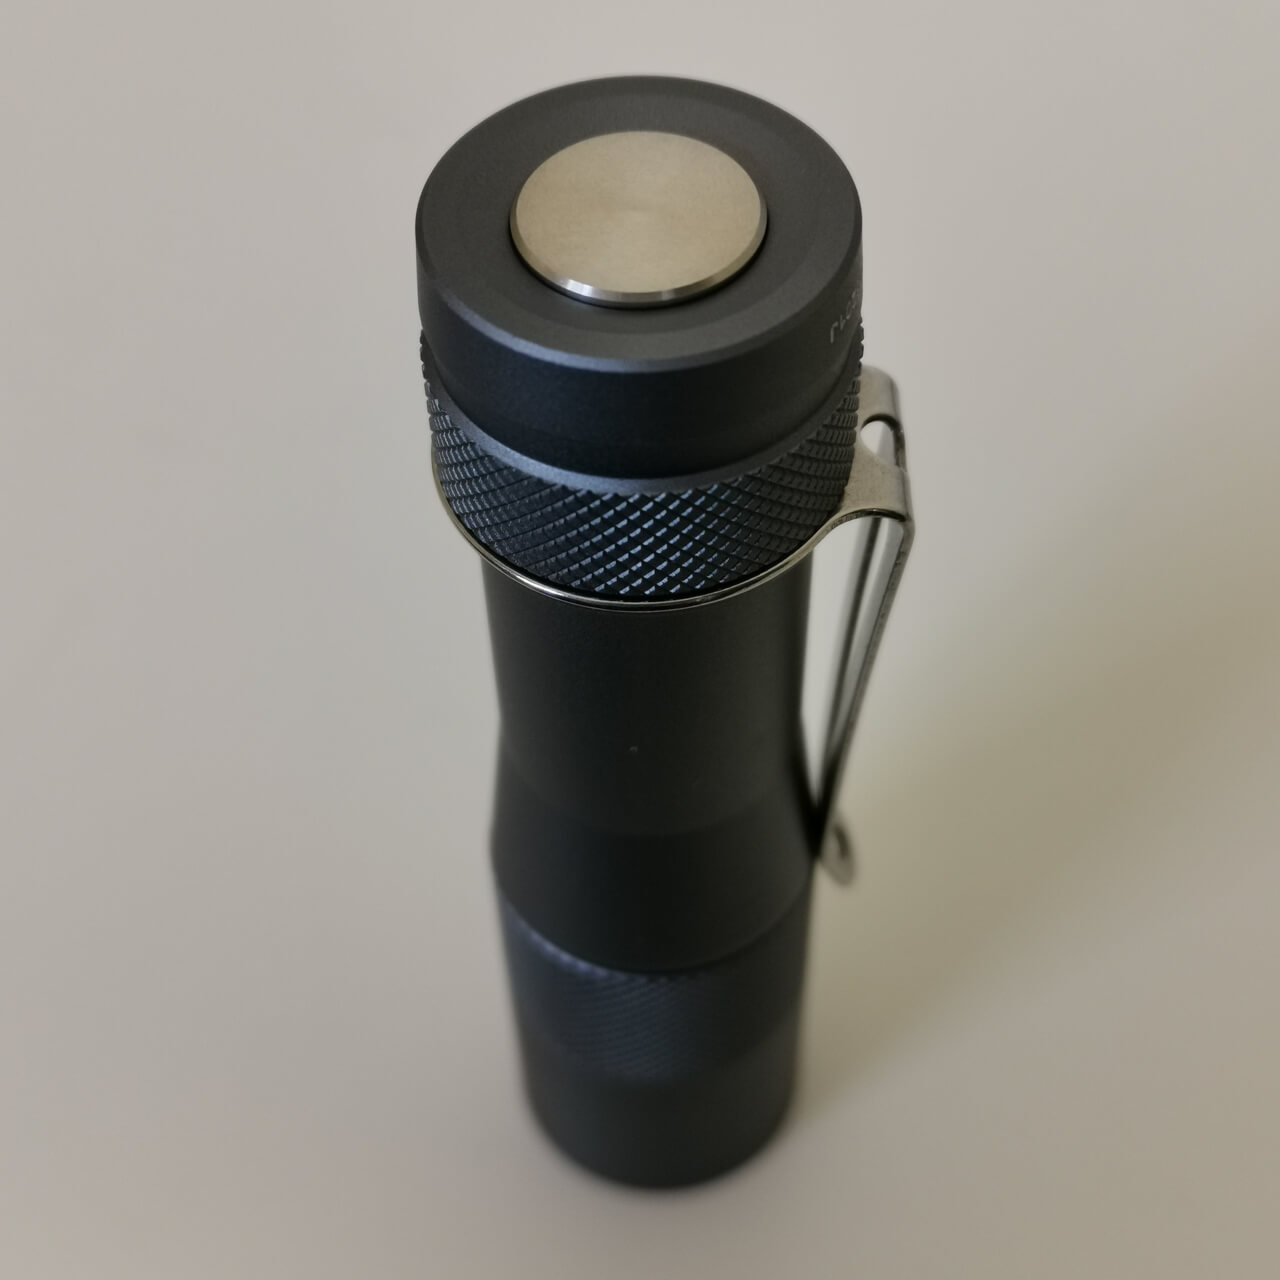
Lumintop FW1A Switch
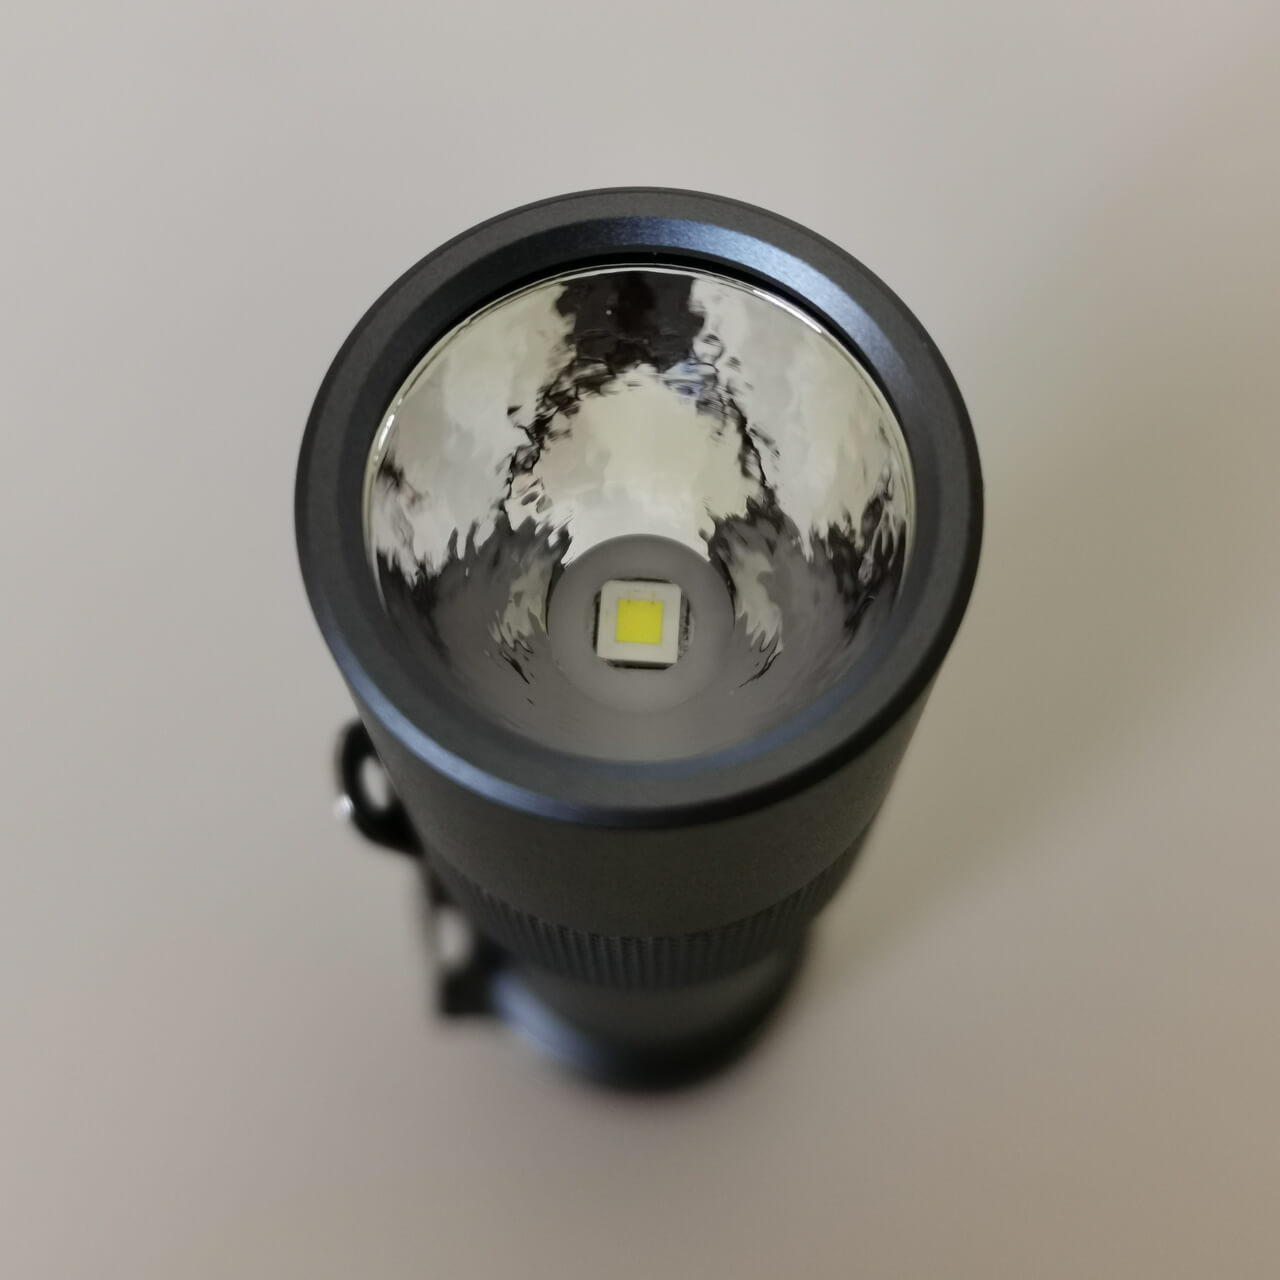
FW1A Reflector
User Interface
This light uses the highly flexible, and complex Andúril firmware. A picture tells a thousand words, so below is a photo of how the firmware works. Users need to be careful to not get too click happy, as it is easy to accidentally change settings, and difficult to get back to where you were.
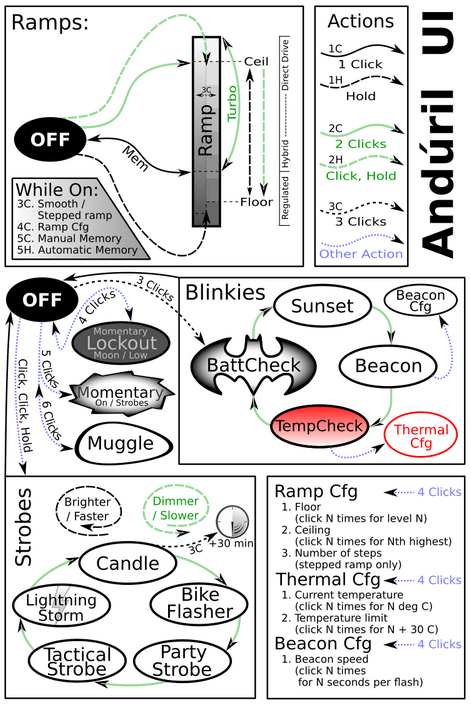
Anduril UI
Major features of the Andúril firmware are:
– ‘Party strobe’ with (approx.) 1.3ms on time/adjustable off time. Adjustable frequency between approx. 3.5 and 112 Hz (default 24Hz). Great for mid-air “freezing” effect.
– ‘Tactical strobe’, 33% on/67% off time. Adjustable frequency between 2.5 and 80Hz (default 10Hz).
– Memory mode for last used strobe setting.
– Lightning storm effect, bike flash mode (1Hz cycle), candle flicker mode, and beacon modes.
– Adjustable ramping mode (you can change the min, max, and move between stepped/smooth ramping settings).
– Direct(ish) access to ramp min, memorised, and ramp max settings.
– Momentary mode – updated version of Anduril now works for strobe!
– Muggle mode (240lm max), mechanical and electronic lockout, battery check, and thermal configuration settings for safety.
– Low voltage protection at 2.9V.
I really like the ability to adjust the strobe frequency, and that the last strobe mode is memorised. To enter the strobes from off requires a click-click-hold, which makes it difficult to turn on mid-light painting scene. The newer version of Anduril (which was modified after my FW3A review) allows the strobes to accessed via Momentary functionality – however this is long winded as you have to set the strobe, turn off, then click 5 times to enter momentary mode (though half the time I accidentally ended up battery check mode). You then have to unscrew the light’s head to exit momentary mode.
Whilst in strobe mode – click-hold decreases the strobe frequency, and hold increases the strobe frequency. The ramping instead of discreet steps makes it difficult to get consistency between light painting sessions. Double click moves between the various strobe modes. There is also no ability to change between constant and strobe, or back again on the fly.
The test images below show light trails from the ‘party’ and ‘tactical’ strobes at maximum and minimum frequency. The ‘party strobe’ with its 1.3ms on time is great for freezing the moving light painting tool mid-air. Due to the very fast flash, this strobe is not as bright as would be expected for 750 lumens. The ‘tactical strobe’ is more conventional with the light being on for 33% of each strobe cycle.
The brightness of the continuous lighting uses either smooth ramping, or (by default) 7 stepped brightness levels. 3 clicks moves between these modes. Unfortunately the lumen or percentage output for each step is not published, and it is thus tricky to get a consistent output.

FW1A – Party Strobe at Fastest Frequency
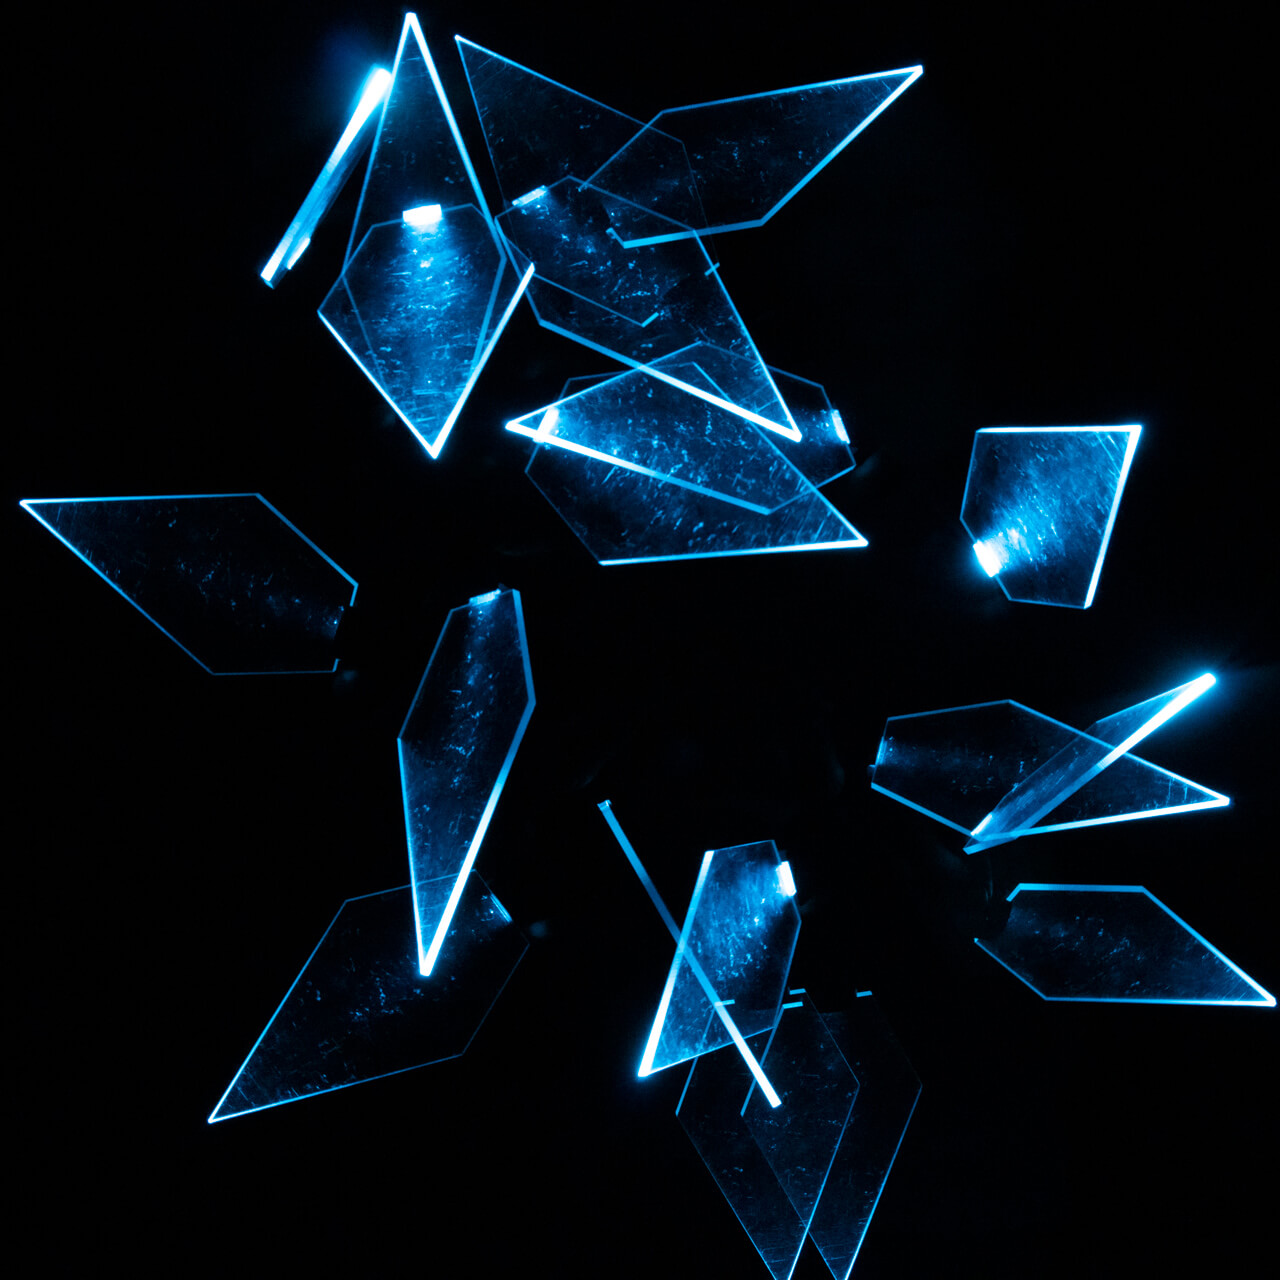
FW1A – Party Strobe at Slowest Frequency
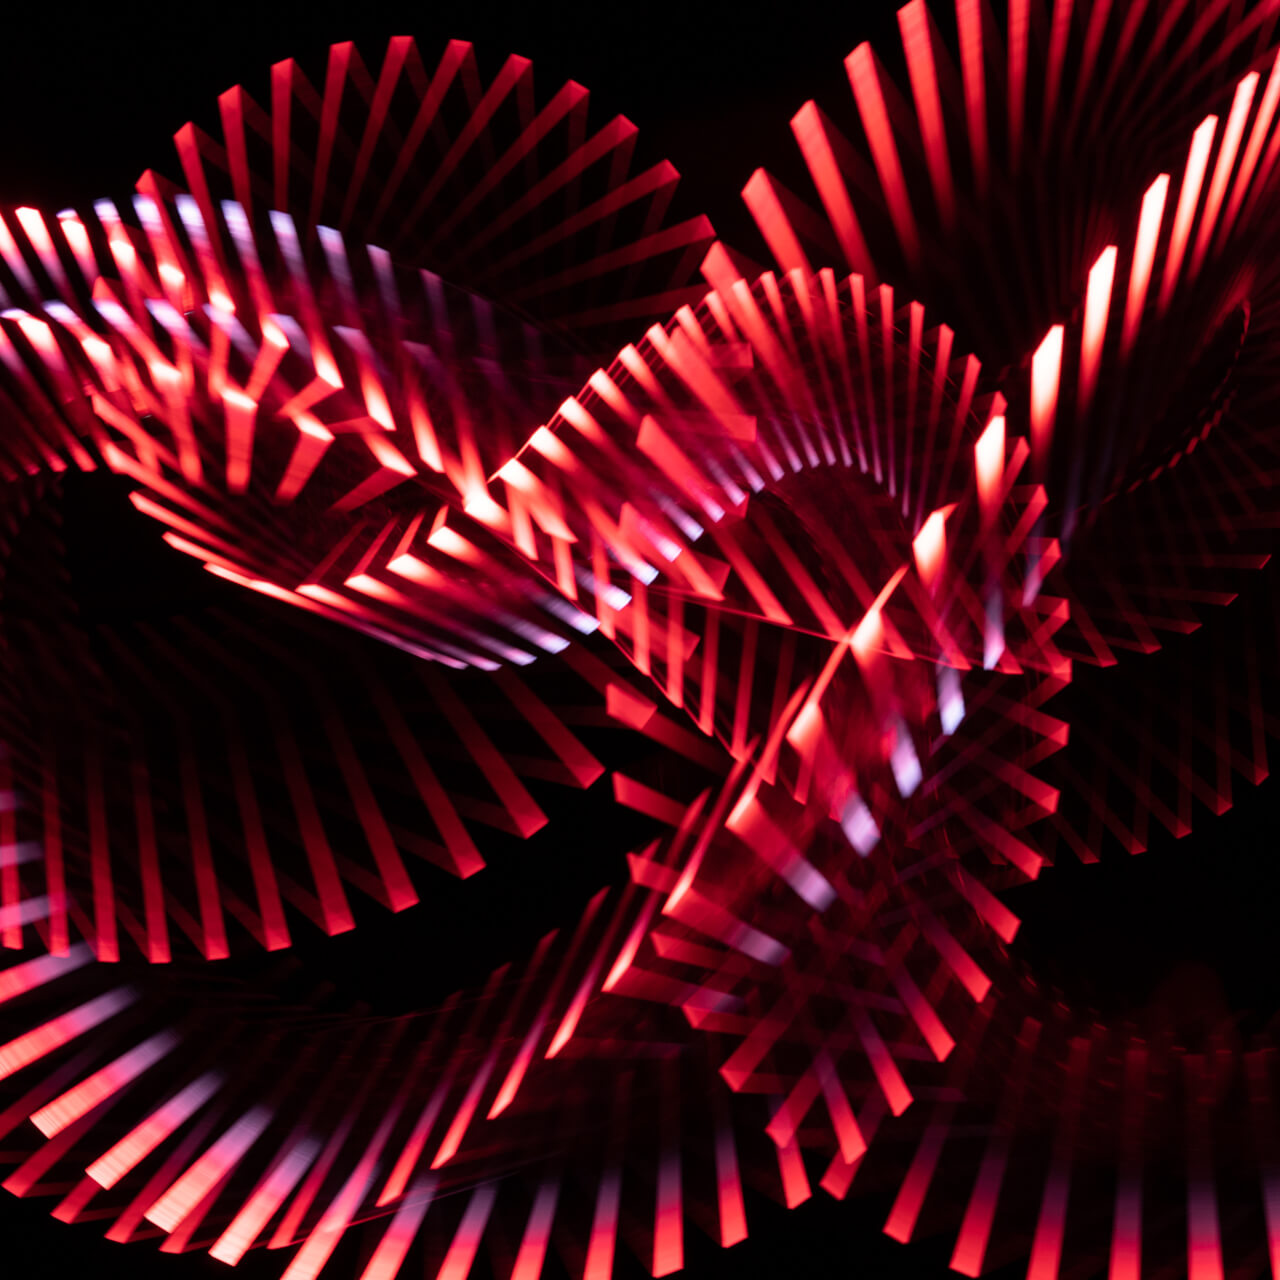
FW1A – Tactical Strobe at Fastest Frequency

FW1A – Tactical Strobe at Slowest Frequency

FW1A Bike Flash Mode
Beam and Output
The reviewed FW1A uses a single Cree HP-L HI LED emitter and deep orange peel reflector. This results in a much throwier beam profile than the other FW series lights, on par with the Klarus XT12S.
The FW series lights have poor heat handling due to their small size, and with temperature controlled automatic step down they loose brightness very quickly. The FW1A’s initial 1200lm output reduces to around 50% by 75 seconds. This is better (or less worse) than the other FW series lights which step down to a similar output within 30 seconds due to their initial higher maximum lumen output and thus heat. The light can only sustain between 300 and 400 lumens continuously. The strobe modes run at maximum regulated output, which is approx. 750 lumens, and can be sustained for a few minutes before step down.
Pulse Width Modulation (PWM) is used at lower brightness levels, but thankfully the frequency is very high at 15kHz, so is not noticeable. The colour rendering index (CRI) is around 70CRI, good enough for most purposes.
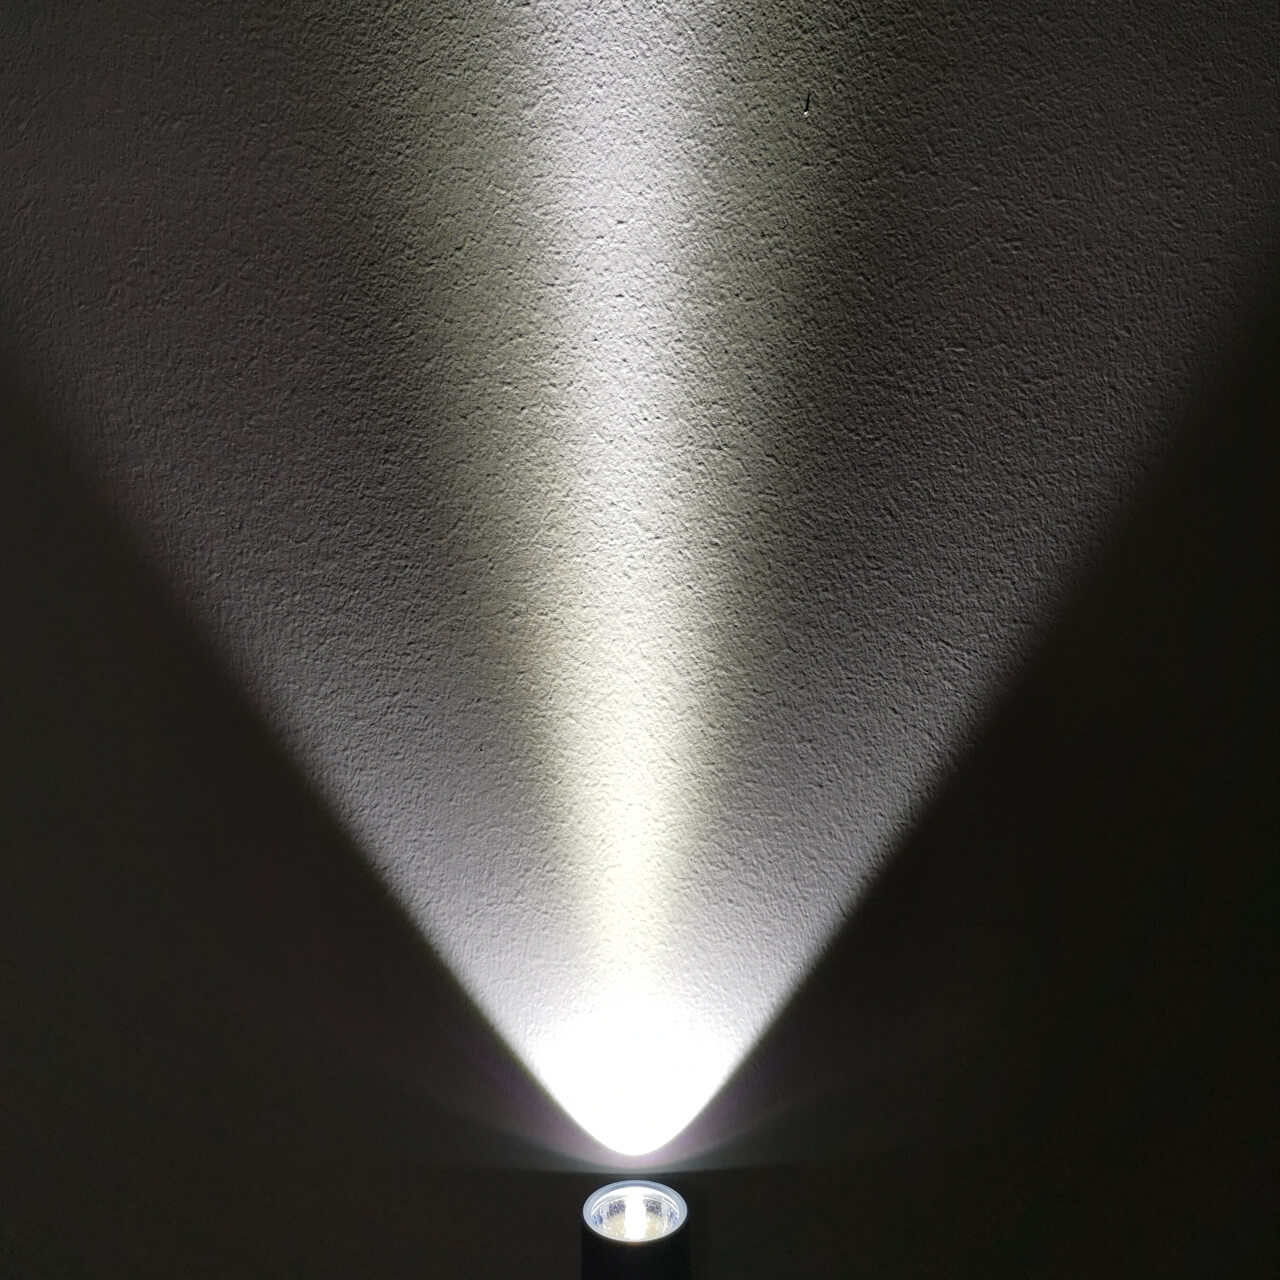
FW1A Beam Profile
Conclusion
Things I liked:
– Adjustable strobe frequencies (with very big frequency range), with memory.
– Two strobe modes, plus some effects modes.
– Momentary mode can now be used with strobe (but is annoying to set and reset).
– No visible PWM.
– Choice of tints (cool, neutral, or warm white) and emitters (Cree XP-L HI or HD).
– 2 clips included.
– Good manual.
– Electronic lock out, temperature control, plus low voltage protection.
Things I didn’t like:
– Strobe brightness fixed at approx. 750 lumens.
– Poor heat handling, rapidly steps down from max brightness.
– User interface can be annoying (especially if you are click happy).
– Only accepts flat top unprotected 18650 li-ion batteries.
– Battery and charger need to be purchased separately.
– Not particularly waterproof.
The FW1A has improved upon some of the flaws of the original FW3A for light painting. It has two strobe modes with adjustable frequency, a few effects modes, momentary functionality (though a bit long winded), and a choice of tints. However, many light painters have had issues getting to grips with the Anduril user interface. If you want a flashlight with variable strobe frequency on a budget, can handle the complex user interface, and understand li-ion battery safety, then this may be a good choice. The Lumintop FW1A is currently the cheapest “strobe monster” flashlight, but I prefer the much easier to use Lightpainter flashlight from Light Painting Paradise.
Lumintop FW1A Product Link.


Thanks a lot Stephen! It’s fun to see new stuff here on this blog. 😉
I own a FW1A (NW) and it’s my favorite light since then. I even 3d printed a reliable adaptor for my Kyo blade.
Somewhat I’d forgotten about the momentary mode… Thanks for the reminder. This is so useful for a lightpainter.
For everyone scared about the interface, it’s simplier than it seems. After few minutes surfing around the modes, you’ll became confident enough even to change the mode during a shot. But if you let your “click happy” friend play with it for the first time, be sure to set it to the “Muggle” mode (6 clicks from Off).
Have a nice day! 😉