


LP Tool Review: Light Bar from Luis Lafuente Medina

Home-made LED light wands, and professional LED light sticks have long been part of the light painting scene, but until recently there have been no professional products aimed at light calligraphy. In the last year, a few different Light Bars and Scanners have been introduced to the market, and I can see these types of tools being increasingly popular amongst light painters . This review is of the Light Bar from Luis Lafuente Medina.
Construction
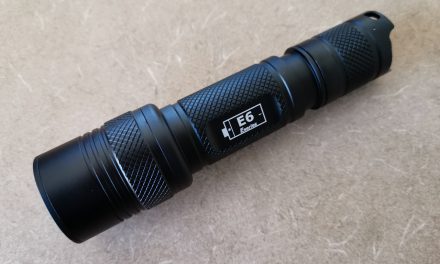
The Light Bar is designed for ergonomics, and has a 16 pixel (at 1cm pitch) RGB LED strip, and a 3D printed handle, connected by 2 rods. The LED light bar has a 3D printed hood, and diffuser that can both be removed as required. The handle had a very ergonomic grip with a momentary switch (controlled by the thumb), master on/off switch, and momentary on/off switch. The size is quite portable at 20x8x4cm, and I can slip it into the laptop section of my camera bag, or top compartment with lots of room spare for other equipment.
A Panasonic NCR18650BD Li-ion battery is installed inside the device. This is a very high quality battery. Unfortunately it is non-user replaceable, thus to maximise lifespan I would recommend not leaving the battery fully charged, or fully discharged for long periods of time. Charging time was relatively slow at 9 hours to completely charge from empty. A red indicator light displays charging, and a blue indicator light indicates full charge. Based on charging time, after a 2 hour light painting session, I would estimate that there was still 66% charge remaining.
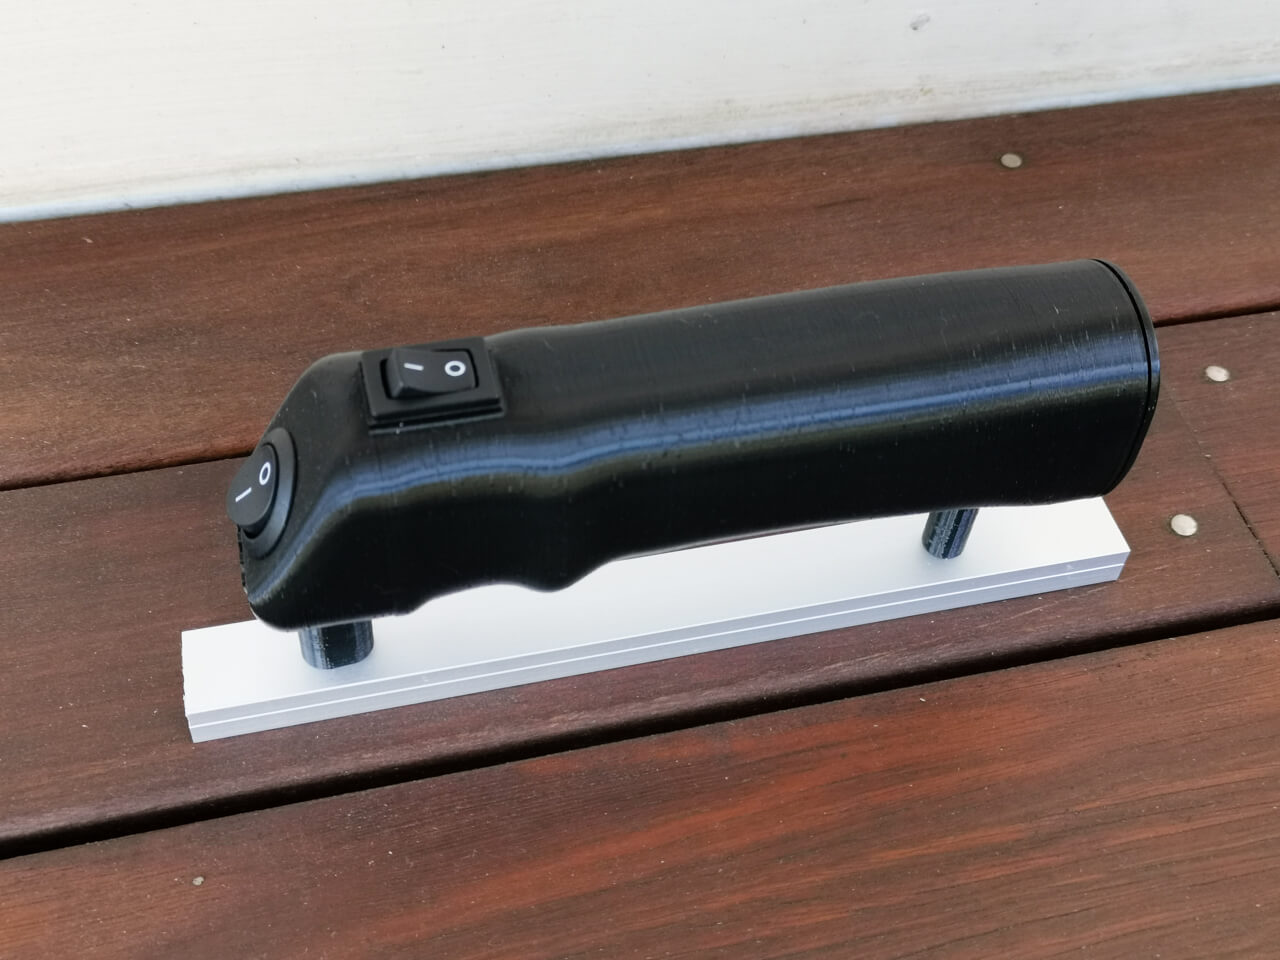
Light Bar Top View
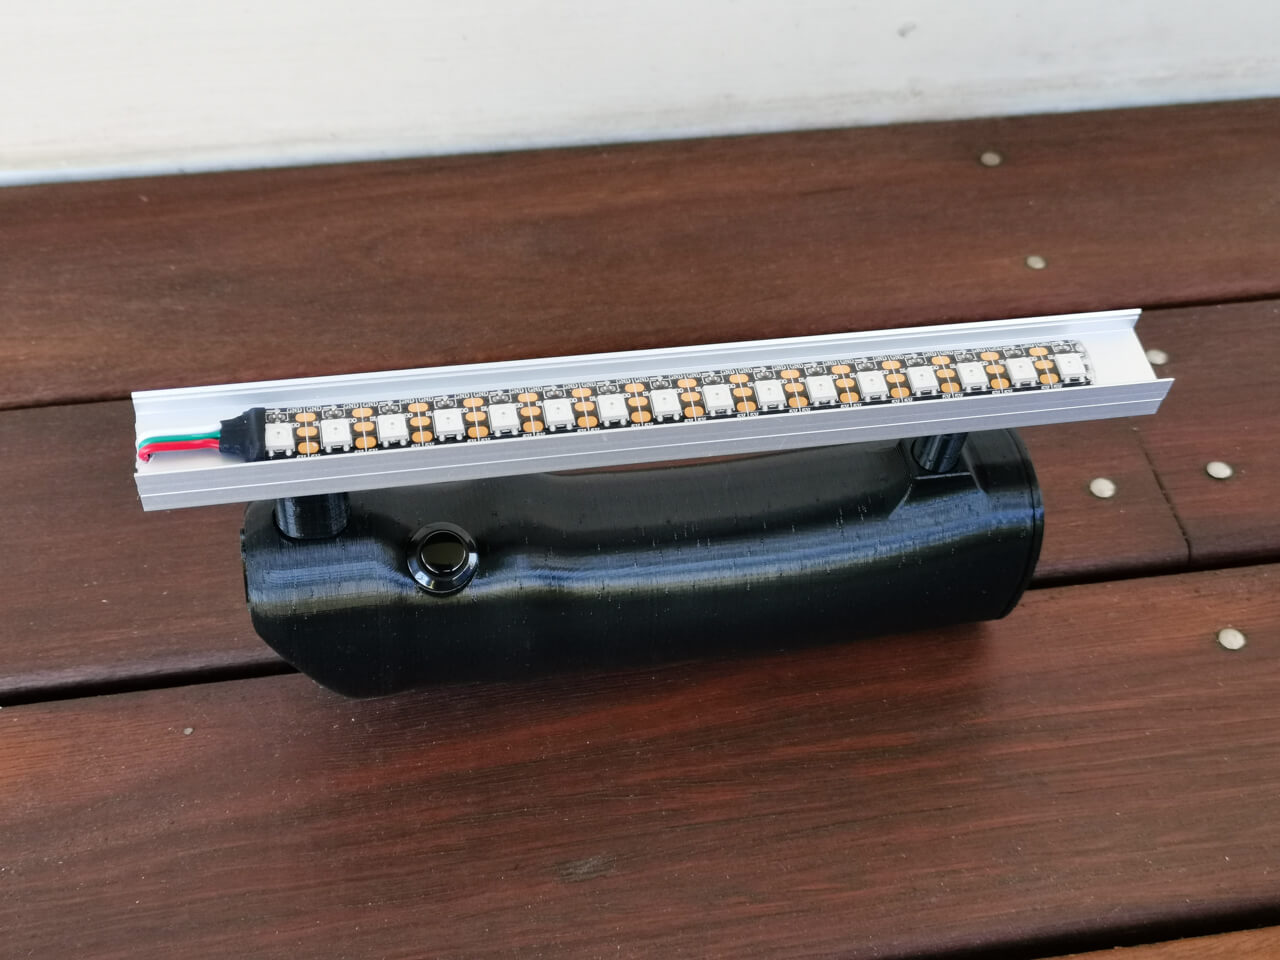
Light Bar LEDs

Light Bar Diffuser and Hood
User Interface
The Light Bar is controlled by 3 onboard switches, and wi-fi connectivity to an app. The first switch is the on/off master switch, which turns on the wi-fi connection, and the ability to light up. The momentary on/off switch either enables the momentary switch (light is off unless pressed), or disables the momentary switch (light is on constantly). The momentary switch requires a full press, and allows for fine control of on/off using your thumb. Don’t forget to turn off the master on/off switch after your light painting session, as the wi-fi transmitter will drain the battery if left on.
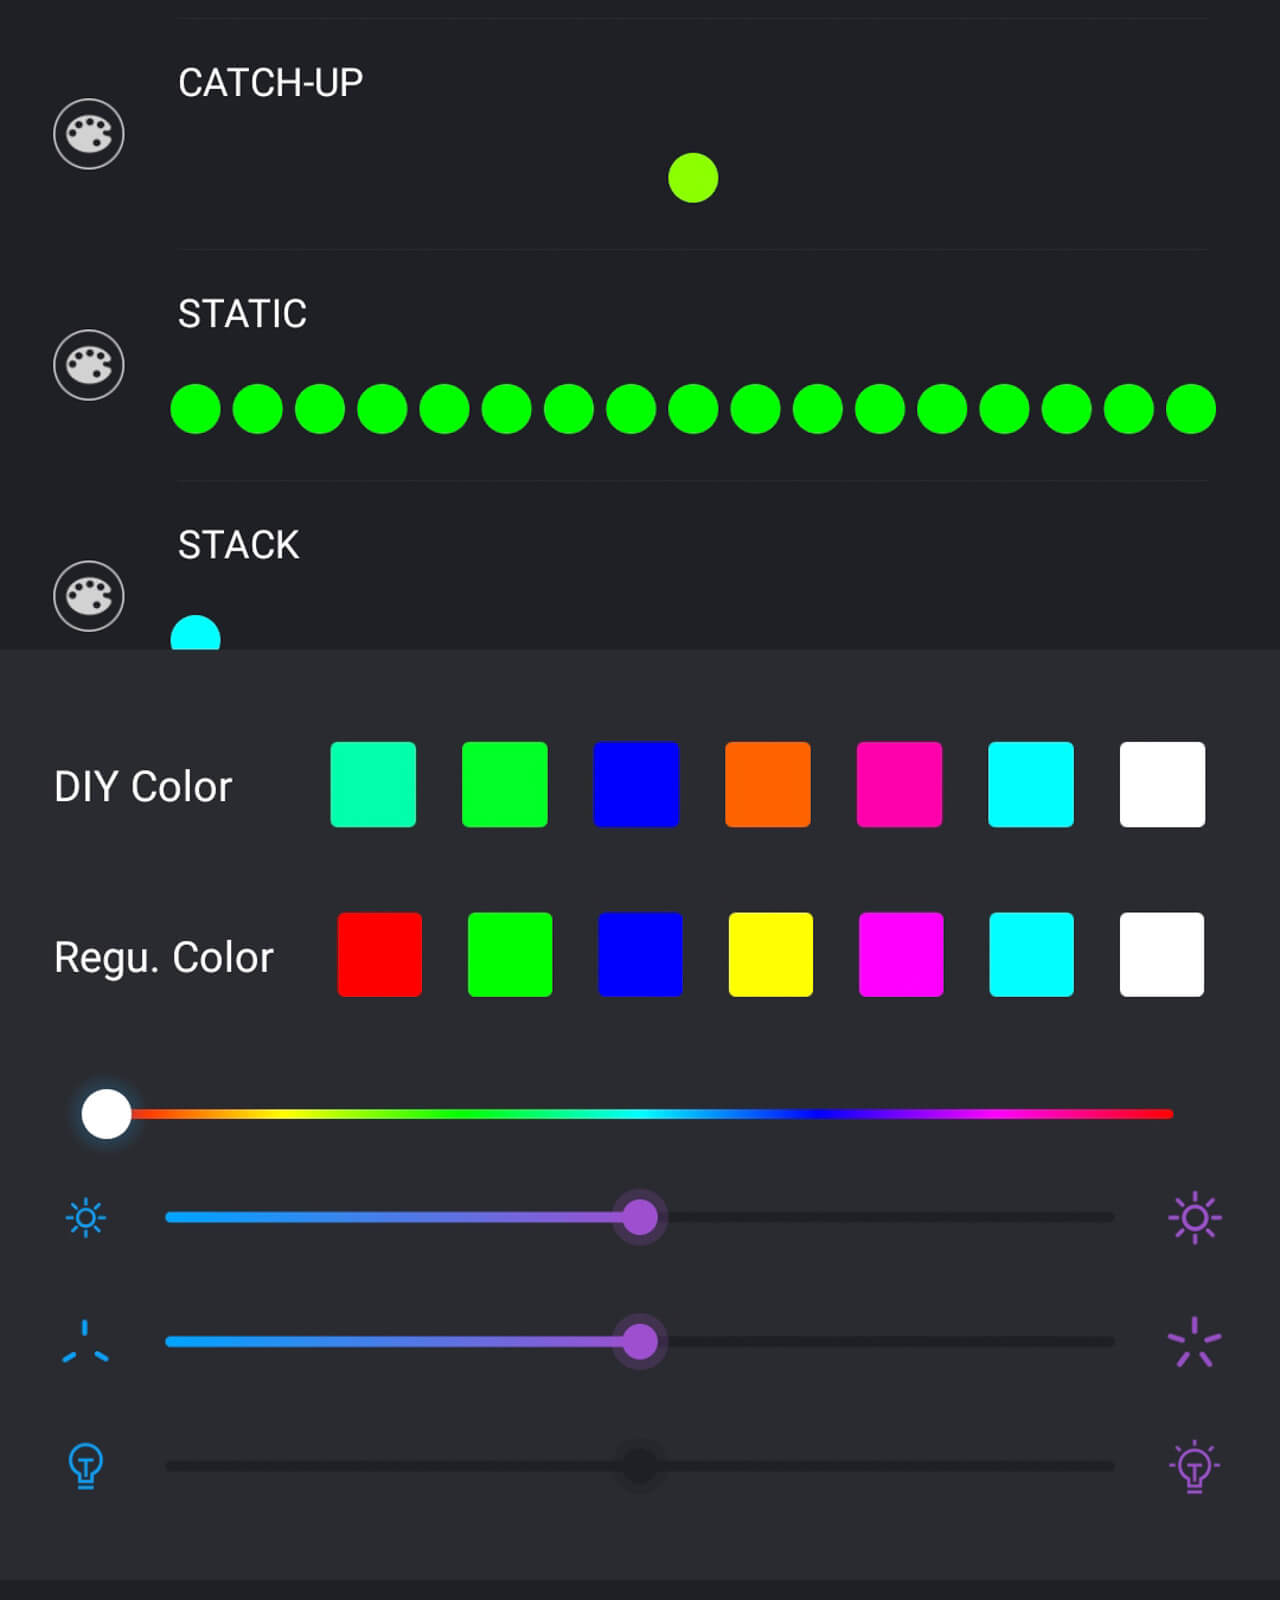
The light uses a free app called “LED Shop”. A video was sent by Luis showing how to connect and setup the app, which was very easy. The app has 3 pages:
- Mono – this allows the user to create single colour effects, with 8 options (including static), colour palette, colour slider, brightness, and speed controls.
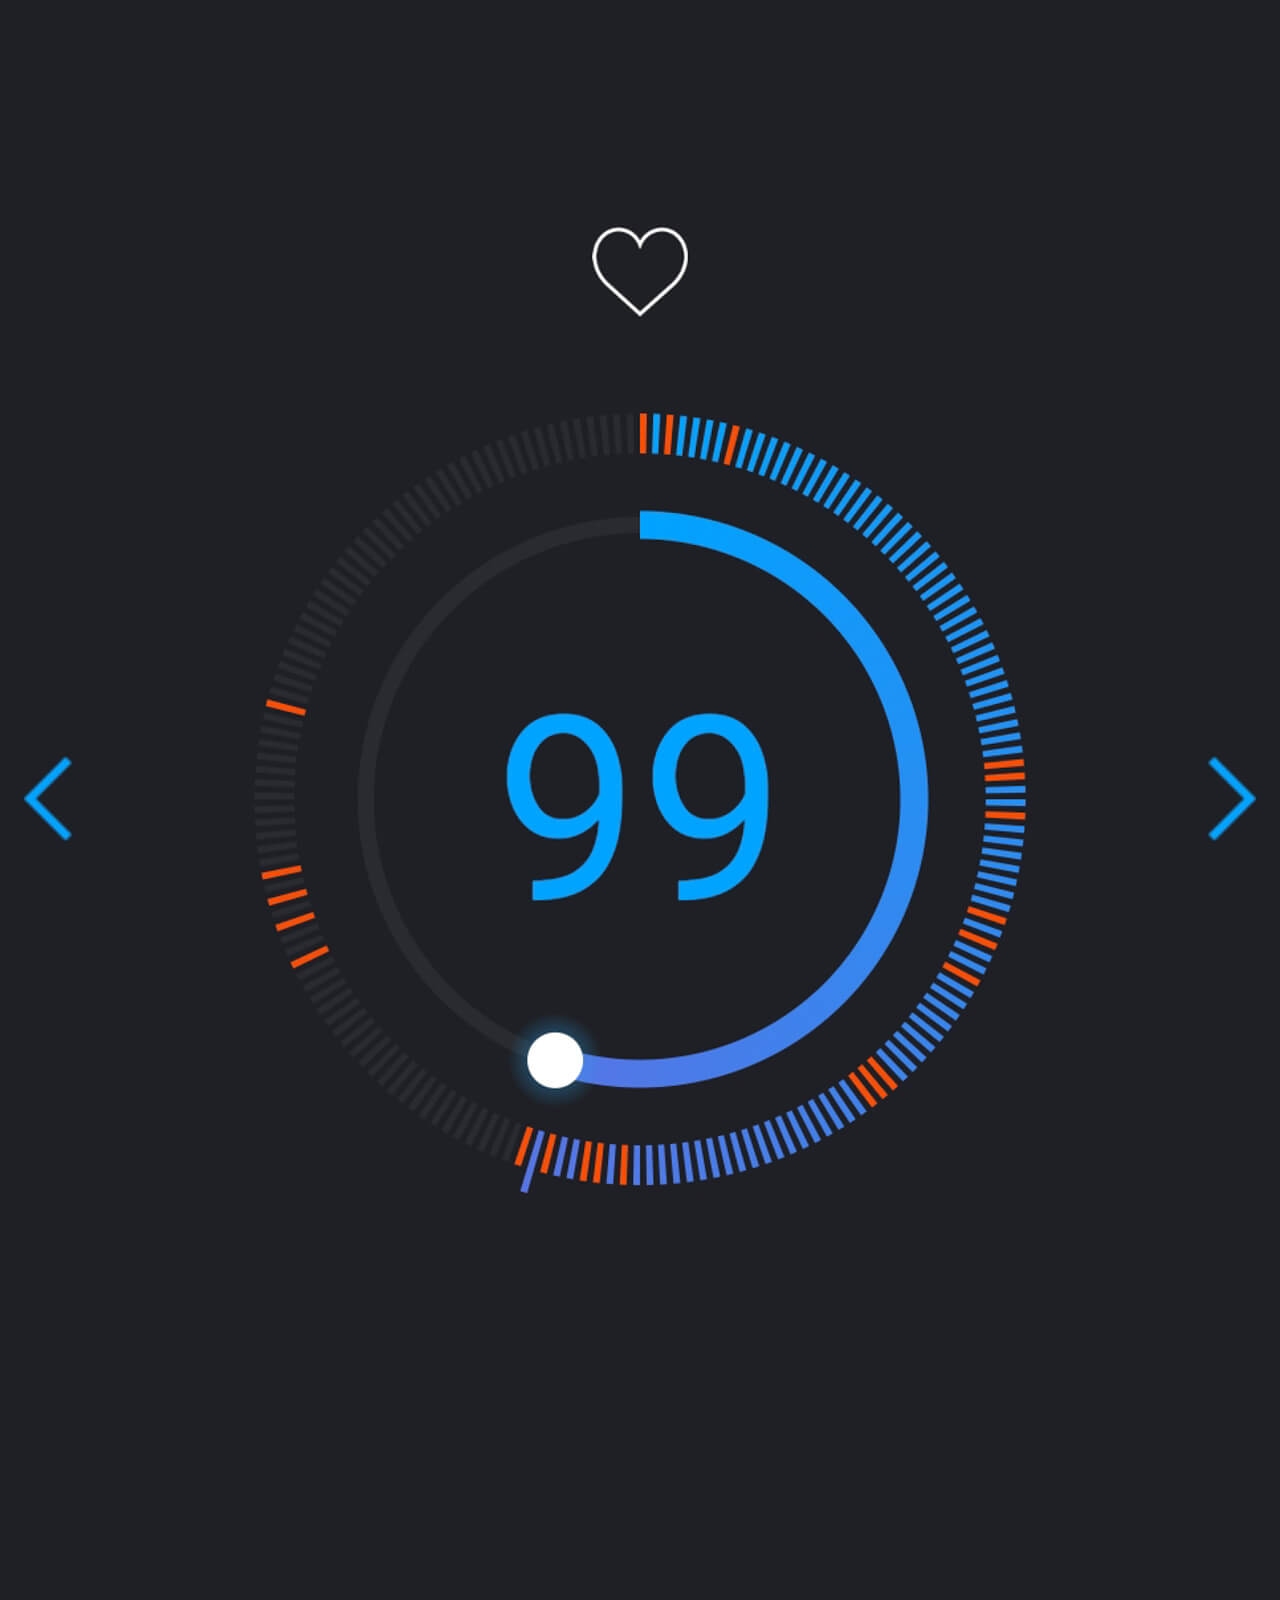
- Mixed – this contains 180 different effects modes, and you can mark favourites to make it easier to select the required effect quickly. Brightness and speed controls are available.
- Customize – here you can upload files (or use one of the 19 presets), rotate and crop them (if you don’t want animations you need to rotate the file so that the lines are vertical), and record (save). This adds the effect or image into a bank of up to 20 saved effects. Brightness and speed controls are available. Check out Tom Hill’s feed for some amazing uses of this feature.
I found the wi-fi connection very stable, and much better than Bluetooth or RF controlled devices I’ve previously used.
During a light painting session, I placed the phone on my camera bag (dimly lit with a headlamp on moonlight mode so I could find it), and it took me on average about 10 seconds to change between effect modes mid-scene.
The only issue I found with the controls is that there was a pixel offset between the app and pixels. There is a workaround for this which is to add an extra 17th pixel of the same colour on the left hand side of the image. A small rotation may be required before recording the effect. I created my patterns in MS Excel – colouring in squares, one row = one pixel, and then taking a screenshot (using snipping tool) of the pattern, and uploading to my phone.
Mono Mode
Mixed Mode Selector
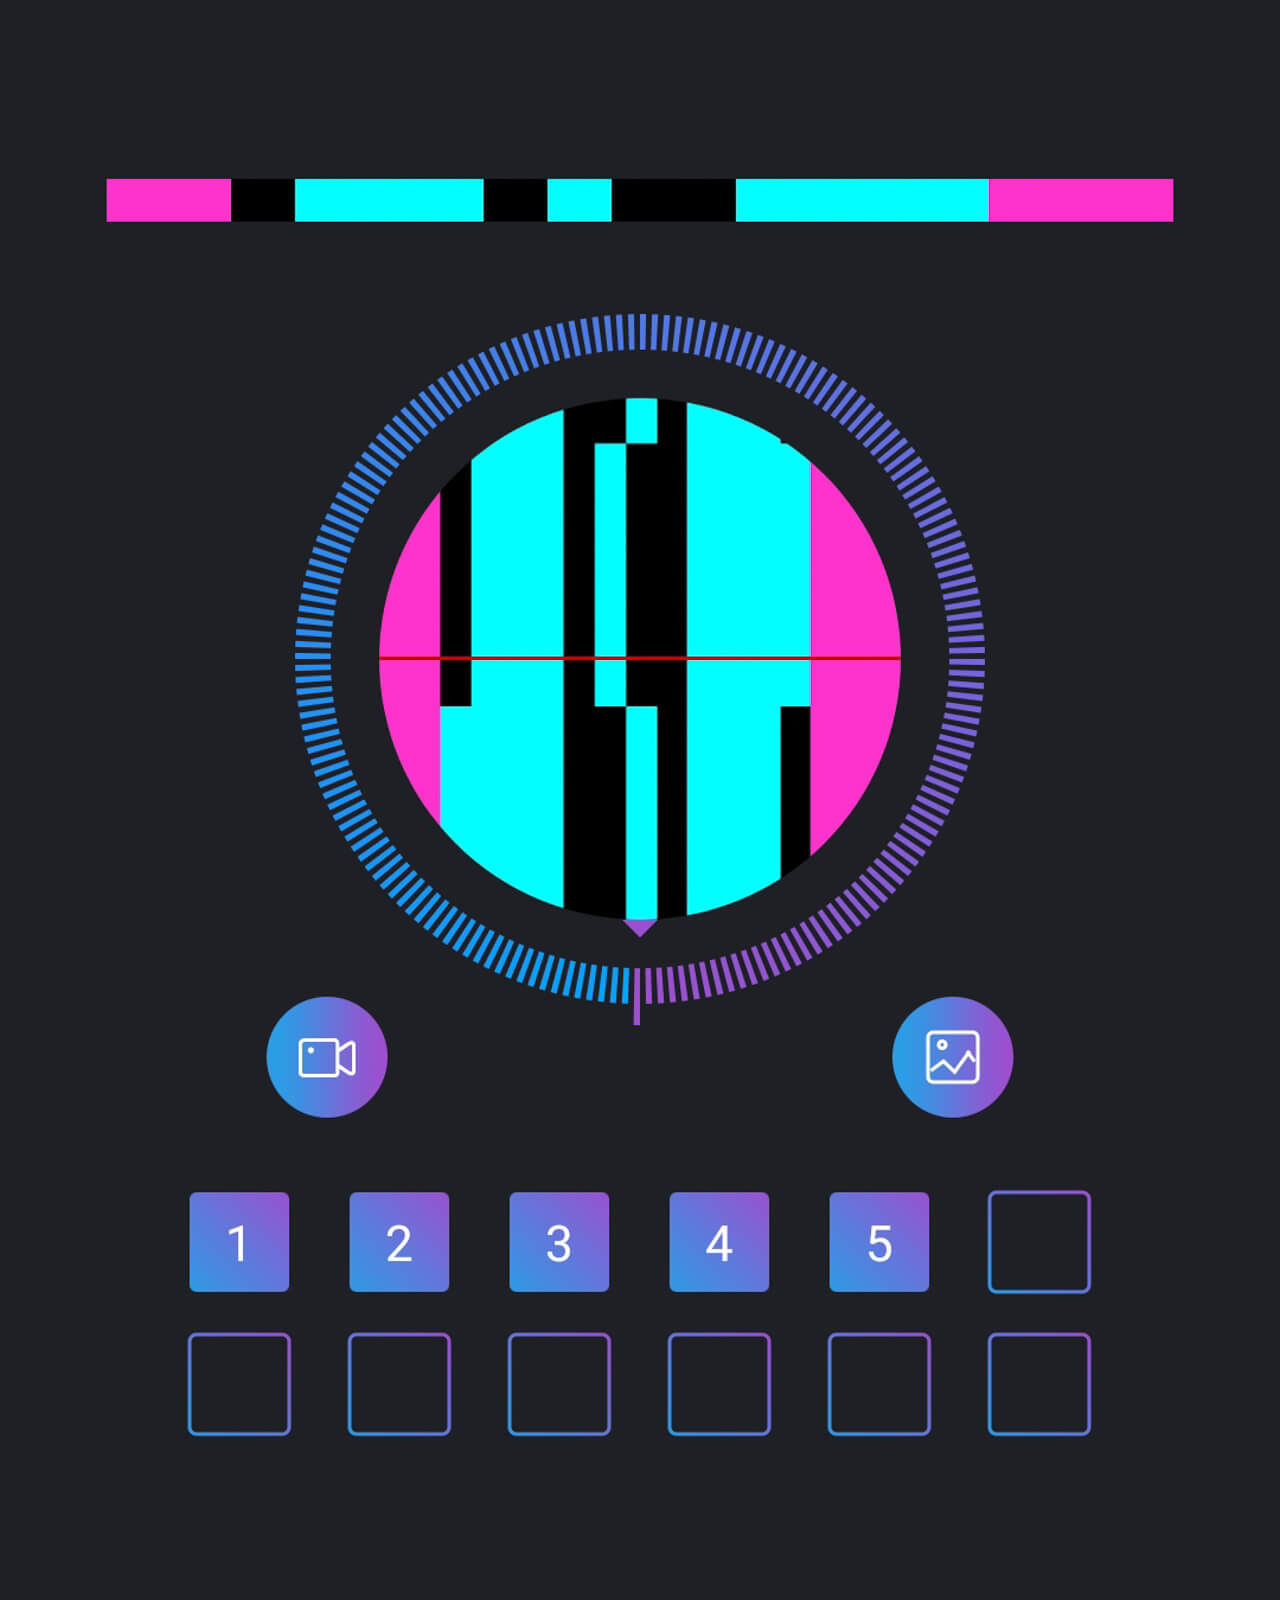
Customize Mode
Output
Direct light from LEDs are much brighter than most torch/flashlight and tool combinations, so you can light painting in relatively high ambient brightness. Even with the LEDs on 66% power, I was using an exposure of f/11, ISO100, and time as required.
As the Light Bar has 16 LEDs, spaced 1cm apart, it is excellent for Light Calligraphy and Light Drawing. In most cases, the diffuser would be left off, so that the 16 LEDs are visible. However, the diffuser can be added to create a more diffuse light trail. Additionally an adapter will be available soon to connect Light Painting Paradise 20cm Plexi Tubes for added effects. With no hood, the light beam is approx. 160×160 degrees. With the diffuser, the light beam is approx. 150×110 degrees.
As with all colour changing lights, Pulse Width Modulation (PWM) is used for colour channel dimming. However the PWM is fast enough to not be visible in the light trails in all of the photos I have taken, even when zoomed to 100%. The Light Bar also colour mixes well at the lowest brightness setting, something that many RGB lights cannot do.
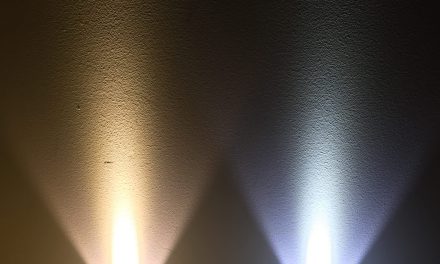
The LEDs are RGB only (no white, or variable white) which somewhat restricts the light’s usage for illumination purposes. Used with the hood, and the Light Bar pointing away from the camera at more than 90 degrees, it is possible to add coloured illumination to small scale scenes such as cars, rooms, tunnels, or portrait lighting. However, it’s not going to be bright enough to light up an entire castle. A test run using cool white (RGB all on) for a portrait light used an exposure of f/8, ISO200.
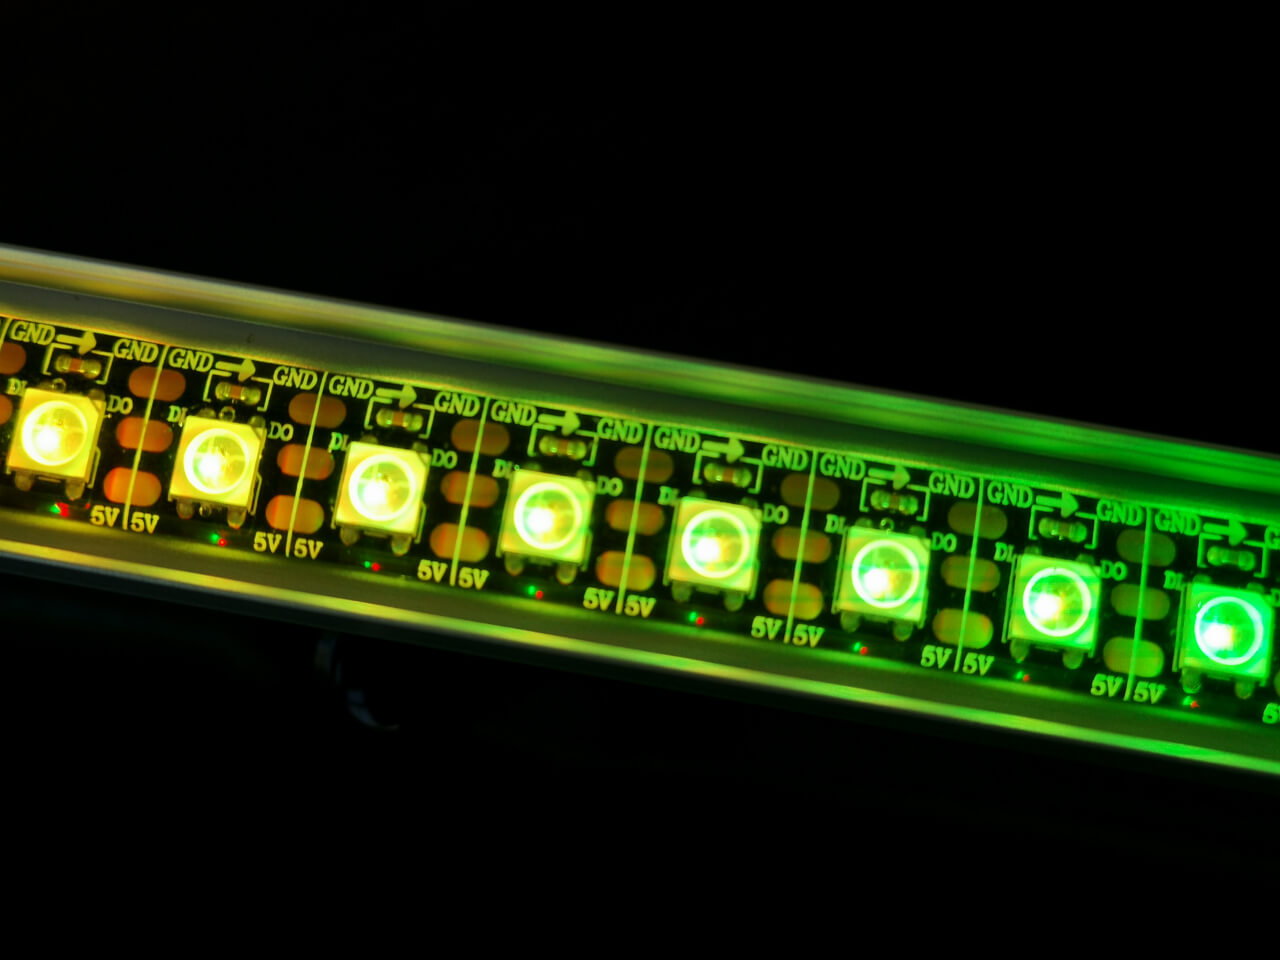
Light Bar RGB LEDs

Light Painting using Custom Effect (Blue, Yellow, and Pink light trails)
Conclusion
Things I liked:
- Excellent ergonomics.
- Useful length for Light Calligraphy (16cm LED strip).
- Wi-fi connection was very stable (much better than Bluetooth or IR remote control).
- Large range of preset effects, or add your own effects.
- Very bright light trails.
- PWM is relatively fast.
- Diffuser and hood are removeable.
- Internal charging.
Things I didn’t like:
- Pixel addressing offset for custom effects (though easily worked around).
- RGB only, so limited to coloured illumination.
- Non-user replaceable battery, and charging is slow.
The Light Bar is an excellent tool for Light Calligraphy and Light Drawing, with a wide range of effects, and the ability to upload your own. Ergonomics are excellent, and the user interface is generally very good. It can also be used for subtle coloured illumination. I can’t wait to explore more of the Light Bar’s potential.
The Light Bar can be purchased by contacting Luis Lafuente Medina on Facebook or Instagram.
You can see some of my photos created using the Light Bar on my Instagram.
