


Flashlight Review: LightPainter from Light Painting Paradise

The most requested flashlight/torch feature by light painters has been for a flashlight with both adjustable strobe frequency/speed and strobe brightness. This functionality is now available in the Light Painting Paradise LightPainter – Ryu’s Lightworks Edition flashlight, which is an evolution of the amazing Ryuslightworks V2/V3 which some prominent light painters have been using for a few years.
Disclaimer
This flashlight was provided by Light Painting Paradise for a review, for which I’ve been a brand ambassador since January 2020. I purchased the “prototype” Ryuslightworks V2 flashlight back in 2018.
Product Link.
Construction
The Lightpainter is based in the Sofirn SP31v2 flashlight host, with a upgraded FET driver, specialist firmware developed by Ryuslightworks for light painters, and a disabled side switch light. Sofirn are a popular manufacturer with flashlight enthusiasts who also make many lights marketed under the Thorfire brand, including the excellent Q8. With a head diameter of 23.5 mm it is compatible with Light Painting Paradise Adapters, the Light Painting Brushes Universal Connector, and Light Painting Tubes systems. Light Painting Paradise also produce an adapter specifically designed for this light which allows for easy access to the side button. It is also a great size for connecting with homemade tools. A clip, lanyard, and spare O-rings are included. It is not a budget light, but acceptably priced for a specialist niche market light.
The light has two switches, a side switch and tail switch. The user interface explained in the next section. Both the head and tail cap can be unscrewed, the latter to insert and remove the 18650 batteries. There are springs at both ends of the battery tube which allow for both flat top and button top, unprotected or protected 18650 batteries.
The light comes with a rechargeable unprotected 18650 3000mAh Li-ion battery and a basic Li-ion charger. The battery was measured to have a capacity of 3056mAh, and the charger terminated correctly at 4.18V. This is useful for people who do not already have 18650 batteries and chargers, though I always recommend investing in an advanced li-ion charger.
If using your own 18650 li-ion batteries, I would recommend using the protected 3500mAh 10A batteries from reputable companies including Keeppower (worldwide), XTAR (worldwide), or Blazer (Australia); or unprotected Panasonic/Sanyo NCR18650GA, LG MJ1, or Samsung 35E for maximum capacity and few more lumens. 18650 batteries with less than 10A current capability might not work in this light.
The light is well built, and survived a 10 second dunking in water to simulate an accidental drop.
LightPainter Box
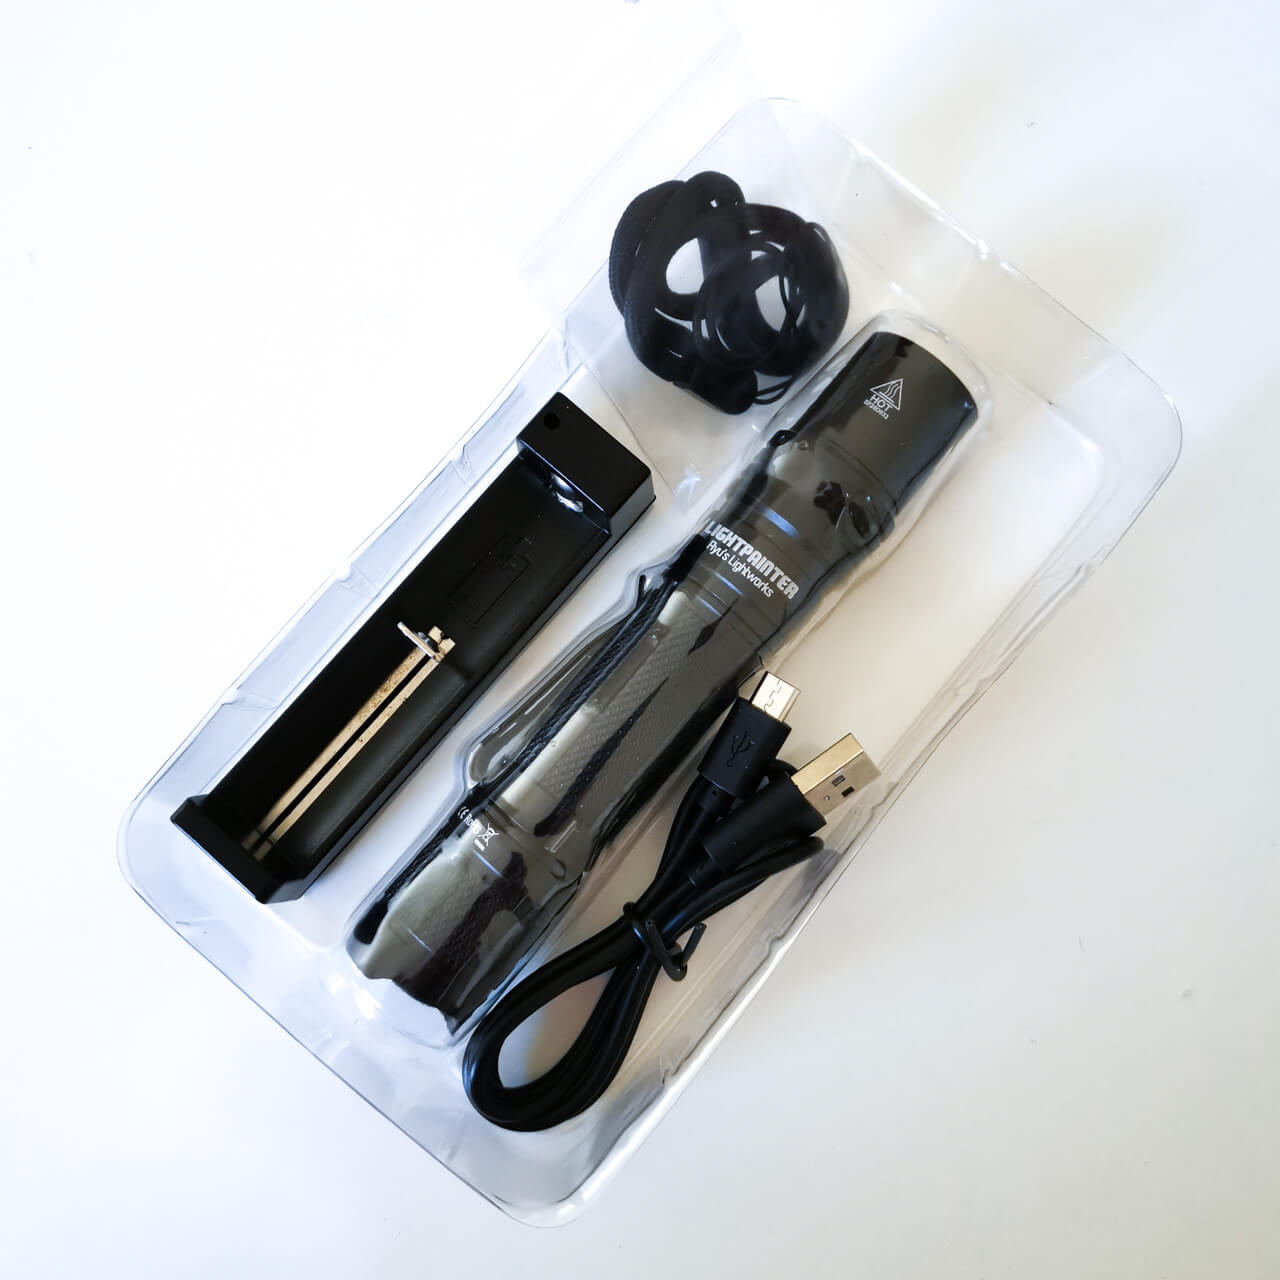
LightPainter and included accessories (18650 battery in inside the light)
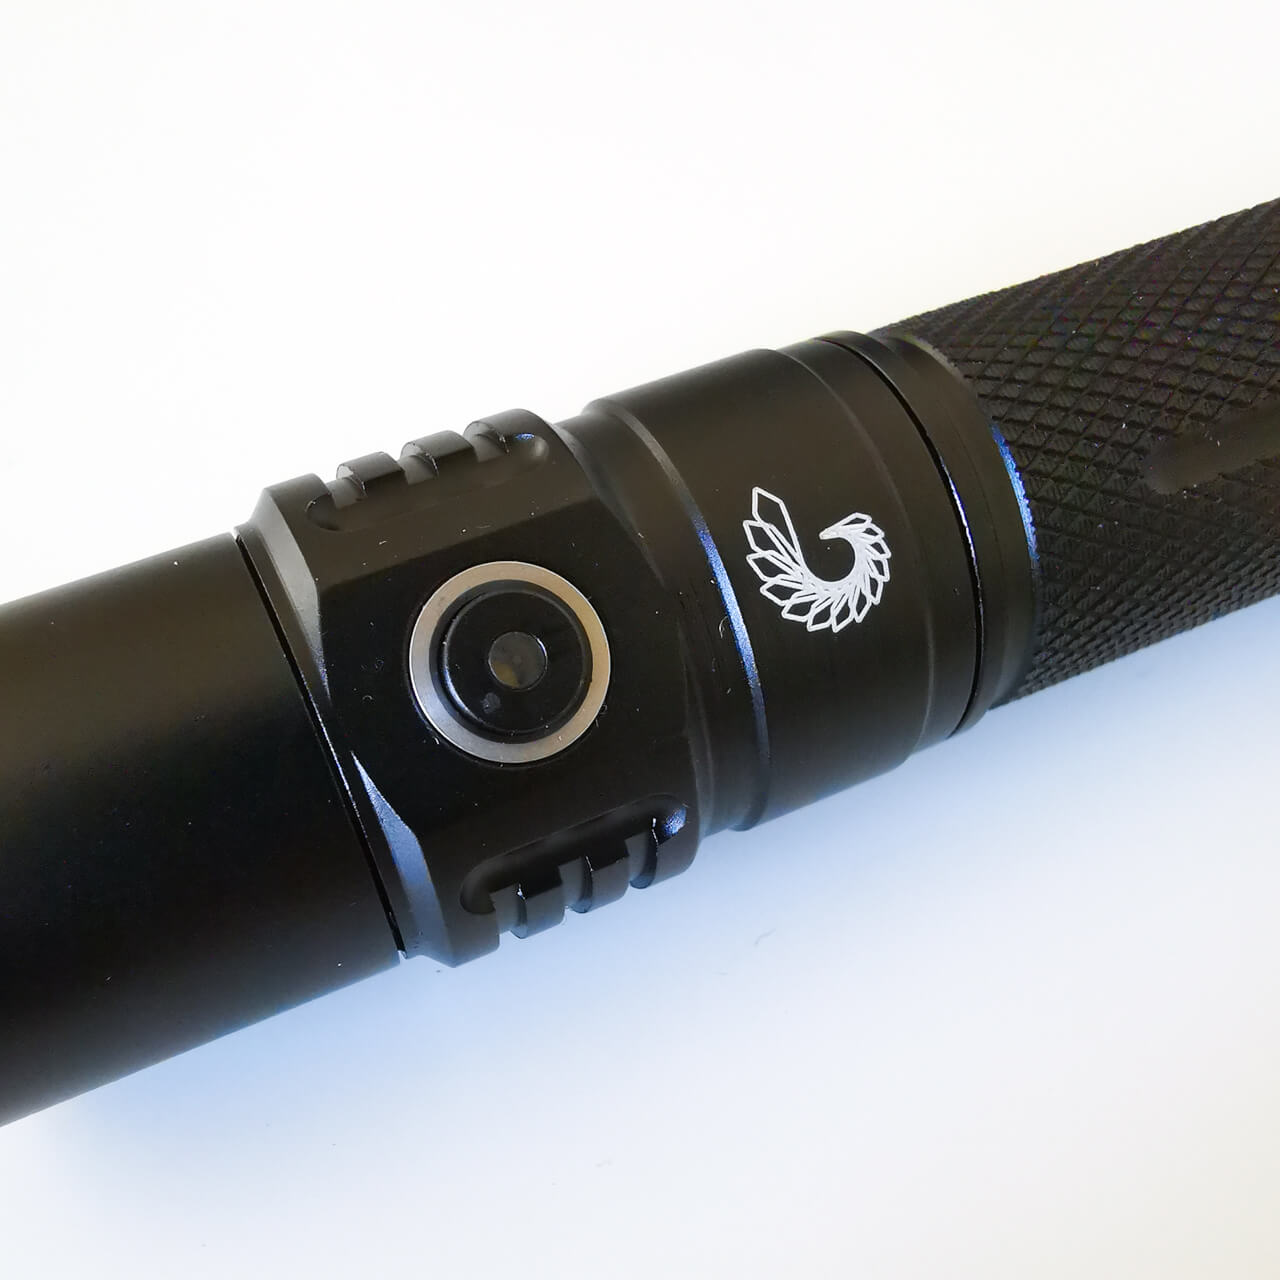
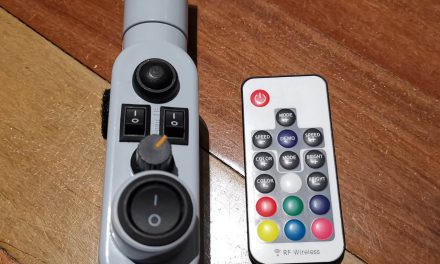
The LightPainter has Tail and Side Switches
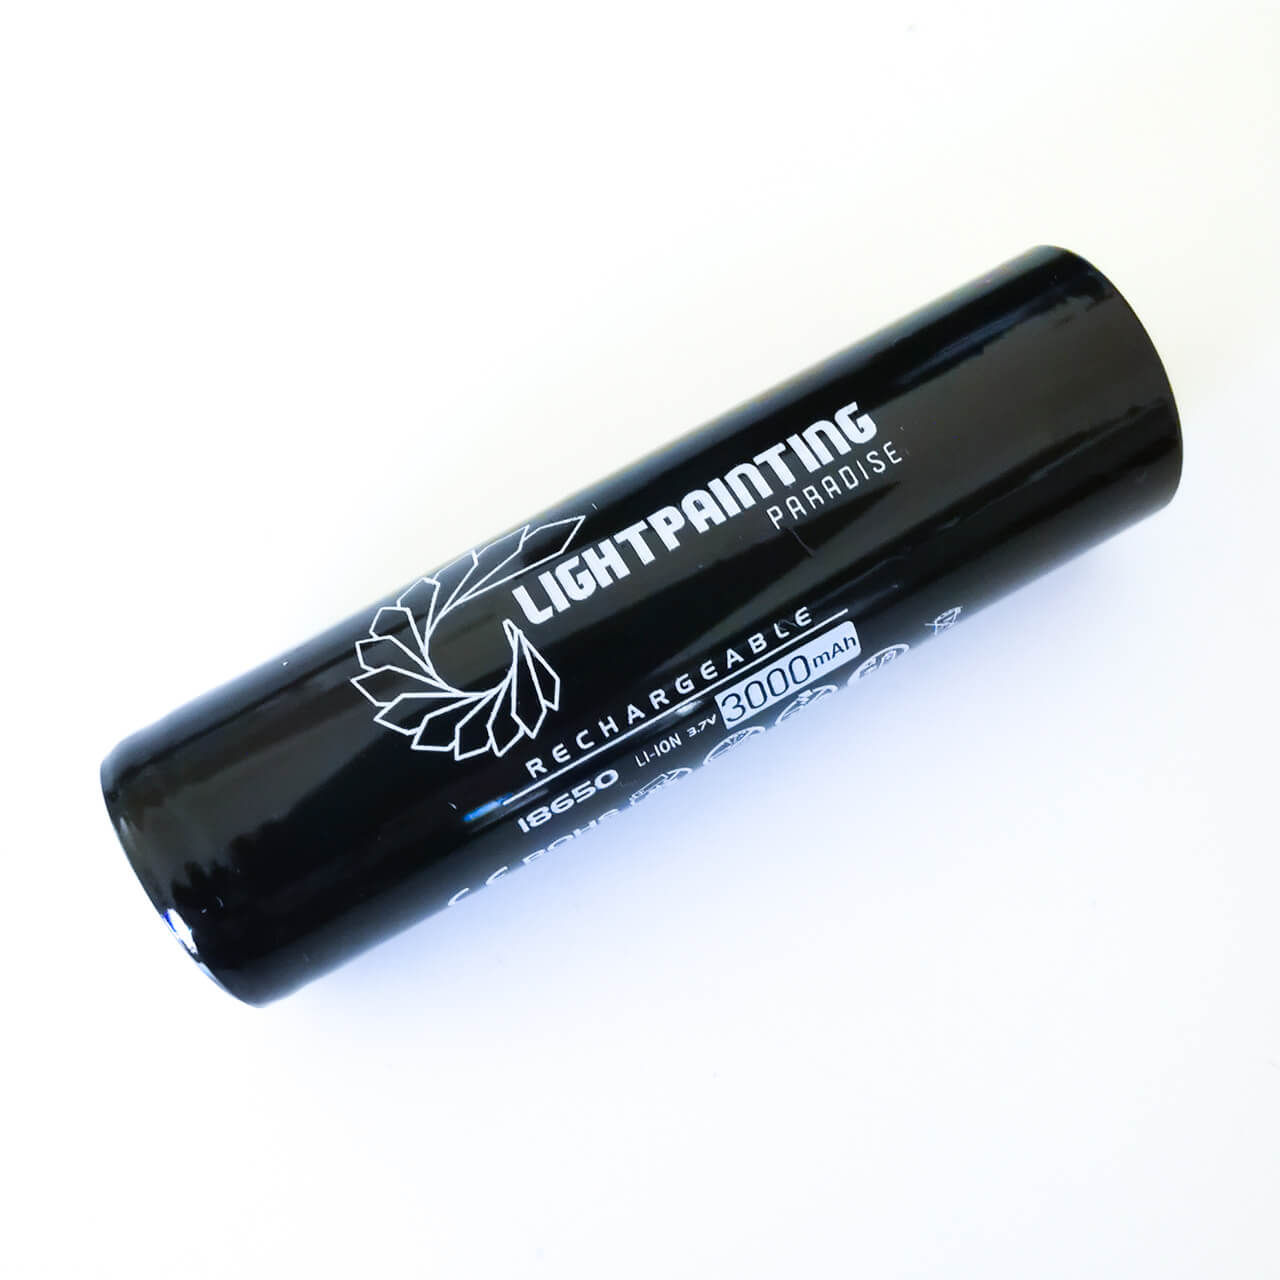
The LightPainter includes an 18650 Li-ion battery and charger
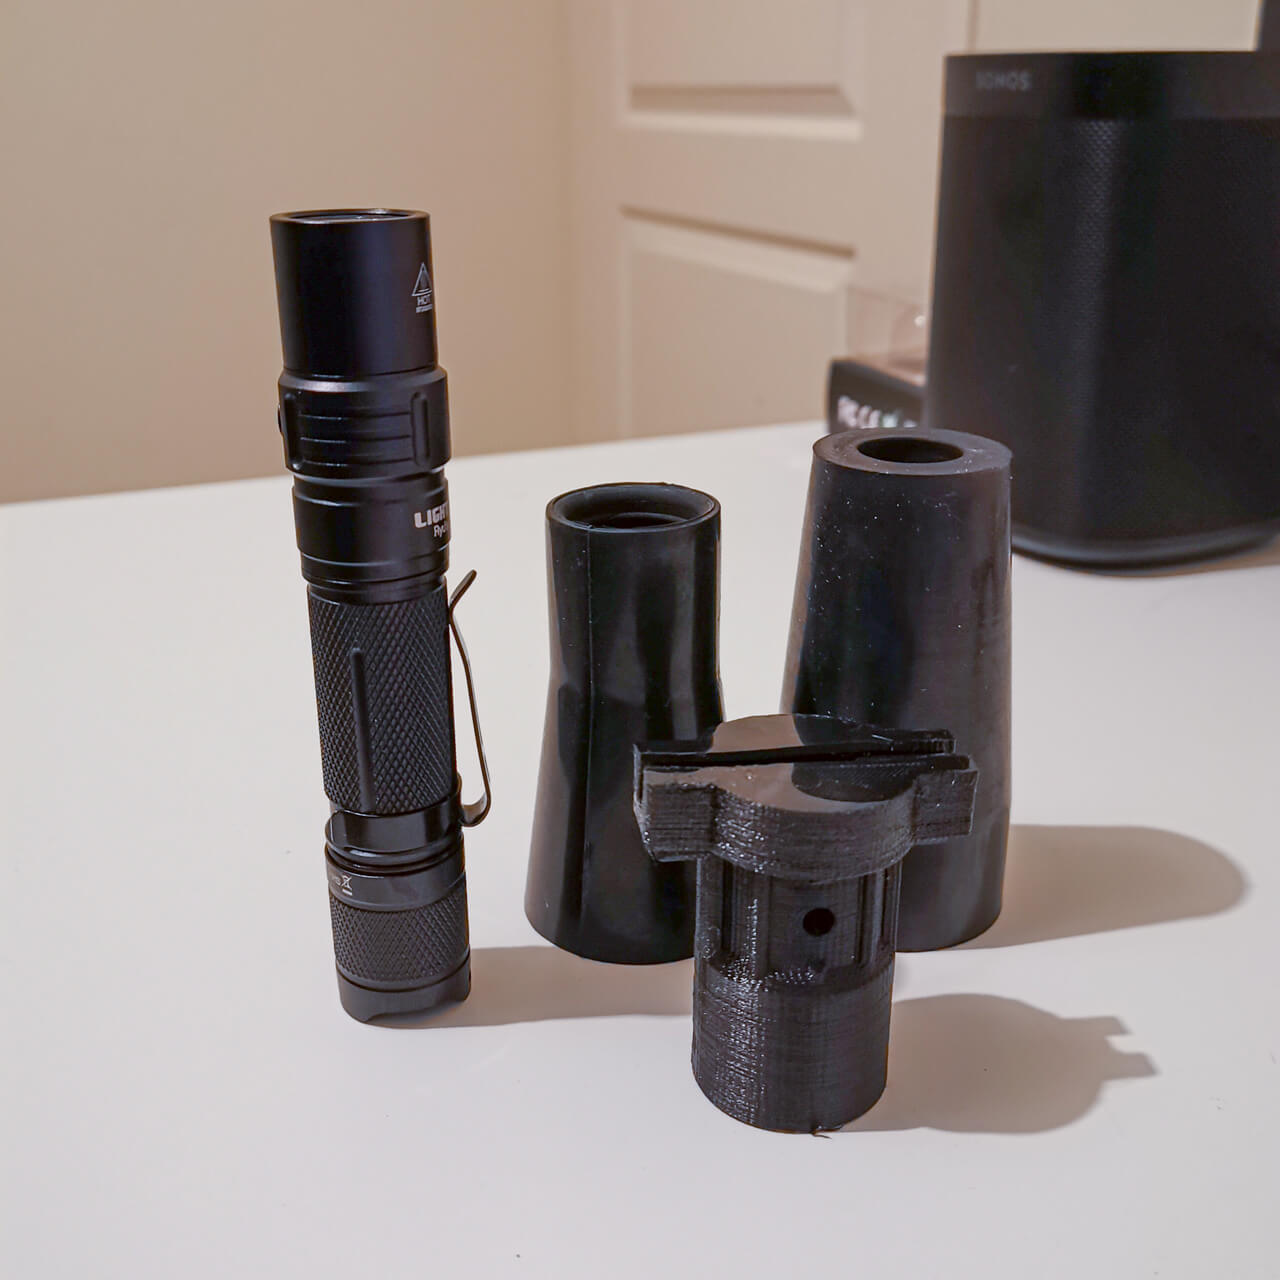
The LightPainter is compatible with many light painting systems.
User Interface
The light has two switches, a side switch and tail switch. The tail switch can be fully clicked for on/off, or can be half pressed for momentary on. This allows for fine control when light drawing, and is my preferred method of control. The light always turns on to the previously memorised brightness/mode/strobe frequency combination.
The side switch is generally used to select the output/brightness, mode, strobe frequency, and to save a setting. Double clicking the side switch advances through the modes – brightness/continuous > strobe > ribbon flash > single flash (no output) > brightness/continuous. Clicking the switch once advances through each mode’s settings which are as follows:
– Brightness/Continuous – 8 different brightness settings (approx. 50,150,300,400,600,800,1000,1200 lumen).
– Strobe – 10 different frequencies (50Hz to 4.5Hz; 50% on time).
– Flash – 10 different frequencies (66Hz to 9Hz; 5ms on time).
– Ribbon Flash – 8 different frequencies (66Hz to 6Hz; 60% intensity between each flash).
– Single Flash – 5ms flash every time side button is pressed in side access modes – no light emitted when advancing through modes.
A long press on the side switch for 1 second saves the brightness/mode/ frequency combination (the light responds with two flashes). You need to select the brightness first before moving to the various strobe modes, then save.
There are also two side switch access modes. If using side access modes it is advised to use the dedicated adapter from Light Painting Paradise specifically designed for the LightPainter. If the side switch is held down when the tail switch is turned on it will enter “trigger mode” (confirmed by two flashes) . This will allow on/off control of the last saved mode using the side switch. If the side switch is held down for longer when the tail switch is turned on it will enter “momentary mode” (confirmed by three flashes). This will allow the side switch to be used as a momentary switch for the last saved mode (light only emitted whilst the switch is depressed). If you save single flash mode, turn off the light, then enter either of the side access modes, then the light will emit 5ms burst of light with each press of the side switch. To exit side switch access mode, just turn off the tail switch. Just be aware that if single flash mode was last saved, then there will be no light when you turn the light back on next – double click to advance to the next mode (this caught me out the first time!)
The light can be mechanically locked out for safety by slightly unscrewing the tail cap. There is no low voltage protection, so care is required to not discharge batteries below 2.5V, though the light would be very dim by this point.
Given the capabilities of this light, the user interface is still easy to use and logical. The brightness spacing is much better than the Ryuslightworks V2, allowing the continuous or strobe brightness to be adjusted to perfectly match other light painting tools or ambient light conditions such as moonlight. As the Lightpainter has brightness and strobe frequency steps (instead of ramping as on the Lumintop FW series lights) it is much easier to get consistency between light painting scenes. The single flash mode emits no light when advancing through the modes. This is quite useful as you know where you are in the mode sequences.
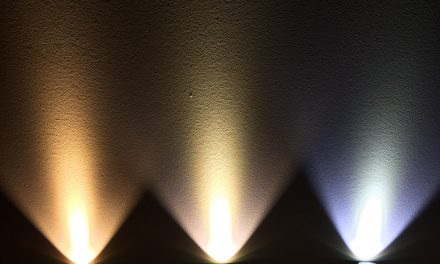
The strobe mode has a “perfect” 50% on/off time for light painting, and wide range of frequencies from 50Hz to 4.5Hz. The flash mode has a strobe with a very fast 5ms (1/200s) on time, and frequency range of 66Hz to 9Hz. This freezes the motion of the tool in mid-air. This isn’t quite as fast as the 1.3ms “party strobe” on the FW1A, but also means that it doesn’t result in as much of a hit to brightness. The ribbon flash has the light at 66% of the set brightness in between each flash, and a frequency range of 66Hz to 6Hz. This can create some interesting mid air effects, but only works well with lower brightness levels. I would prefer the slower end of the strobe modes to be a bit slower (around 3Hz). It is not possible to move between strobe and continuous modes on the fly, but very few lights now offer this functionality. The single flash mode allows for 5ms bursts of light with each press of the side switch, which is very useful for light drawing such as creating leaves on a light plant with a plexiglass blade.
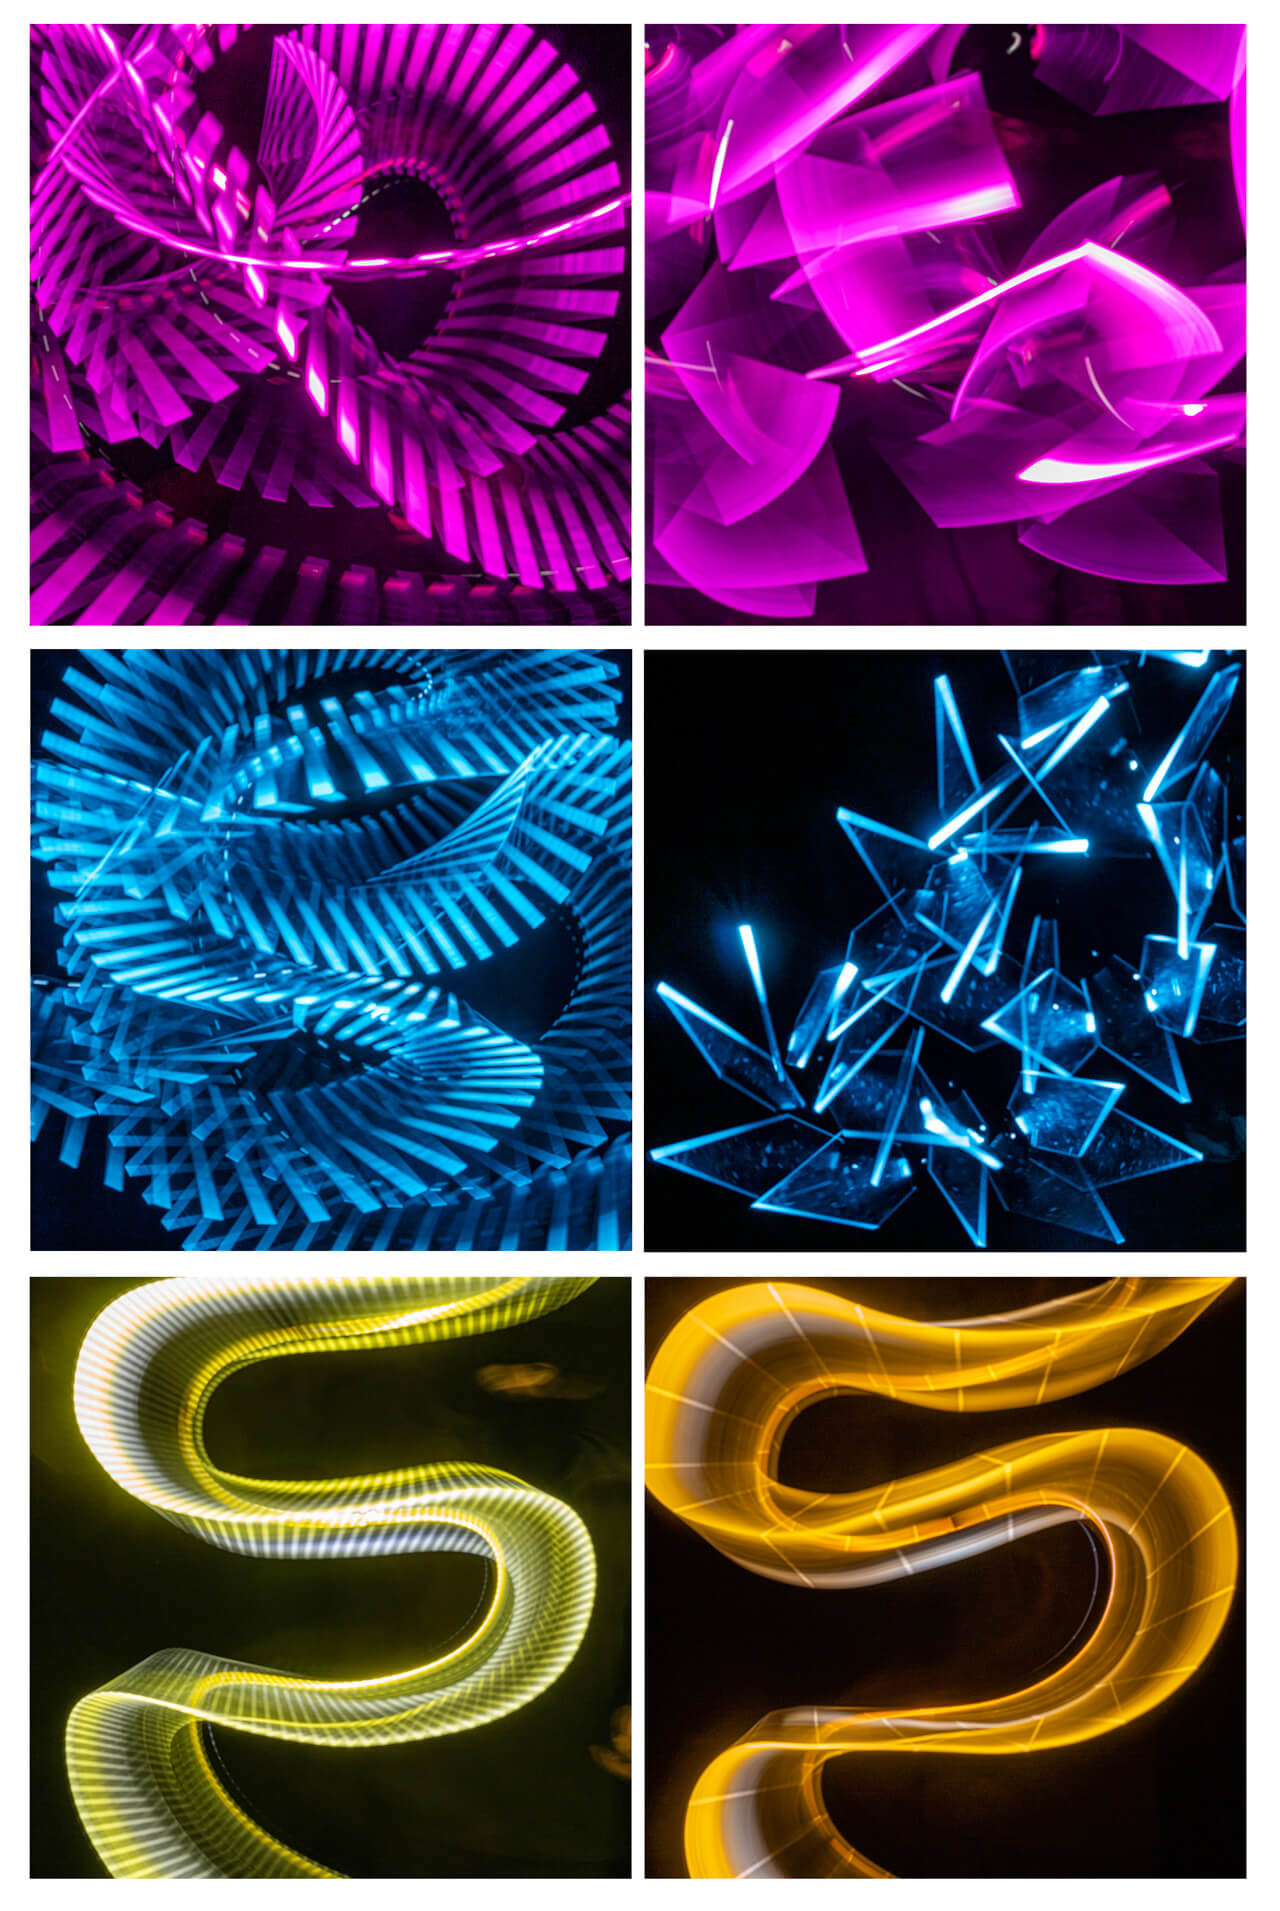
Strobe examples – Top: Strobe Mode; Middle: Flash Mode; Bottom: Ribbon Flash Mode; Left: Fastest Frequency; Right: Slowest Frequency.
Beam and Output
The LightPainter flashlight uses a (genuine) Cree XP-L HI emitter in a smooth reflector. This creates a beam profile that is a good compromise between flood and throw, and good for illuminating a range of light painting tools. The emitter has a tint of 5400-5700k which is somewhere in-between neutral and cool white. The Colour Rendering Index is >70CRI, which is good enough for most illumination purposes.
The light uses a FET driver which allows for a maximum brightness of 1200 lumens (though I measured a slightly higher output with a Panasonic/Sanyo NCR18650GA). This should be bright enough for most light painting requirements. There is no automatic step down, which means that the brightness is consistent during a light painting scene. However, care is required to avoid overheating that may occur if the light is left on full brightness for more than a few minutes. There is no visible PWM.
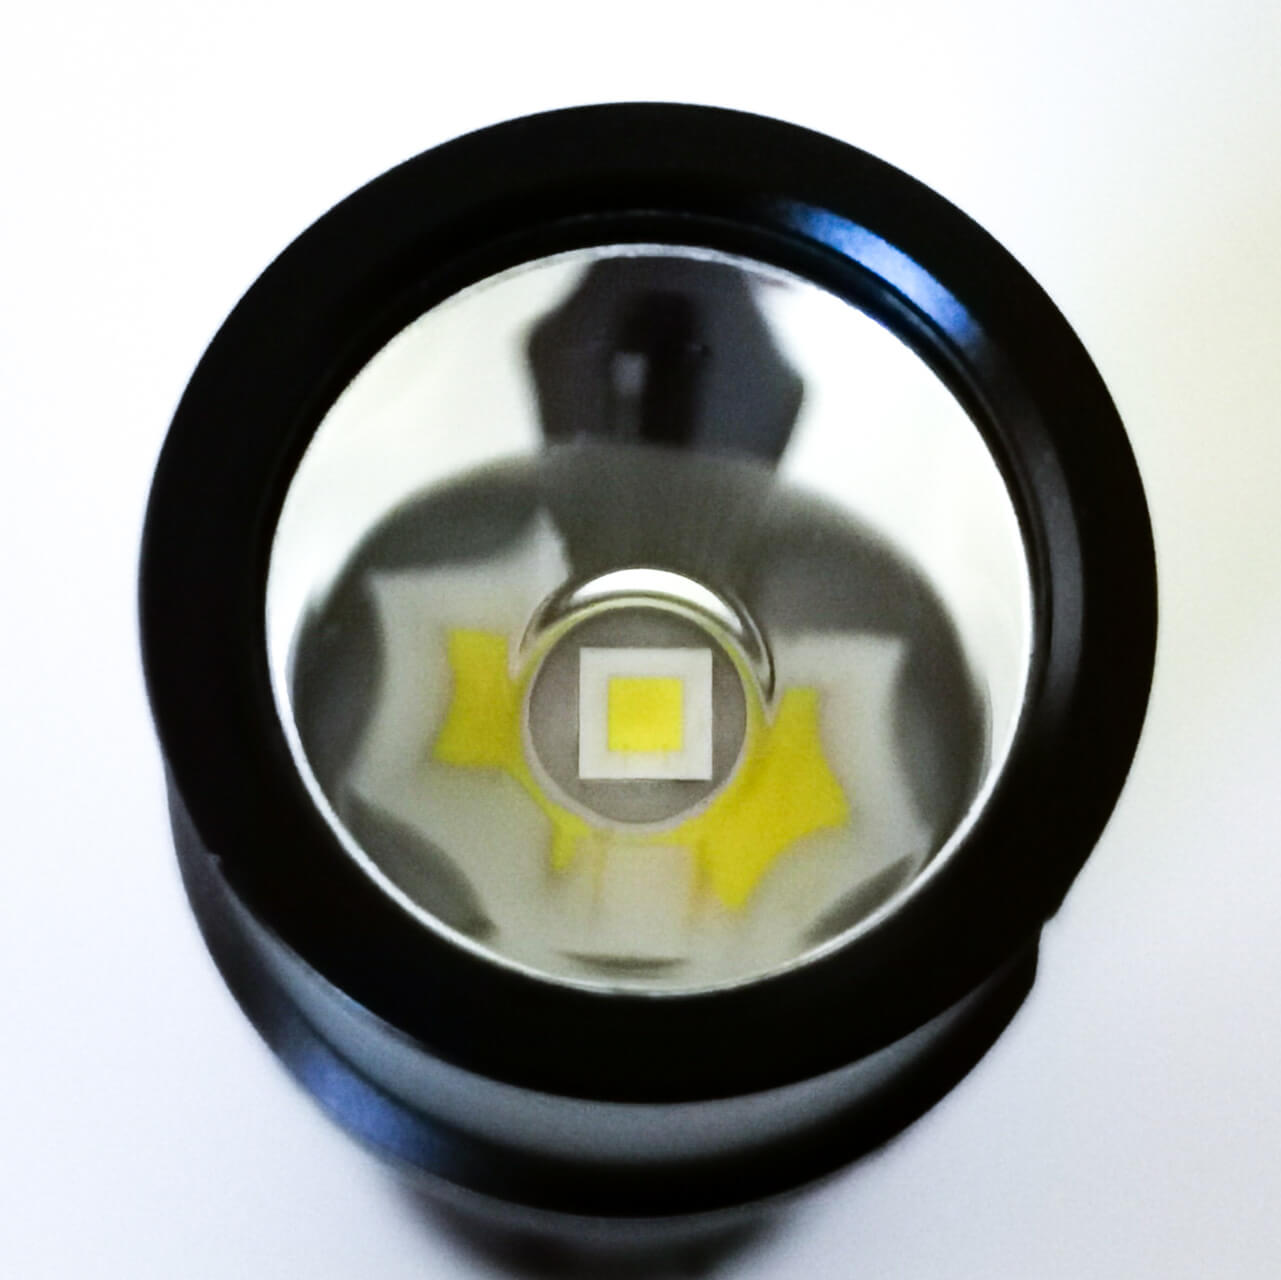
LightPainter – Cree XP-L HI emitter and Smooth Reflector
Conclusion
Things I liked:
– Adjustable strobe frequency AND strobe brightness
– 4 different strobe modes
– Momentary functionality
– Useful beam profile
– PWM is not visible
– Battery and charger included
– Accepts a wide range of high current 18650 batteries
Things I didn’t like:
– Slowest strobe frequencies could be a bit slower
– No low voltage protection
– No thermal step down
The LightPainter is the only conventional flashlight / torch that allows for both adjustable strobe brightness and adjustable strobe frequencies. With 4 different strobe modes, continuous light mode, momentary control from either the tail or side switch, and well spaced brightness levels, this is an indispensable flashlight for light painters. The LightPainter – Ryu’s Lightworks Edition flashlight is highly recommended.
The LightPainter is available from Light Painting Paradise. 10% off with code “Stephen Knight”.
Product Link.
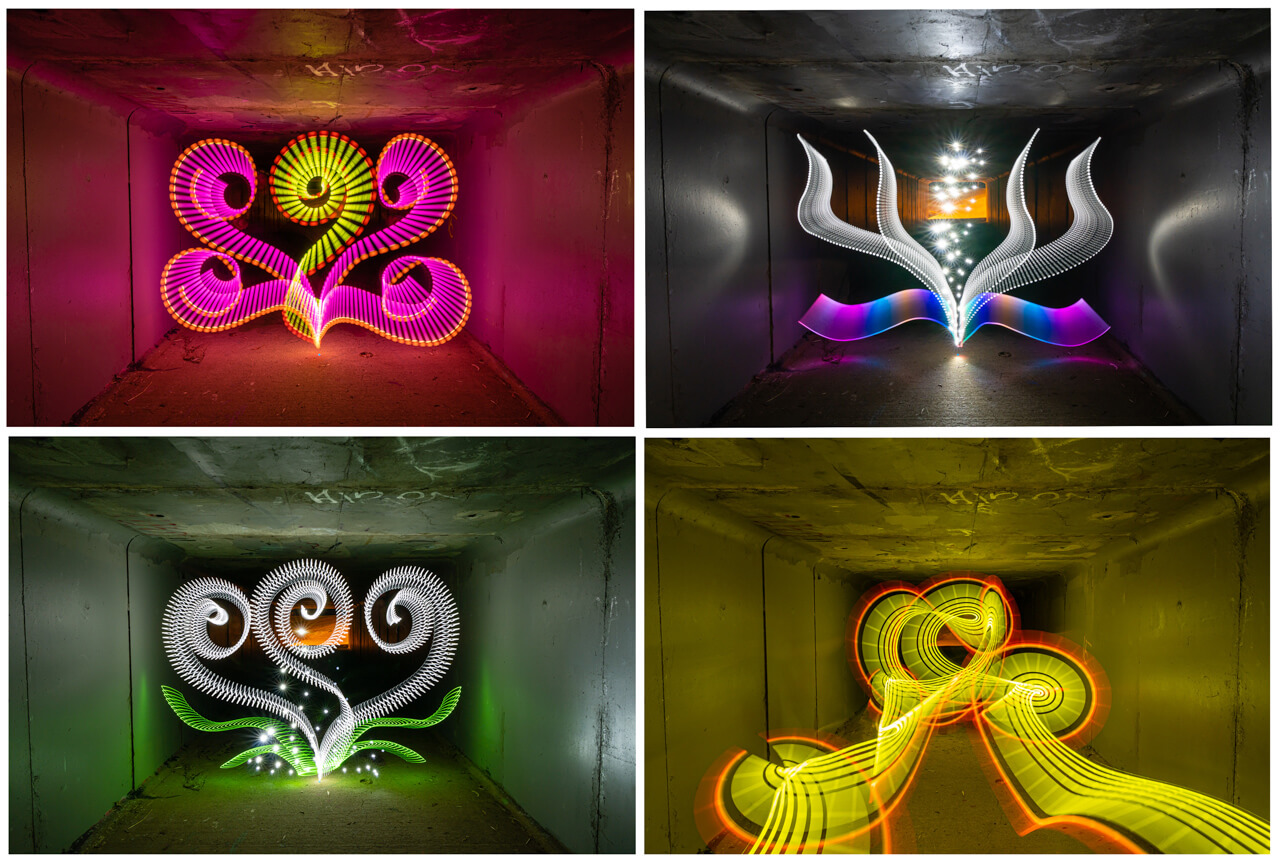
Light painting examples using the LightPainter (with other lights)
