


LP Tool Review: LACE Backlight Scanner

Backlight Scanners (BLS) were invented by legendary light painter Pala Teth. They create magical light that appears to be coming from nowhere, just by walking through a scene towards a camera. UK based light painter Lace Light Photos has produced a commercial version of this design (with permission from Pala Teth), with some design changes so that is more transportable, adjustable, and can work with a wide range of flashlights. This review looks at the LACE BLS and also covers general technique principles for using a BLS.
Construction
The LACE BLS is built to order, and home made, mainly using 3D printing. It arrived in a branded box, including all components, and a rather useful net bag. It is formed from the front cone, rear cone, a plug-in flashlight/torch adapter, and connector pins (which came in a test tube). The front and rear cones are 3D printed in black, and include a high quality reflective surface. The flashlight/torch adaptor is also 3D printed, and plugs into the rear cone. This can be made to order for a specific flashlight head size between 24mm to 59mm, and includes a continuation of the rear reflective cone to match the flashlight head size, plus a stop to prevent the flashlight head advancing too far. It is possible to order more than one flashlight adaptor if required. I’ve also been able to use slightly smaller flashlight heads by putting some tape around the smaller flashlight, but also taking care that it does not advance beyond the stop point.
The two cones are linked via 3 thin screws/connector pins. These are much narrower than some other BLS designs I’ve seen, which helps eliminate the beam shadows from the connectors. It also allows the distance between the cones to be adjusted, which is not possible in some other BLS designs. They can be a bit tricky to screw in and out – I recommend holding the cone that you want it to screw into or out of. It is noted that the threads can wear after quite a bit of use, and it is recommended to use some tape to help hold them in position if this occurs.
Lace BLS Box
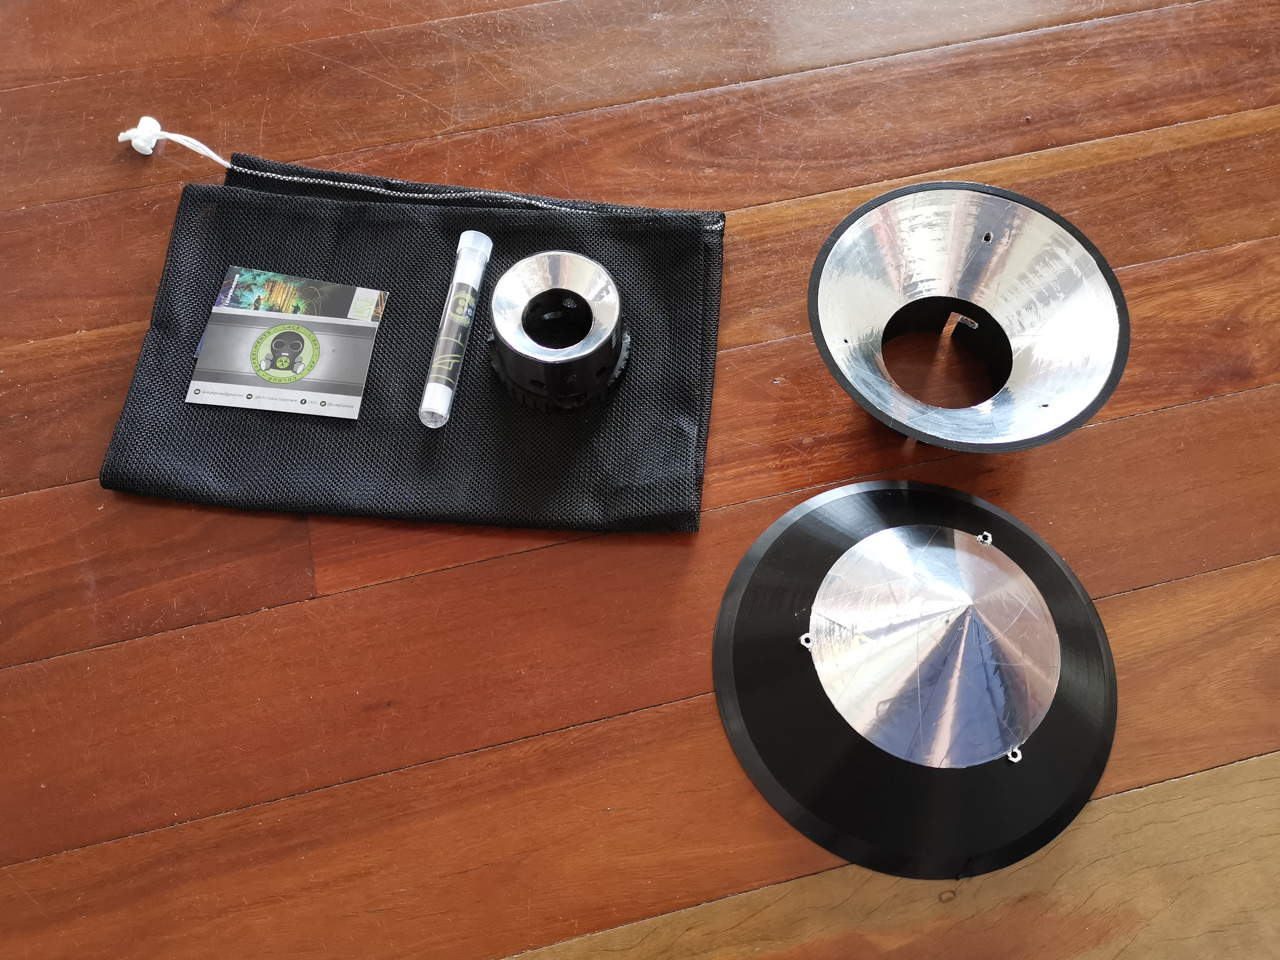
Lace BLS Components
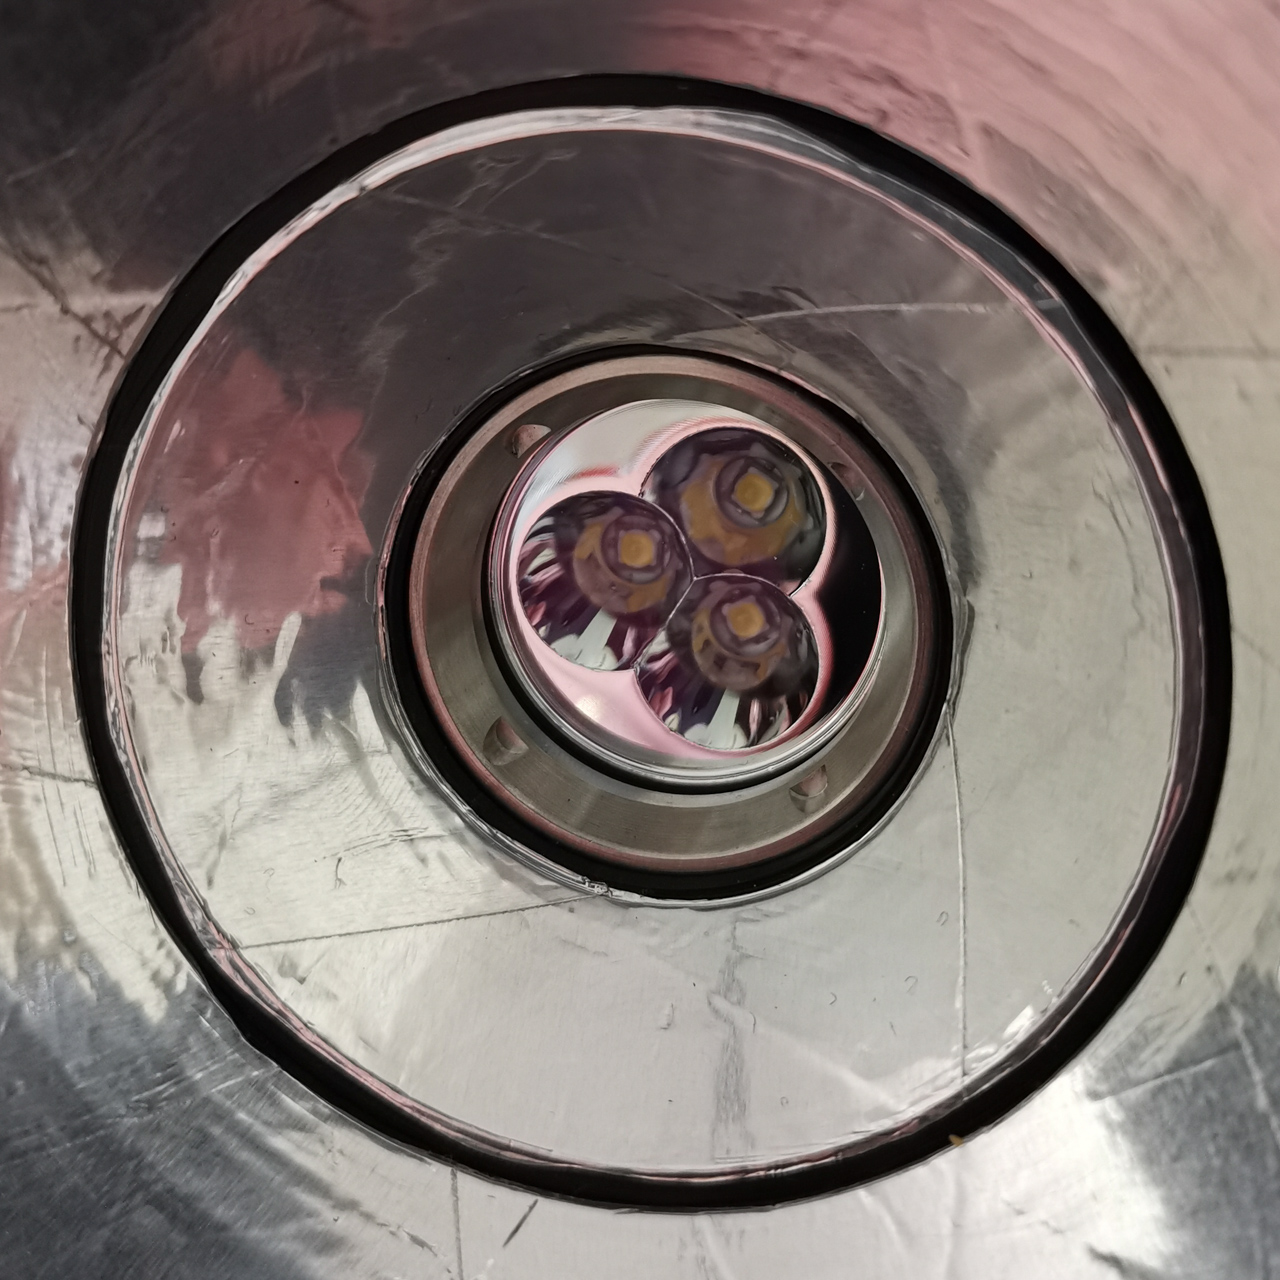
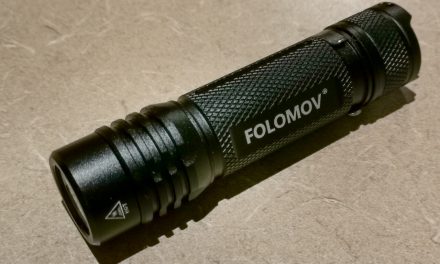
Flashlight Adaptor
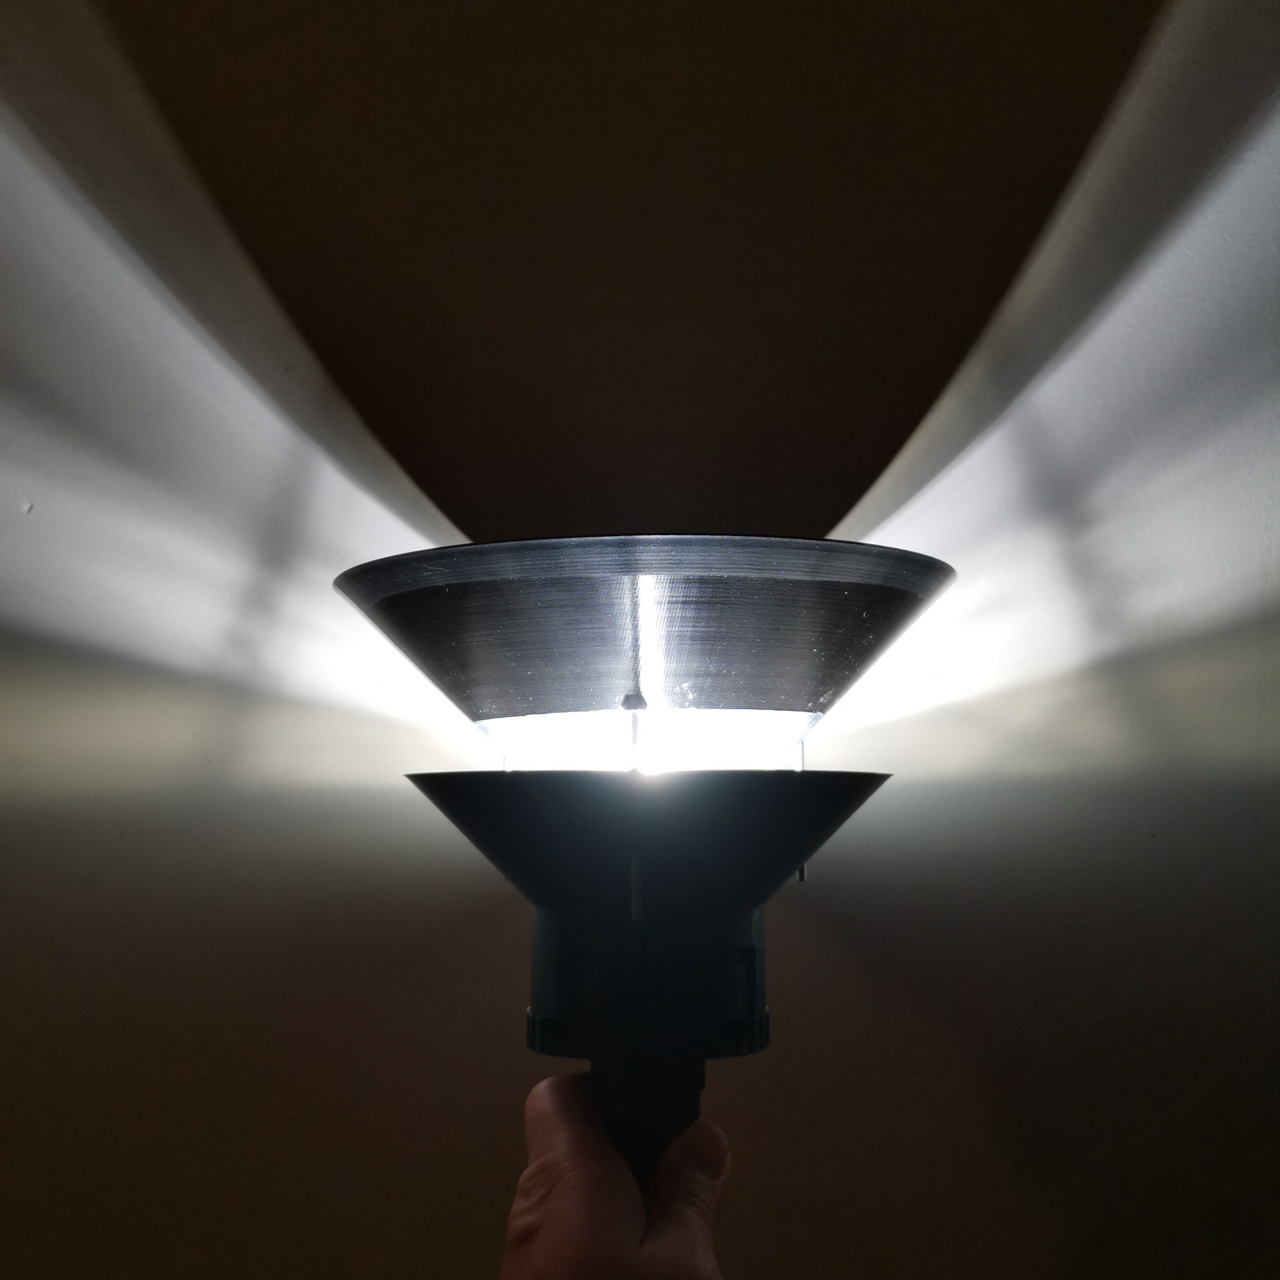
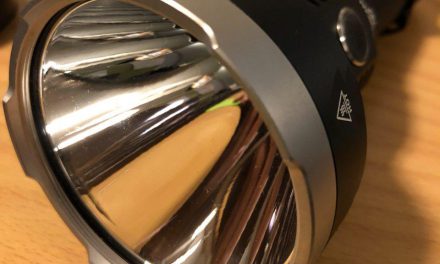
Lace BLS Beam Pattern with Convoy S12 torch
BLS Technique
Backlight Scanners can be used to illuminate a scene alone, or used to illuminate a scene before or after other light painting techniques. The beam of light leaving the BLS is in a cone shape, and walking through a scene towards the camera (with the light turned on) will illuminate everything around the BLS. However, the BLS and light painter should be (almost) invisible. This principle works due to the front cone being larger than the rear cone, which hides the light source. It is important that the BLS is pointing towards the camera during the exposure so that the cone of light does not hit the lens. The LACE BLS has a generous +/- 25 degrees of off axis margin before the light source will show up. I put an LED Tea Light on top of the camera so that I know where it is!
As the front cone is larger than the rear cone, it is inevitable that there will be some light back-scatter from the back of the front cone. One of the first mistakes I made when using the BLS was not wearing enough black clothes (well, it’s hot in the Australian summer!). I would highly recommend wearing black trousers, black long sleeved top, black gloves, and a black balaclava. Yes – the full Ninja outfit! Also, I would recommend holding the BLS at arms reach in front of you at roughly face height for further reduction in self illumination. Whilst the BLS will illuminate the path in front of your feet, you do need to keep paying attention to where you are walking. Don’t forget to turn off the flashlight when you get close to the camera lens! A few other things to be aware of is that the BLS may illuminate any insects flying in the path of light, and also condensation from breath when it’s cold.
The LACE BLS works with a wide range of flashlight/torches between 24mm to 59mm head diameter, however it is recommended to use smaller head diameters (approx. <35mm) to reduce the likelihood of the BLS being visible if it goes off-axis during walking. Things to look out for in suitable flashlights (read reviews first) include:
– Time to step-down – the light will need to not step-down in brightness by thermal control or timer during the exposure and subsequent attempts.
– Flashlight head – the flashlight head should have a constant head diameter for the first 20mm so that it can fit snugly in the adapter.
– Mode memory – ability to turn the light on in the last used brightness mode.
– High-CRI and colour temperature/tint – high-colour rendering (CRI) is not essential, but will help render colours better in the photo – this is most noticeable for tree bark and leaves. LED colour temperature (warm to cool) and tint (purple/rosy to green) will also affect the resulting photo, but can be corrected in post-processing.
– High brightness – the more light emitted by the BLS will allow photos at lower ISO and higher aperture numbers. I would advise 1,000 lumens or more.
– Wide spill beam – a wide spill beam means that the BLS will output direct light and reflected light instead of just reflected light. This in theory will create more BLS light output per lumen.
I chose a 1,500 lumen “budget” Convoy S12, with triple Nichia 219C 5700k emitters for my BLS. This 21700 battery based light has high-CRI emitter options, warm to cool colour temperature options, mode memory, and lasts 2.5 minutes on 100% output before stepping down to 35%. Lights known to have been used by other light painters with the LACE BLS include the BLF/Sofirn Q8, Sofirn SP36, Klarus XT11GT, and Light Painting Paradise LightPainter.
As mentioned earlier, the LACE BLS allows the gap between the front and rear cones to be adjusted. This (in conjunction with the flashlight’s spill beam) will change the ratio of direct light and reflected light being emitted by the BLS. With the Convoy S12, a smaller gap resulted in less direct light and more reflected light, and lower overall light output. I found the optimal gap between the cones to be around 4cm. Your mileage may vary with different lights.
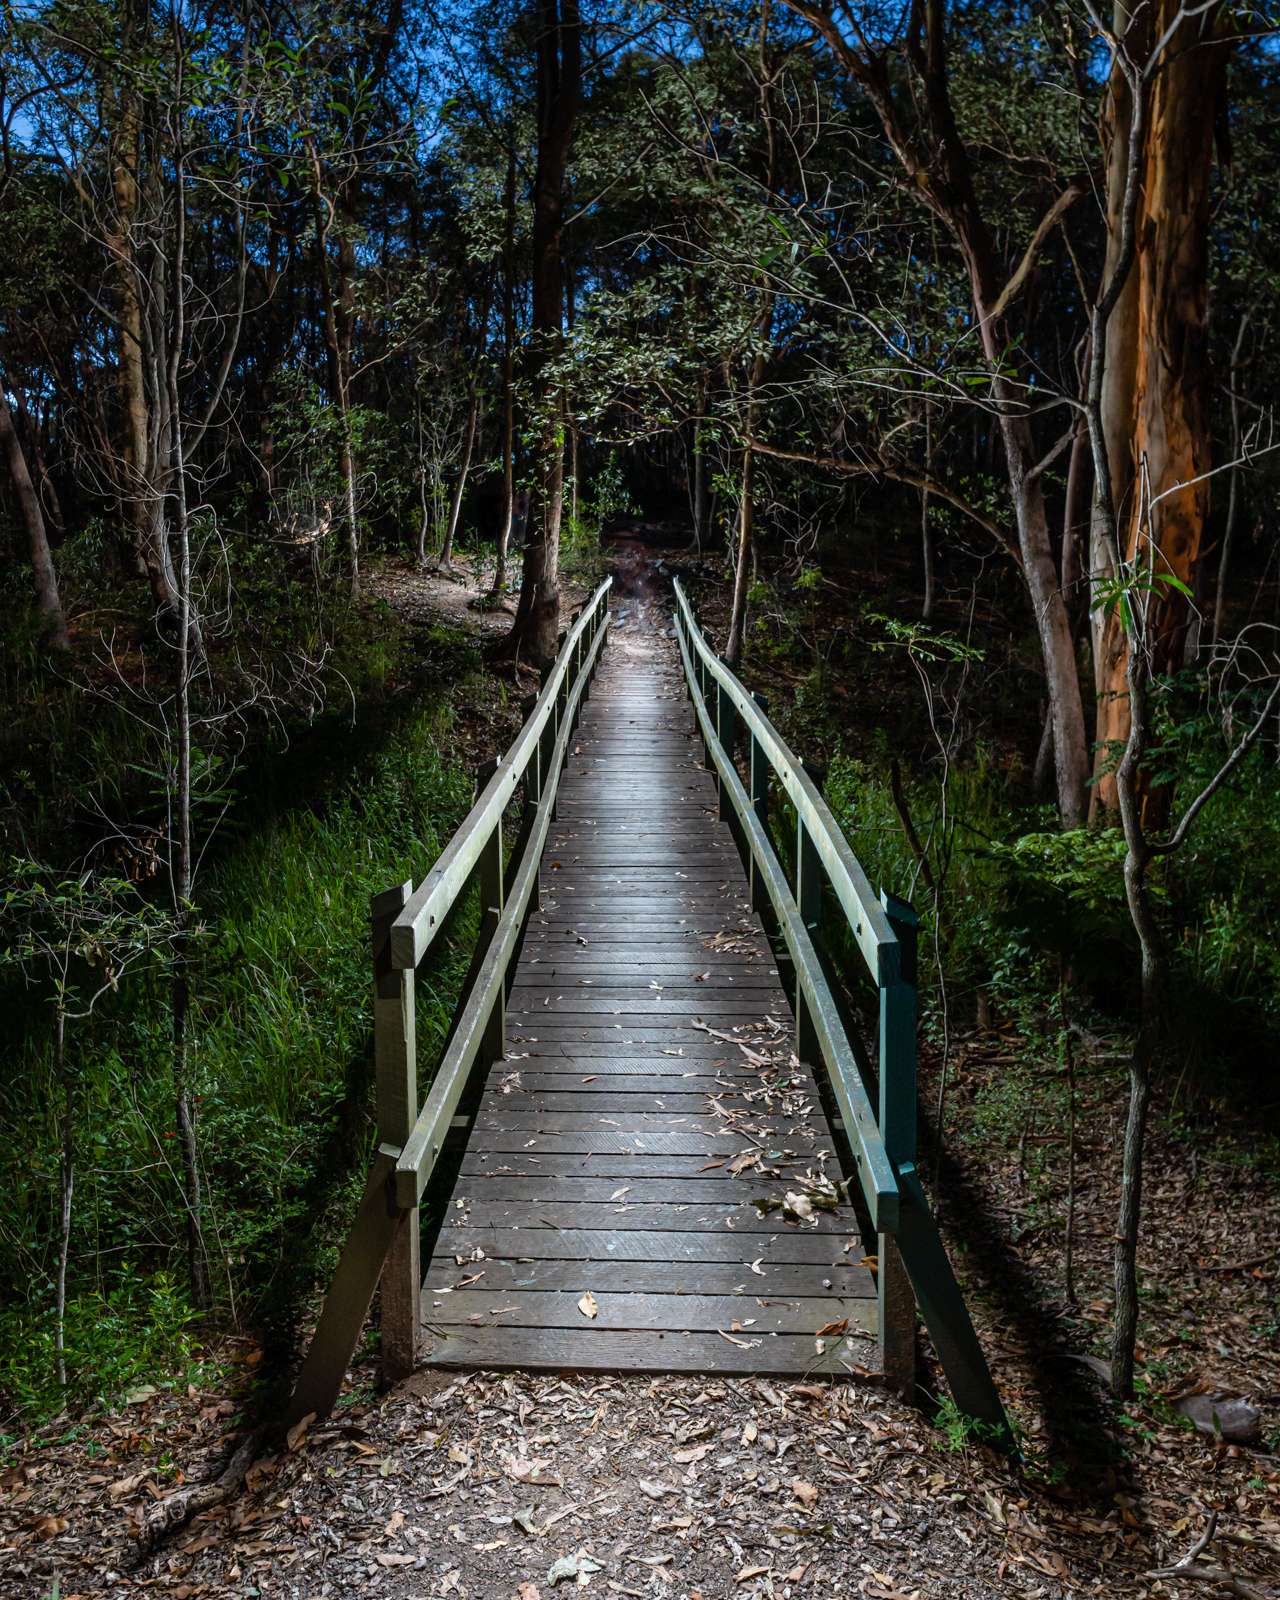
f/8, 76secs, ISO400. I wasn’t wearing black for this photo, so I can just be seen at the end of the bridge.
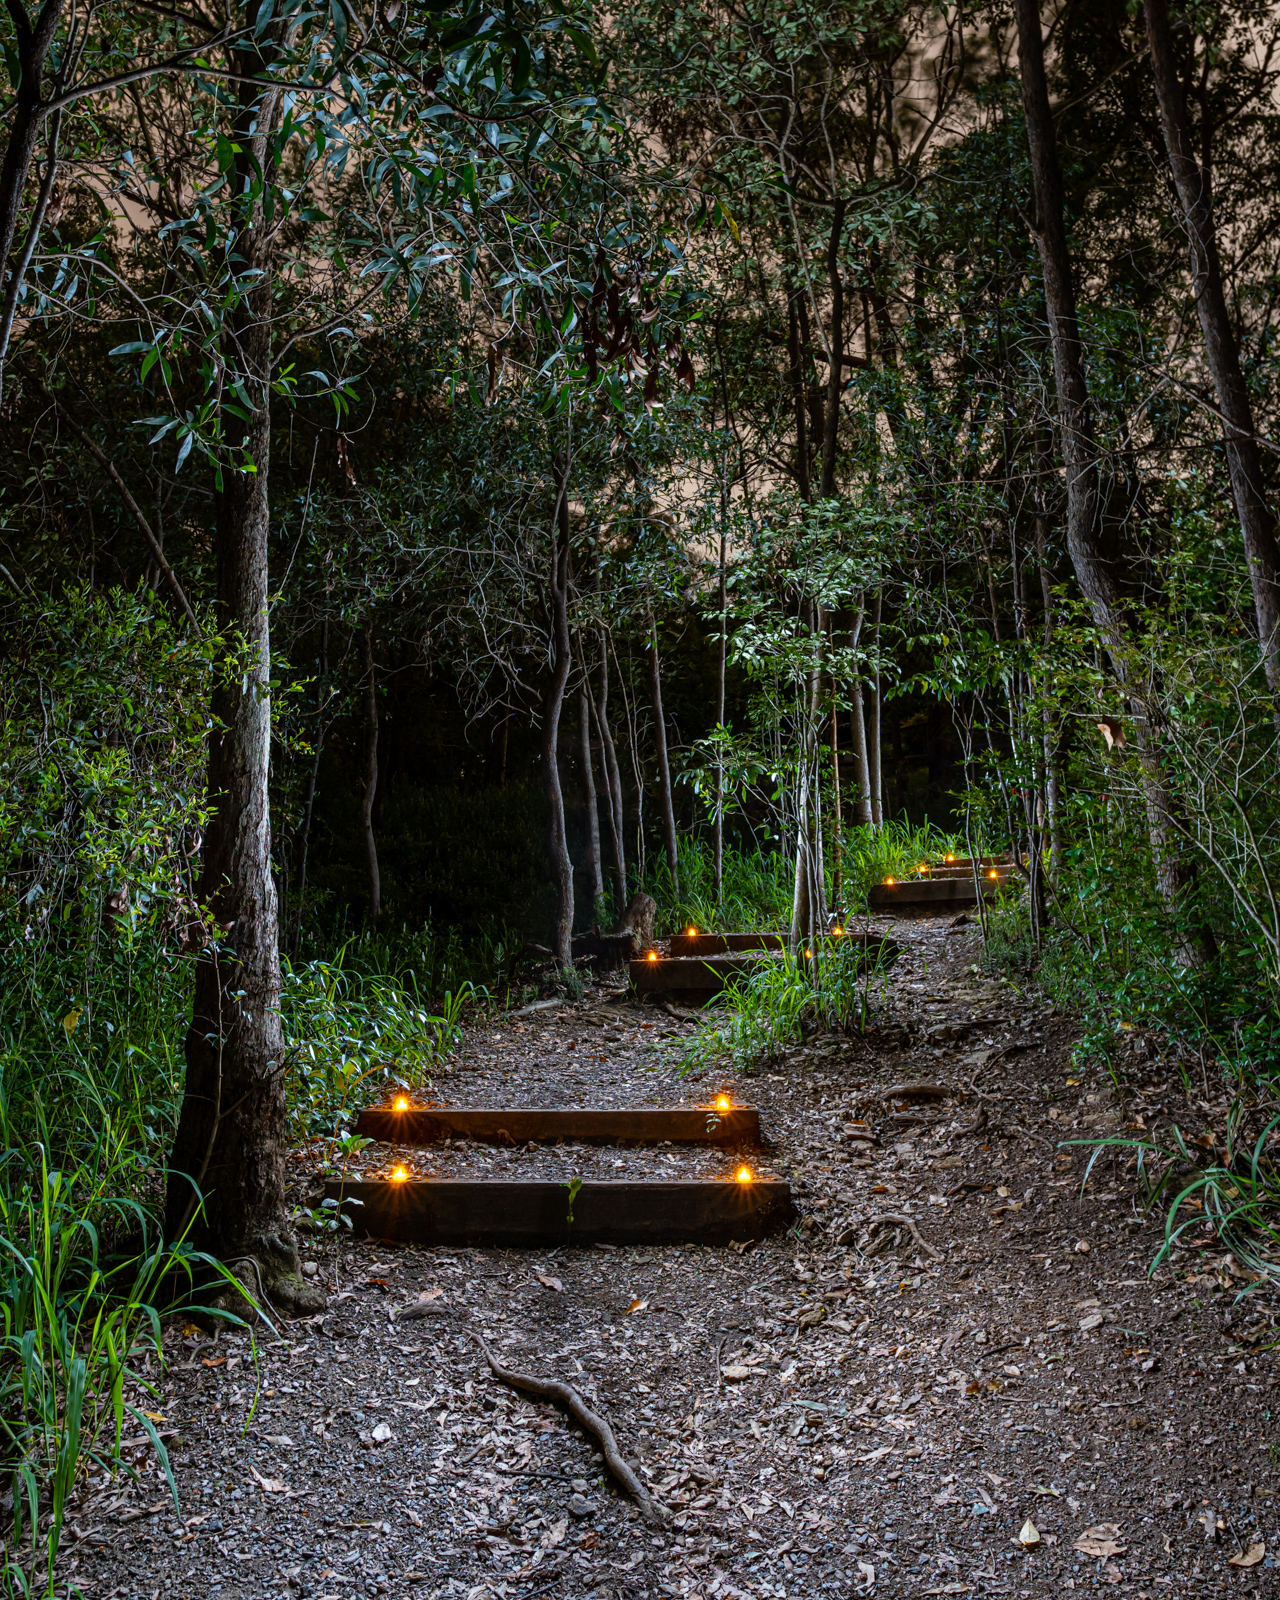
f/5.6, 55secs, ISO320 I added a few LED Tea Lights as well.
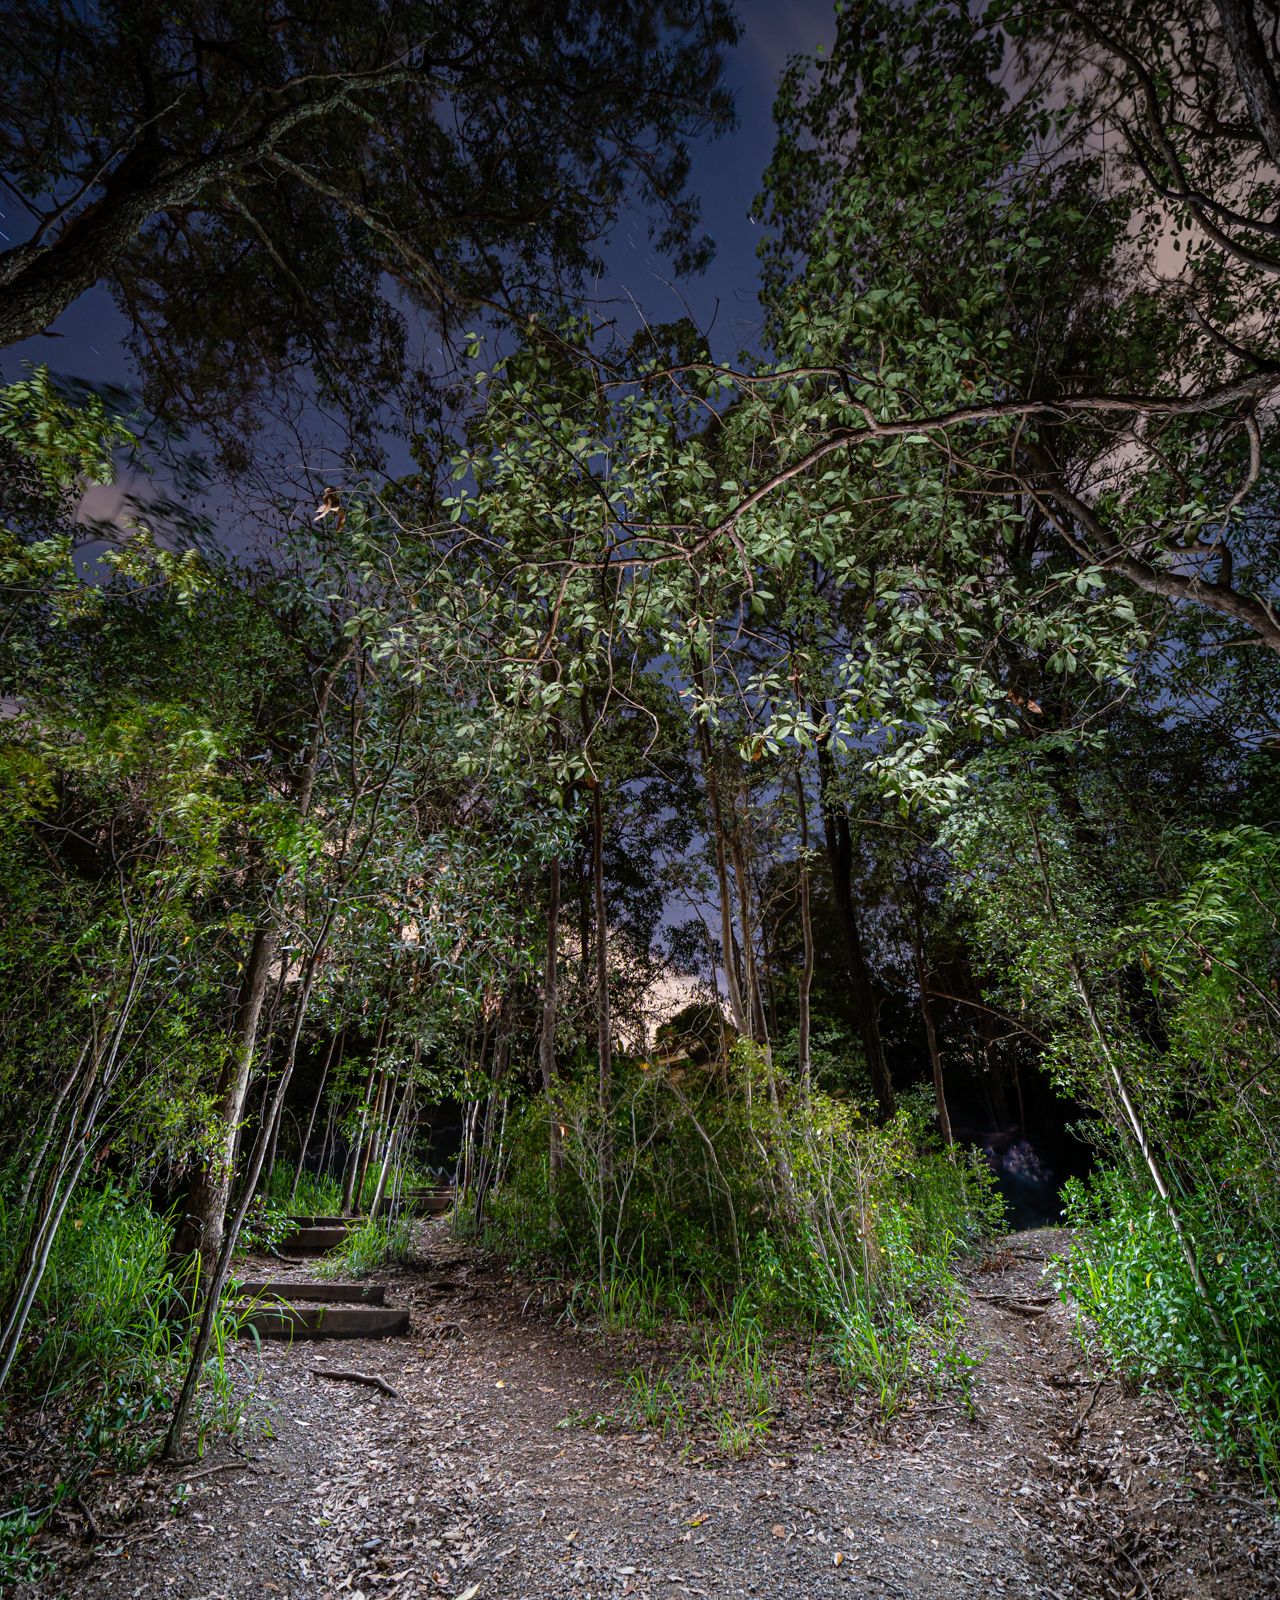
f/5.6, 55secs, ISO320. Two walks towards the camera on left and right pathways.
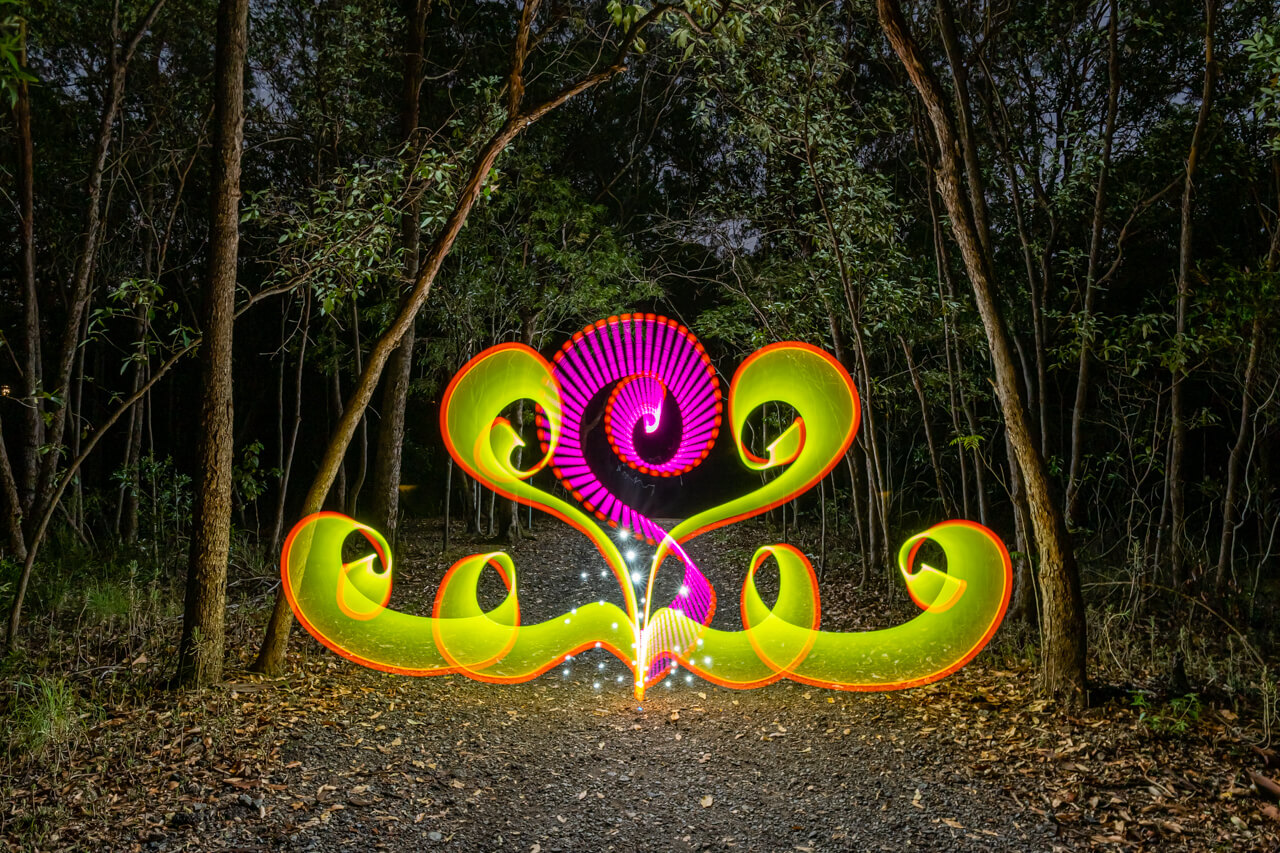
f/8, 128secs, ISO100. BLS and Light Drawing.
Conclusion
There are a few open-source plans available for home made BLS. However, if you don’t have the time and inclination to build your own and want to purchase a proven high quality design where the R&D has been done for you, then the LACE BLS is an excellent choice.
The LACE BLS can be purchased by contacting Lace Light Photos on Facebook, or Instagram.
I’ll be adding more photos taken using the BLS, including photographic exposure, on my own Instagram account.
