


Light Review: LumeCube 2.0

Quite a few light painting photographers are using LumeCube 2.0s for light painting purposes. Despite some quite impressive claims of 1,500 lumen output for 90 minutes from a tiny cube, there are no technical reviews available of this product. Does it live up to the hype?
Disclaimer
LumeCube declined my request for a review sample, so I borrowed one from another photographer.
Construction
The original LumeCube was quite revolutionary in that the light source was placed in a compact cube instead of a more conventional flashlight cylinder. This opens up a wide range of lighting options, including floor standing (where many flashlights would just fall over without workarounds), drone, tripod, and camera attachments. The LumeCube 2.0 improved upon the original version with various product enhancements including a longer lasting battery, high-CRI 5600k LED with no hotspot, and easier to access charging point.
The LumeCube 2.0 is a diminutive 4cmx4cmx4.5cm in size, and 99g in weight. It has an internal battery with USB-C charging port is located on the back, with a rubber protective colour. The charging current is 850mA, and it took 3hr 5mins to fully charge, significantly longer than 45-60 minutes mentioned in the manual. The battery capacity is not stated by LumeCube, and would be no more than 2500mAh based on charge time x charge current. The battery is non-replaceable, and as li-ion/polymer batteries tend to degrade after a number of cycles, this could shorten the product lifespan compared to a “less consumer friendly” flashlight with replaceable 18650s.
Two buttons are located at the rear end of the top side. A charging/Bluetooth indicator light is located between these buttons. A useful 1/4″-20 tripod thread is located underneath. The LumeCube is claimed to be waterproof to 10m, and it survived a test submersion in a sink for 10 minutes. It can’t be connected to commercial light painting tools, but that is not the purpose of this light.
The LumeCube 2.0 comes with a modification frame for mounting gels and diffusers. This allows various gel filters and diffusers to attach via magnets. These can also be stacked. The basic package includes a softening diffuser, and 4500k warming gel. Options that are available in other packages include 4 warming filters; red, green, blue, and yellow filters; flat white diffusers; diffusion bulbs; snoot; barn doors; and honeycomb filters.
The basic package also includes a USB-C to USB-A charging cable, and cold shoe mount. Options available in other packages include various camera mounts, handle mount, suction mount, smart phone mount, bike mount, clip mount, a mini-tripod, and drone mounts.
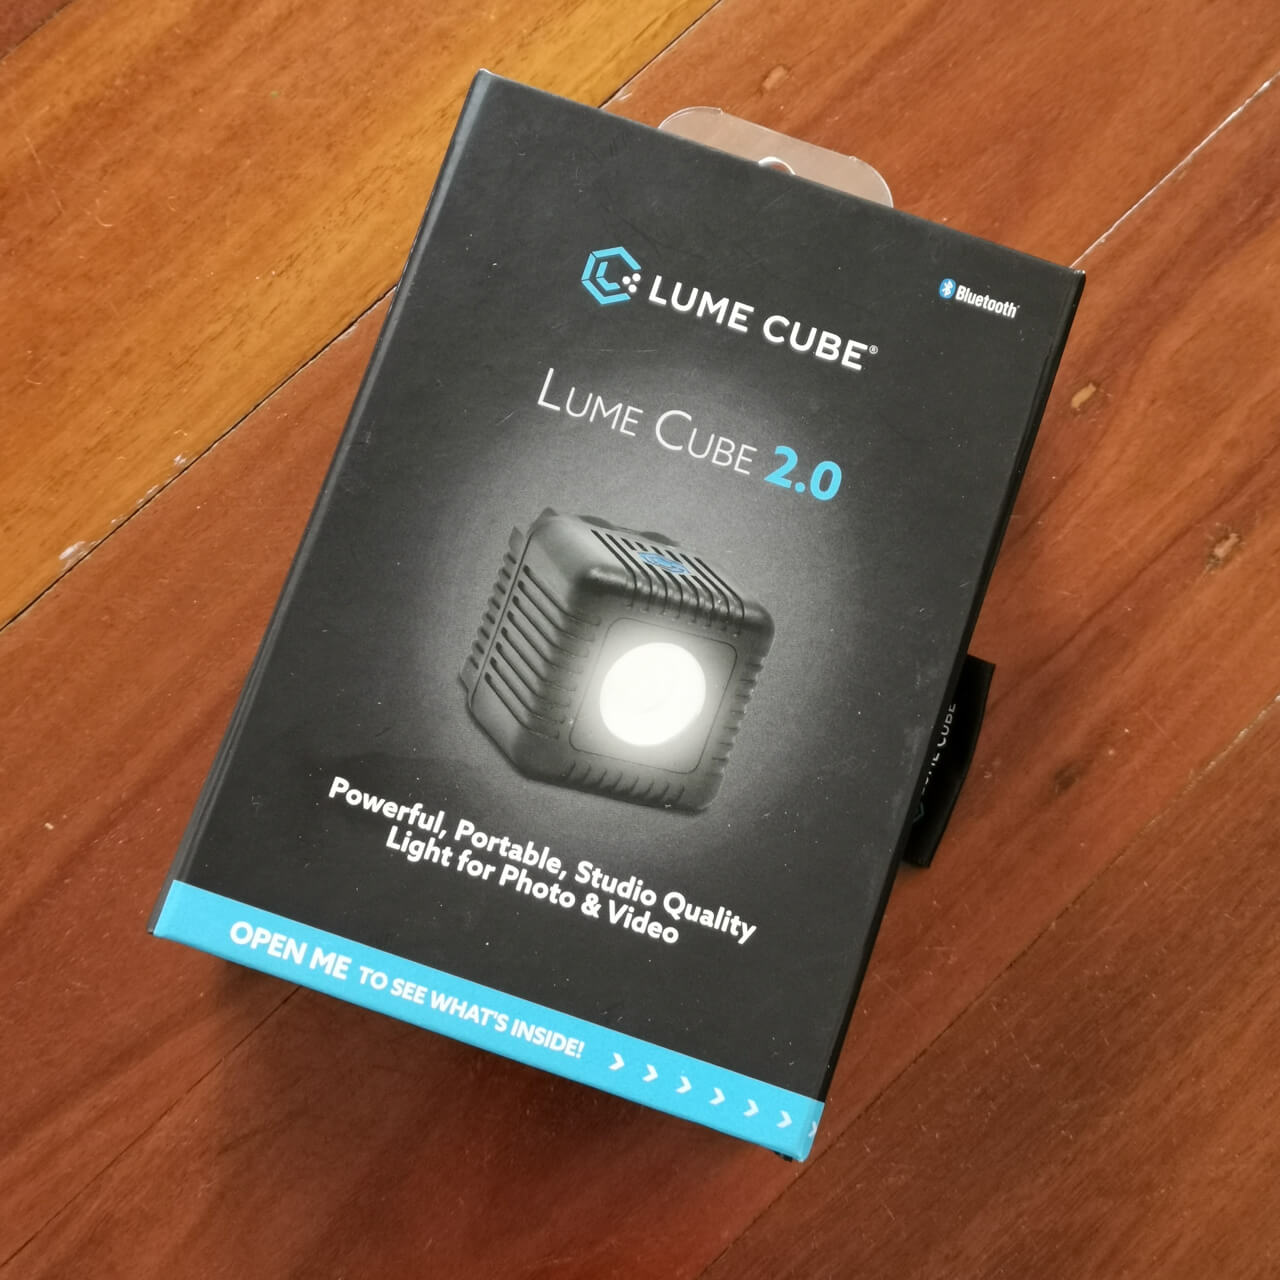
LumeCube 2.0 packaging
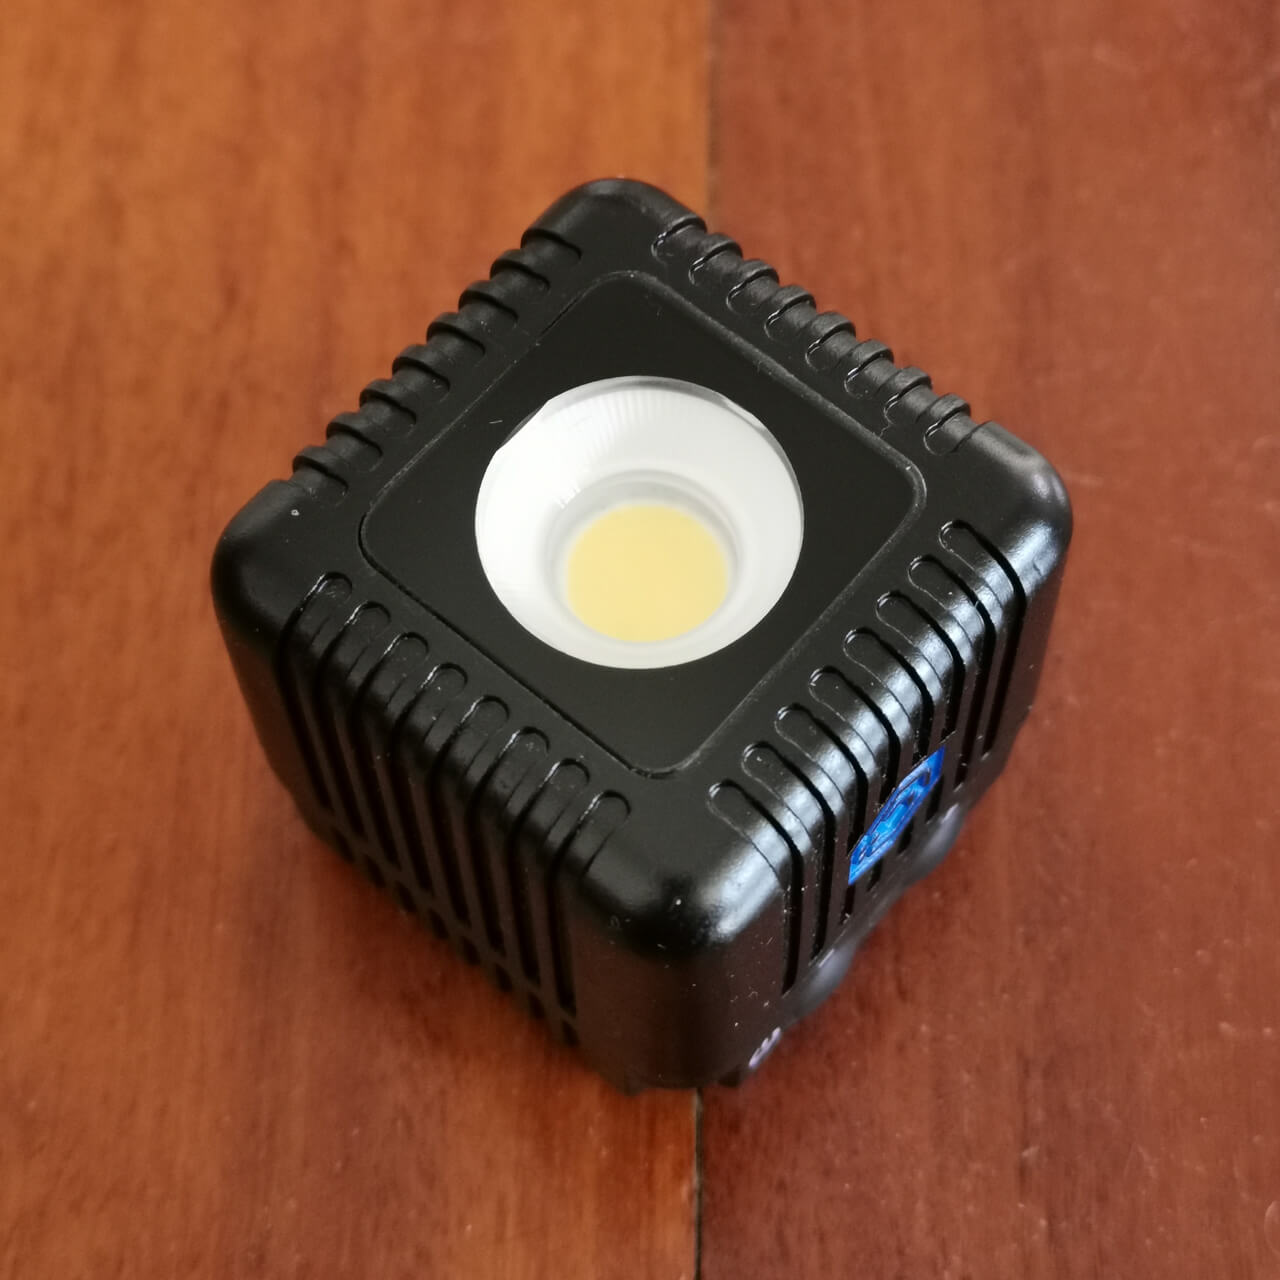
The LumeCube 2.0 has a round COB LED emitter
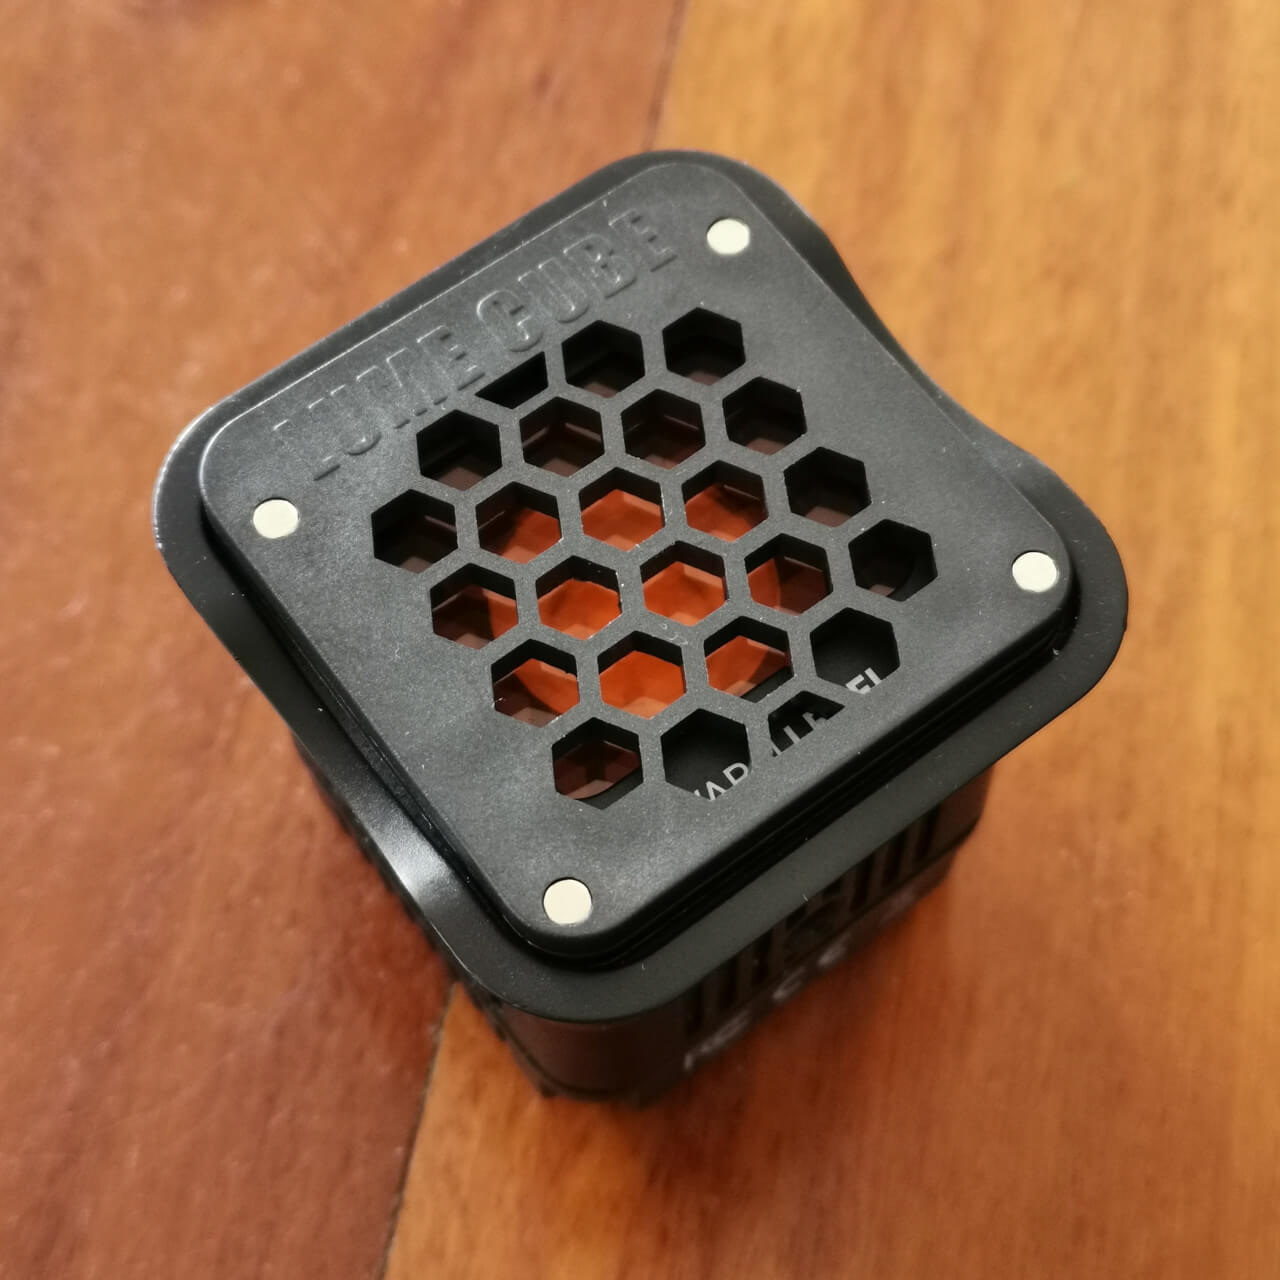
The LumeCube 2.0 with filter holder and magnetic filters

LumeCube 2.0 size compared to a 5,000lm Thorfire Q8 and 1,600lm Klarus XT2CR
User Interface
The LumeCube 2.0 can be controlled by the two on-board buttons, or remotely via Bluetooth and the Lume-X smartphone app (iOS and Android).
On-board control:
On – hold left button for 3 seconds
Off – Hold left button for 3 seconds
Increase brightness – press right button (10% steps from 10%-100%)
Decrease brightness – press left button (10% steps from 100%-10%)
Enter/exit optical slave mode – from on, hold right button for 3 seconds
Enter/exit low light mode – hold on and off for 3 seconds
Low light mode – left button increase, right button to decrease (1% steps from 1-10%)
Whilst the user interface is functional, it could be significantly improved. There are a few annoyances for light painting photography, including a long 3 second hold for on/off, lack of last mode memory (it always turns back on at 10%), no momentary control, and strobe mode cannot be controlled from the on-board user interface. I like the discreet brightness steps (instead of ramping) for consistency. The brightness modes are in 10% steps, which is not evenly spaced for human perception or photography. I would prefer approximately 1 stop brightness increments e.g. 1.75%,3.5%, 6.75%, 12.5%, 25%, 50%, 100%.
Bluetooth control:
On/off
Continuous Mode Brightness – 0%-100%
Flash mode – Red Eye on/off, Optical Trigger on/off, 1/128 to Full Power, 1/125s to 1s duration.
Strobe Mode – 0.5Hz, 1Hz, 1.5Hz, 2Hz, 3Hz, 5Hz, 10Hz at 0% to 100%
App can also take photos with basic functions
The Bluetooth control is easy to setup, and the app is great for adjusting brightness of multiple LumeCubes over the whole output range, with adjustable strobe speed and strobe brightness too! The Bluetooth control is also not available in any similar products I have come across, so that is a bonus for the LumeCube 2.0. Using a Huawei Mate 20 Pro, I had Bluetooth connectivity up to 20m away, which could be very useful for remotely controlling lights during a long exposure.
Unfortunately in both on-board and Bluetooth control modes I could not trigger the LumeCube 2.0 in Slave mode from a nearby Flash. I also found the Android app to be buggy, as changing the optical trigger duration sometimes resulted in the light getting stuck on.
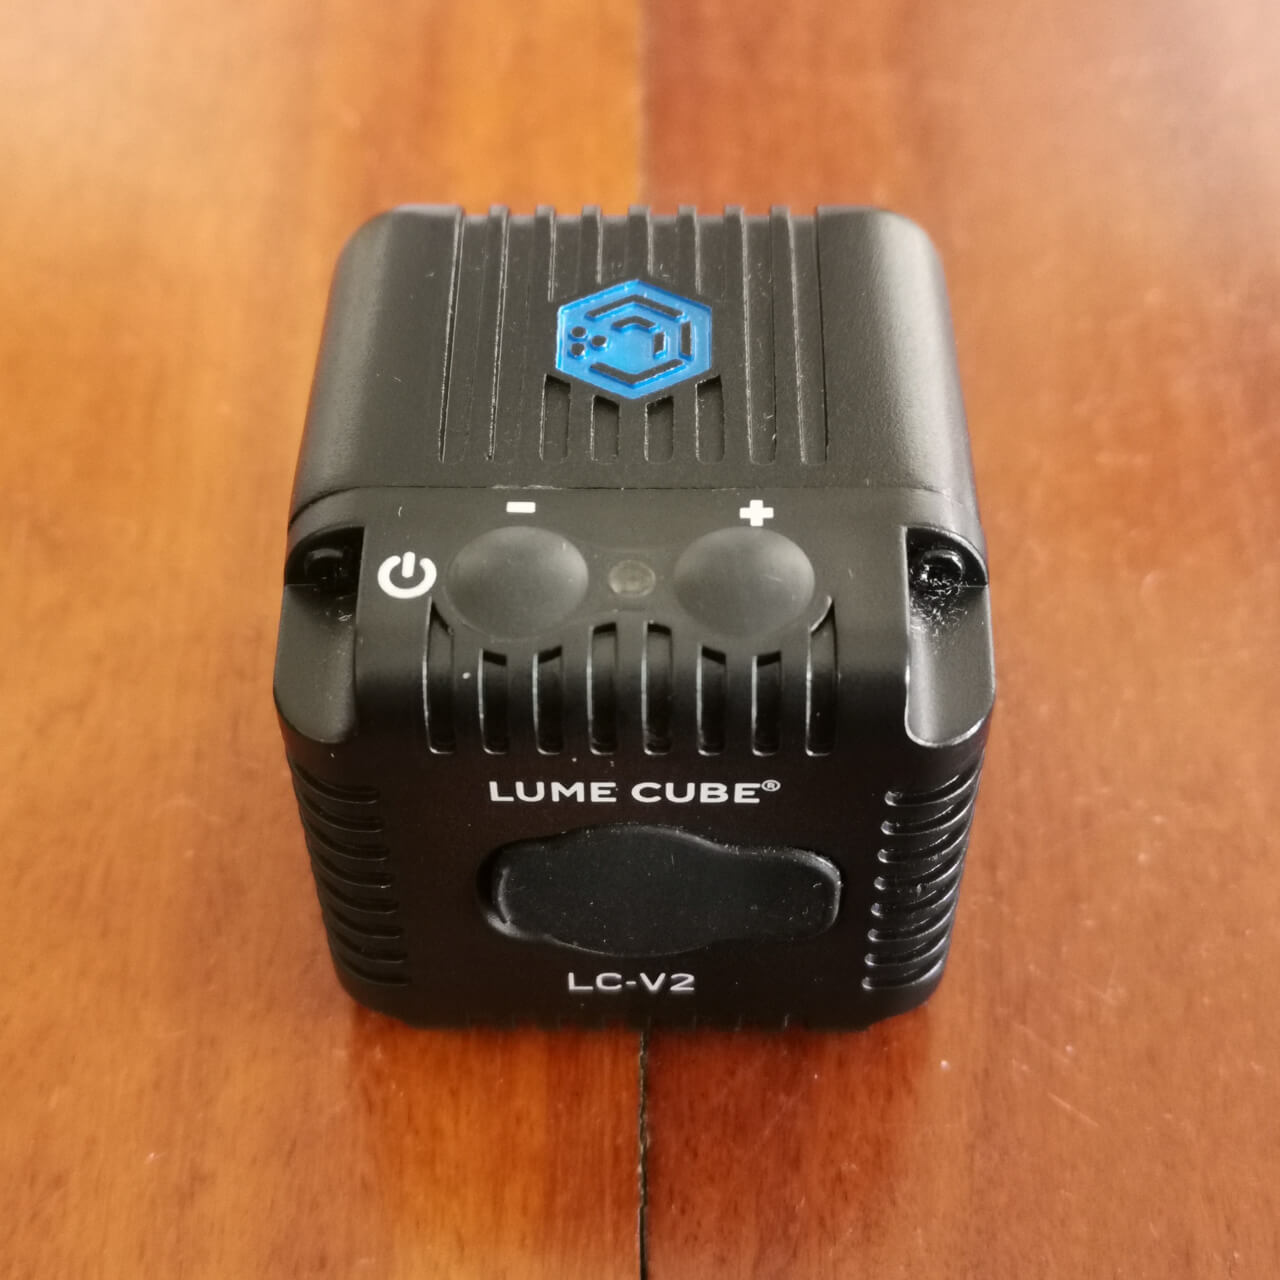
The LumeCube 2.0 has two buttons and a USB-C charging port
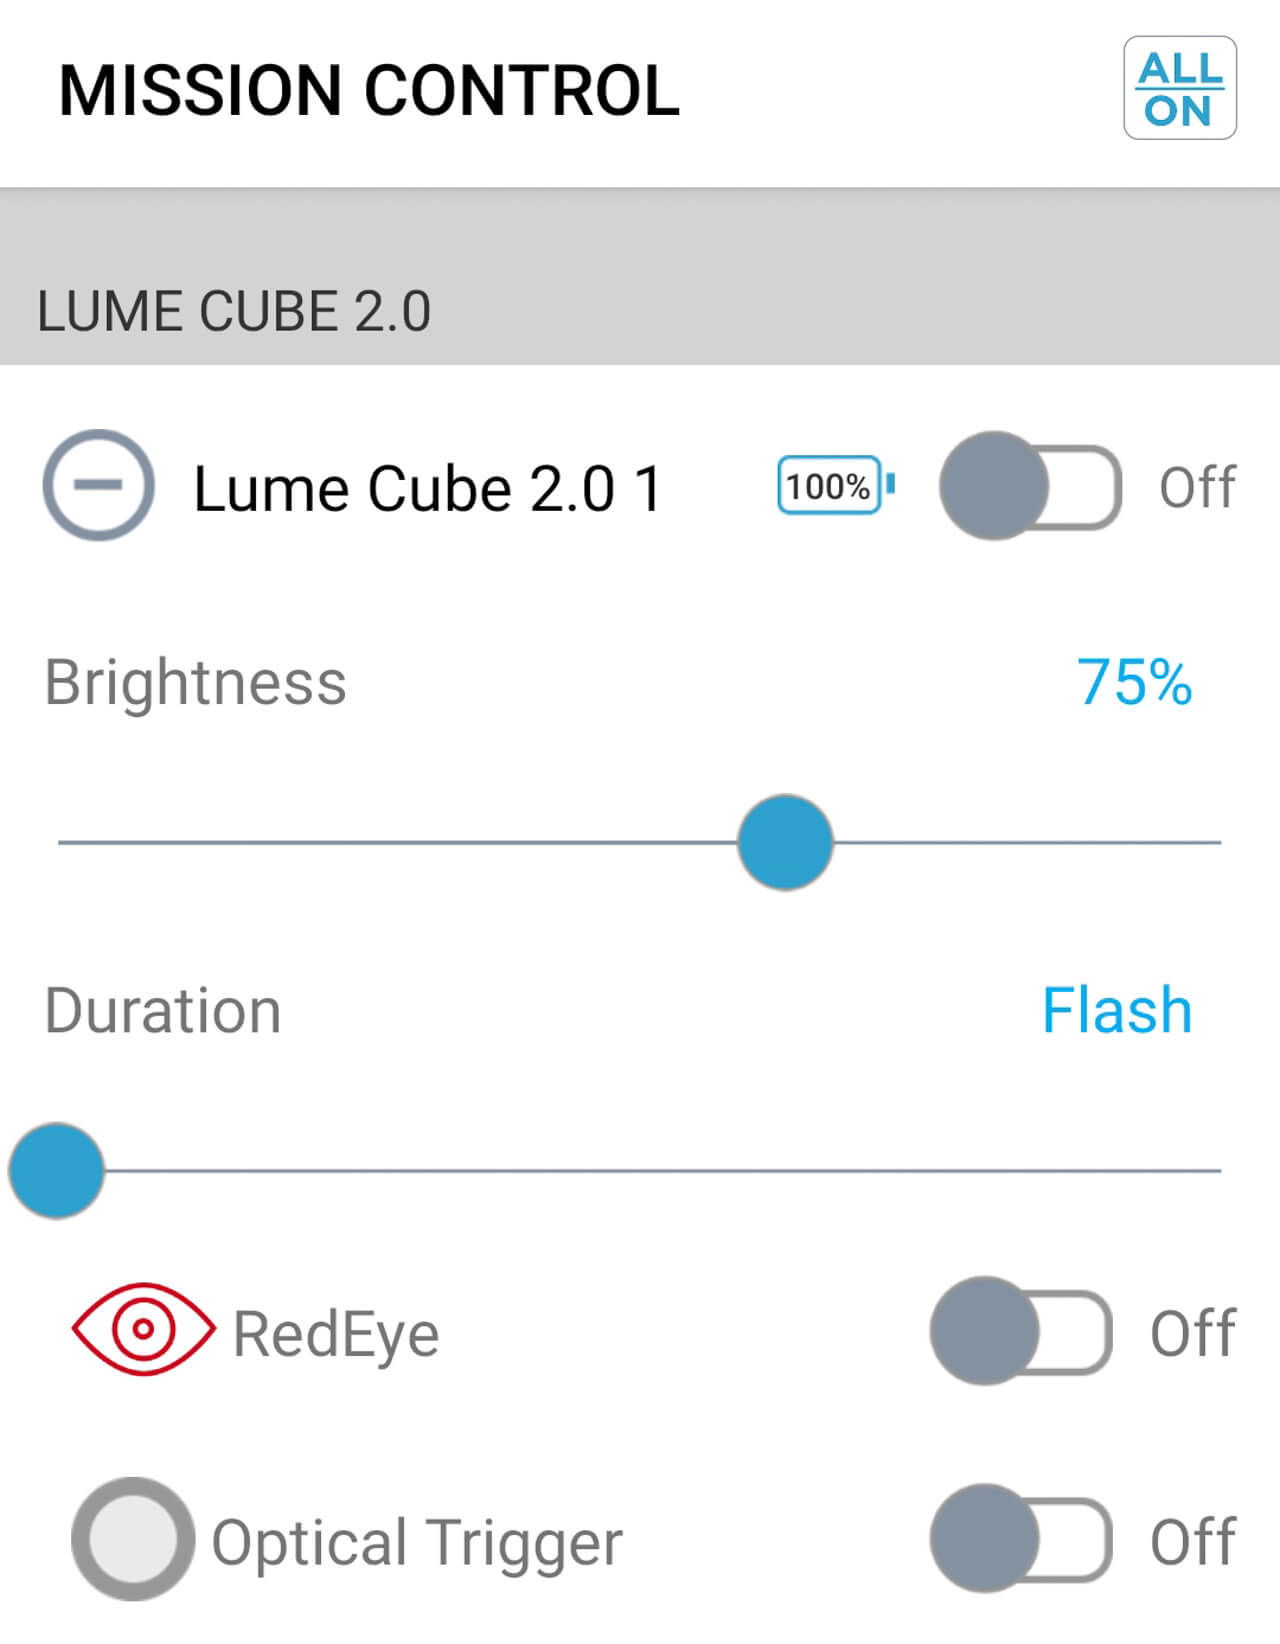
Screenshot of Lume-X app
Beam and Output
The LumeCube 2.0 has a (approx. 11mm dia.) circular COB LED emitter and optics, to create a smooth floody beam, with a beam angle of 80 degrees and no hotspot. The optics makes it great for floody illumination, though the illuminated distance will depend on your photographic exposure settings. A flashlight would be a better choice for where you need a beam with more throw (more candela or lux/distance) . An optional dome diffuser accessory can also be added for further beam diffusion. When used for creating simple light trails (facing the camera), it can be used in relatively high ambient light conditions.
Lumen output was compared with 5 other lights of known brightness using ceiling/wall bounce tests in a white room and light meter. This allows for relative brightness comparisons between lights with different beam profiles. The LumeCube is claimed to emit 1,500 lumens. However my testing gave a result of approximately 650 lumens. For transparency, the worse case margin of error in testing could allow for 380 to 900 lumens. This measured result also correlates with visual comparisons with other lights, thermal performance, and battery capacity/runtime calculations. It is very disappointing that the claimed lumen output appears to be highly exaggerated, and I would be interested to test similar cube light products which are also likely to have “marketing department lumens”. This issue aside, 650 lumens is still sufficient for many night landscape and urbex photography tasks (I often use a $20 Convoy S2+ flashlight with diffuser on 42% output / 340lm for these tasks).
Whilst the LumeCube 2.0 is good for illuminating night landscapes or urbex locations, feedback from portrait photographers is that (as with conventional flashlights) the point source lights can be an annoyance for models, and also creates unflattering light. LED panel lights (such as the LumeCube Panel Go) would usually be a better option for portraiture, and it seems that LumeCube are now marketing LED panels towards the portrait and home office market.
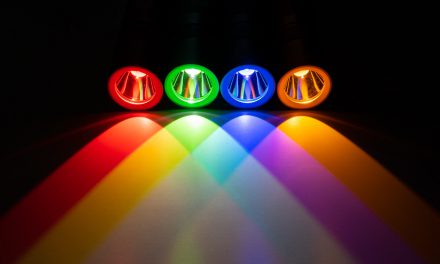
The colour temperature is 5600k, which is between cool and neutral white, with a hint of yellow. There was no hint of undesirable green or purple tints (as found on flashlights with neutral white Luminus SST-20 emitters), and thankfully no tint shift in the beam (as found with newer Cree emitters). Personally I would prefer a bit more warmth at around 5000k. I would love to see a warm white 3000k LumeCube, but LumeCube’s marketing department might disagree with me!
The beam can be warmed up using the warming filter, or coloured using colour filters. These will of course decrease the effective brightness. Colour rendering is excellent at 95CRI, particularly good for skin tones, and enhancing night landscape colours. No noticeable Pulse Width Modulation (PWM) was detected.
Most conventional flashlights are unable to sustain their maximum and advertised lumen output for more than few minutes before the output has to be significantly decreased (automatically or manually) to avoid overheating. Whilst the lumen output is far less than claimed, I was still reasonably impressed that the LumeCube 2.0 was able to sustain 100% output for 81 minutes. The LumeCube 2.0 became too hot to touch after 25 minutes (in 22C/72F ambient room temperature). There should be a heat warning on the device (as found on many flashlights). At 50% output setting, the light lasted for 3hr 20 minutes, and did not get too hot. When the battery is depleted, the light turns off with no warning, so do not rely on his being your only light in the wilderness!
The LumeCube 2.0 has a floody beam profile with no hotspot
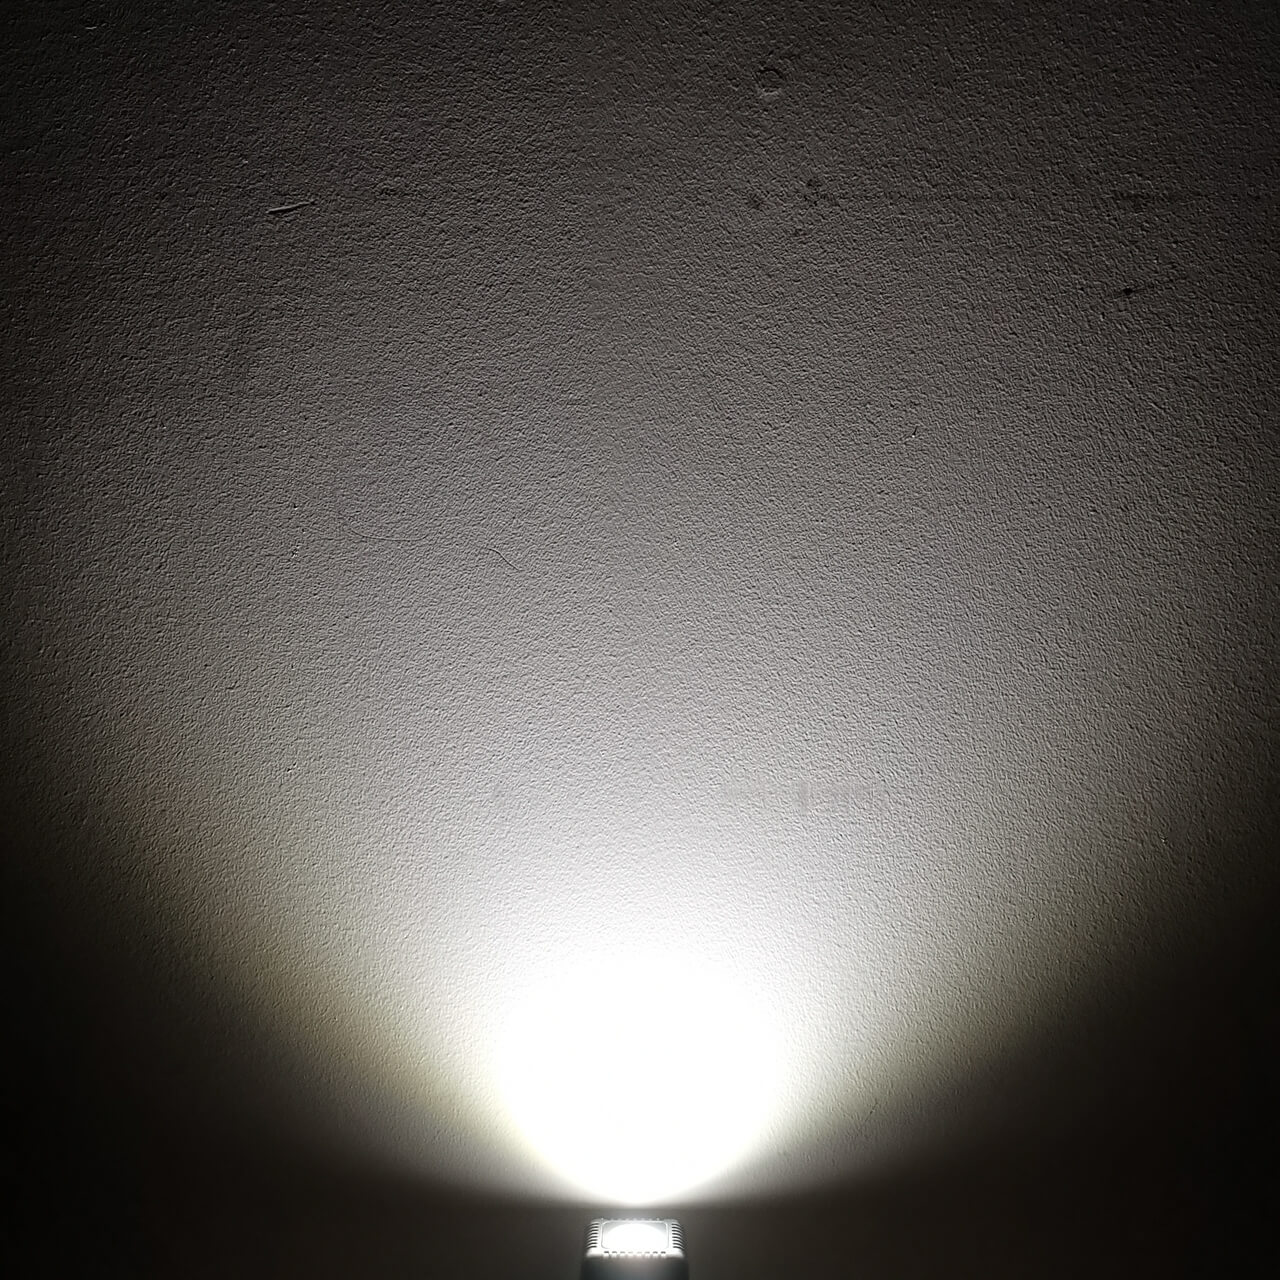
The LumeCube 2.0 has a 80 degree beam angle
The LumeCube 2.0 evenly illuminates night landscapes with good colour rendition
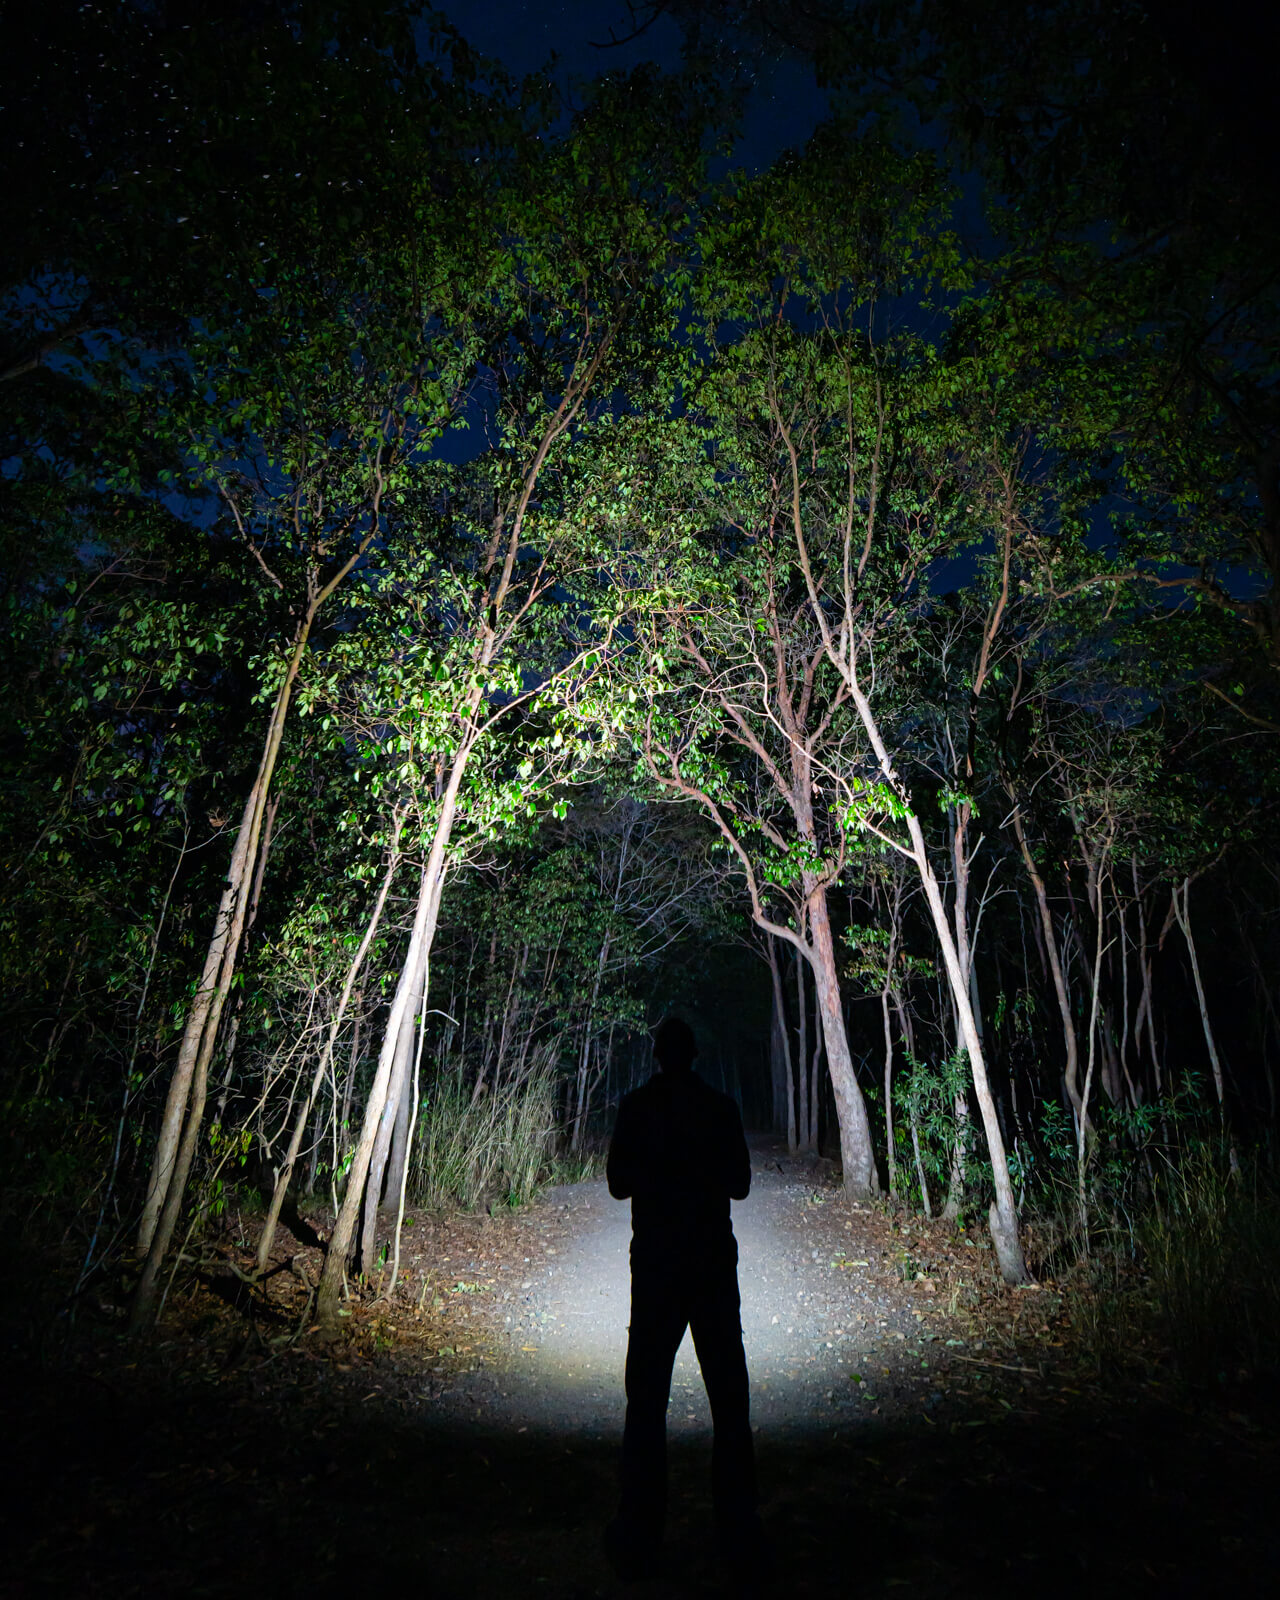
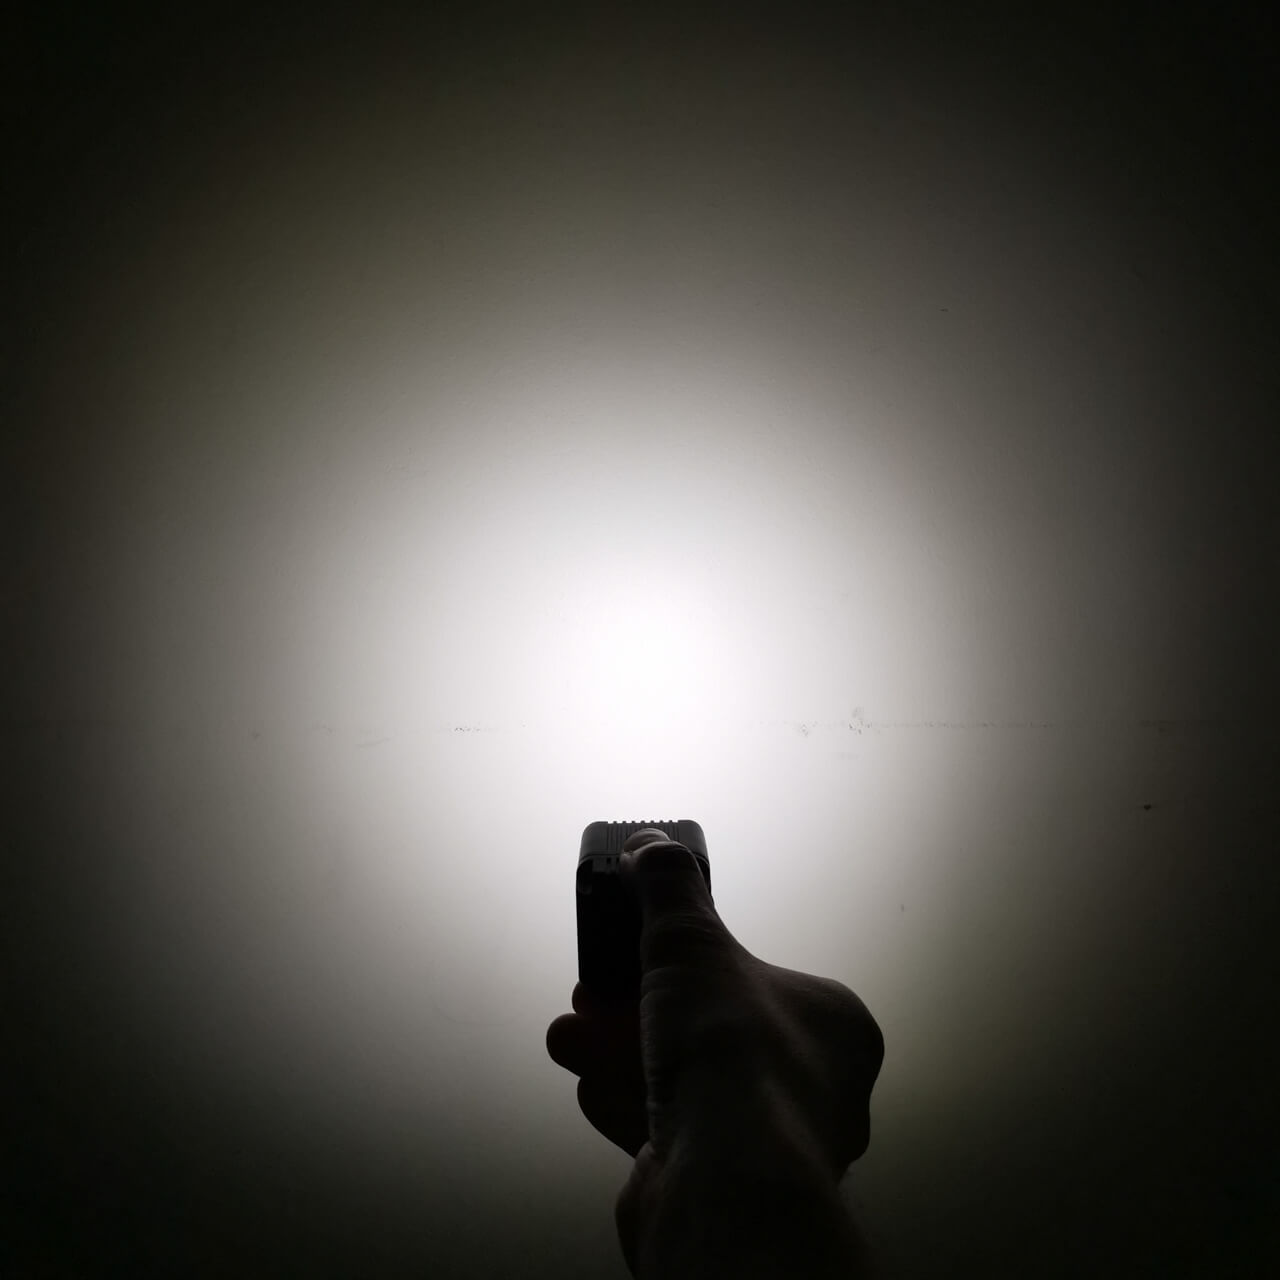
The LumeCube 2.0 won’t illuminate very far down a pathway
Conclusion
Things I liked:
– No brightness step-down at 100% output
– Good brightness to size/weight ratio
– Floody beam with no hotspot
– High-CRI
– Impressive range of mounting options
– Good range of filters and diffusers
– Good manual
– Cube shape is practical for floor/ground placement
– Can be controlled on-board or remotely via Bluetooth (tested to 20m)
– Adjustable strobe frequency and strobe brightness! (via Bluetooth only)
– Discreet brightness steps
– No PWM
– Internal USB charging
– Waterproof and rugged
Things I didn’t like:
– Tested lumen output was considerably less than advertised 650lm vs 1,500lm
– Poor brightness to price ratio
– Needs a hot surface warning!
– No last mode memory, or momentary functionality
– Annoying 3 second hold for on/off
– Brightness steps are sub-optimal
– Flash can only be triggered optically by other flash units, and didn’t work
– Non-replaceable internal battery may result in a limited product life span
– Light turns off with no warning when battery is low
The LumeCube 2.0 is a well designed product and accessory system, with good sustained lumen output for its size. However, I was disappointed that the tested lumen output at 650lm was less than half of the advertised 1,500lm. The cube shape and large range of mounting options (notably tripods and drones) allow for great versatility in uses. Whilst both on-board and Bluetooth user interfaces could be improved, the ability to control the light remotely is very useful.
Whether I recommend the LumeCube 2.0 depends on the use case. If you want to either illuminate a night landscapes with a floody high-CRI light, you require a wide range of mounting options, you light paint with a drone, or you need to remotely control your lights, then the LumeCube 2.0 is recommended. If you need a throwier light beam, more than 650 lumens, and only use your light handheld or tripod mounted, then consider the many brighter (and in many cases cheaper) flashlight options. For portraits, there are generally better options available, such as LED panel lights.
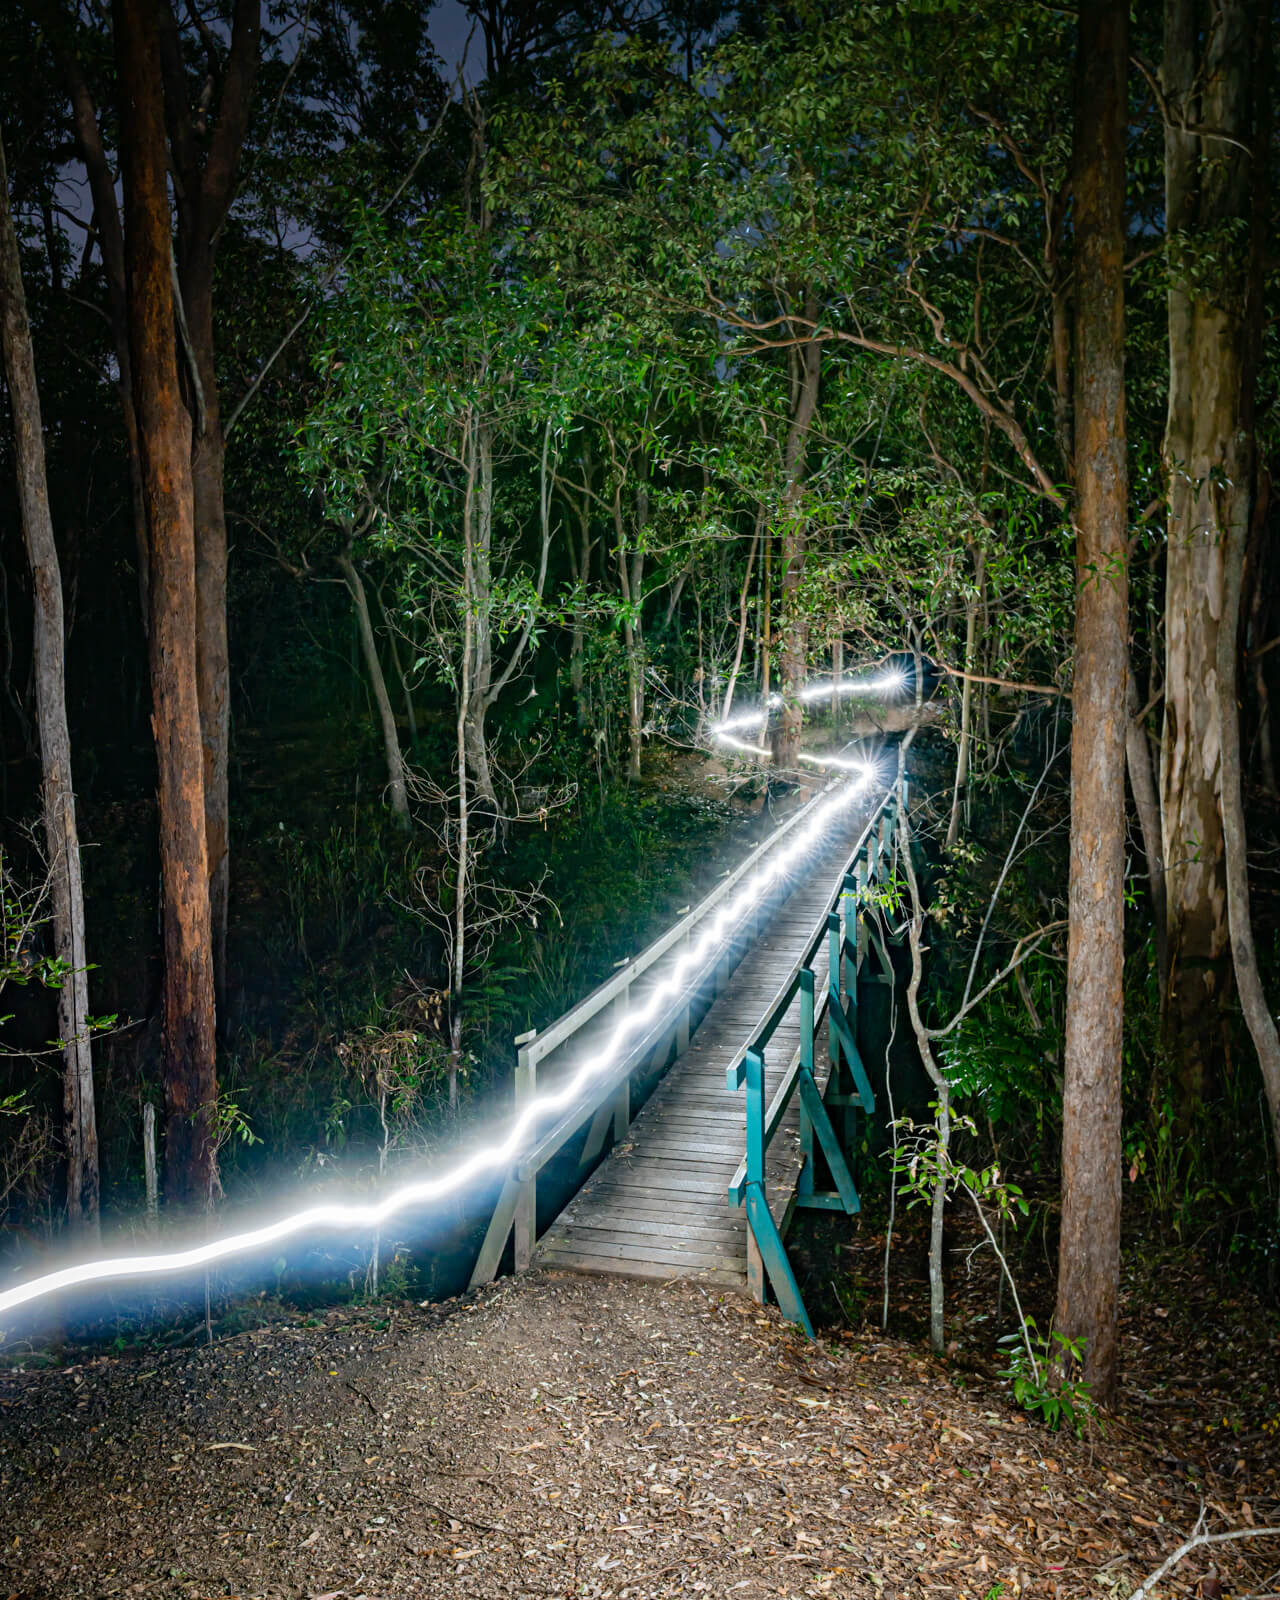
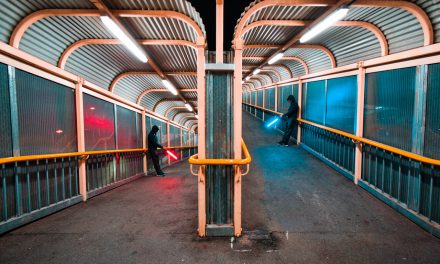
A few light painting photos using the LumeCube 2.0, including exposure information, will be appearing on my instagram.
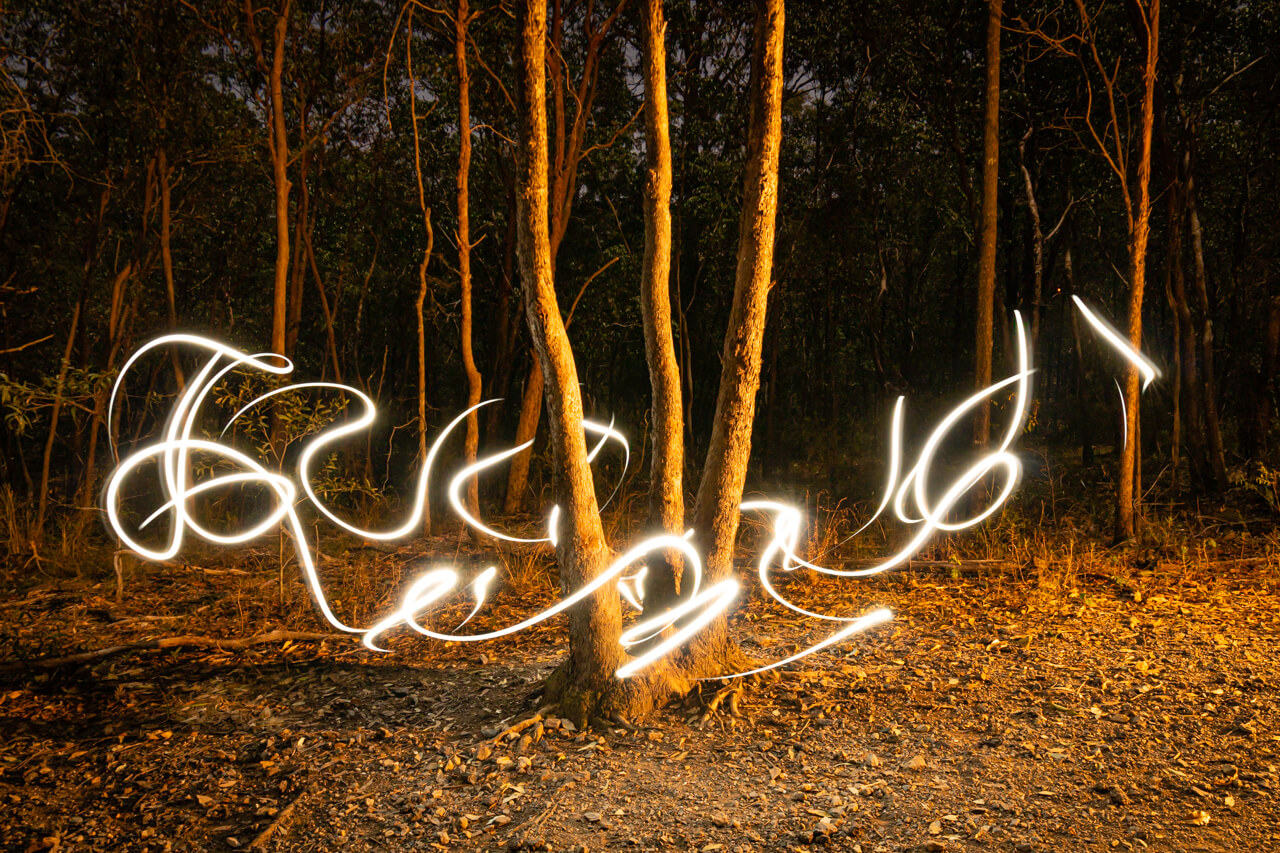
Light painting with the LumeCube 2.0

