


Light Painting on an Android Phone

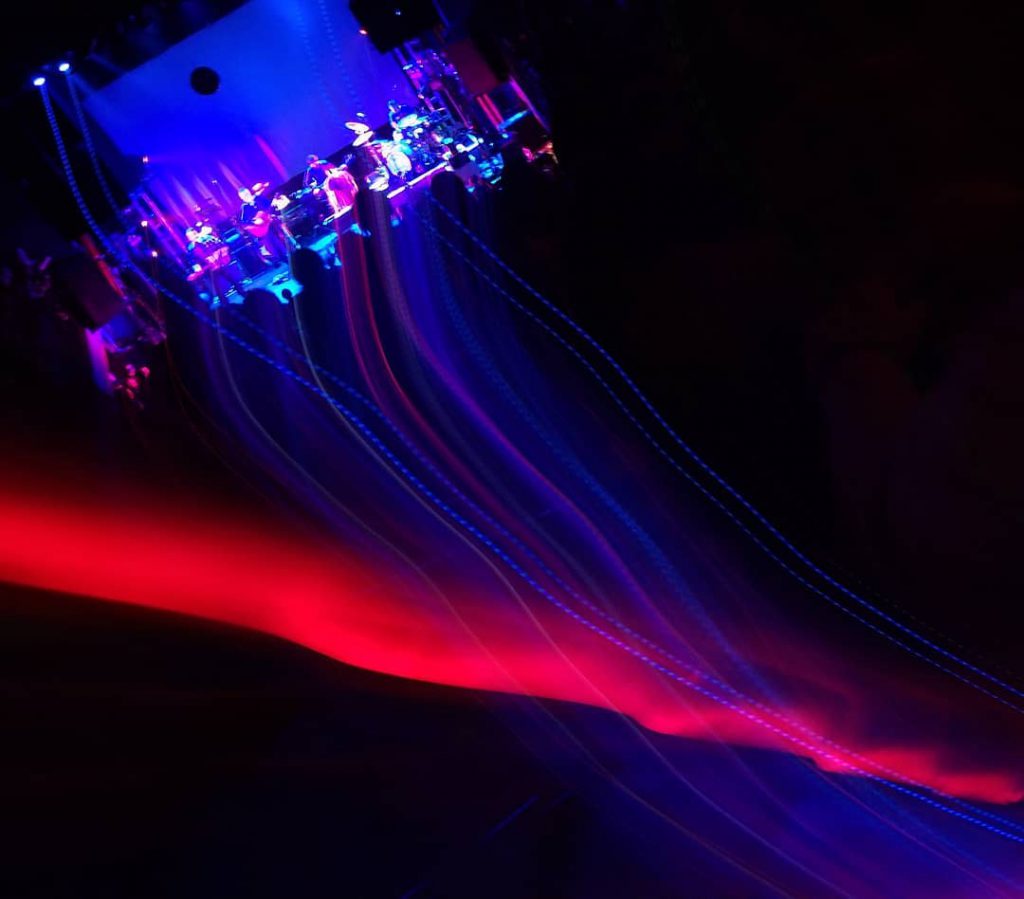
(Main Image: The Smashing Pumpkins in Denver, by Dan Chick)
I used an iPhone for about ten years, from the first model until about a year ago. Apple keeps a tight lock on things and one feature I found lacking was the ability to do long-exposure shots on an iPhone. They have apps that can aggregate a video feed into a ‘sort of long exposure’, but knowing that Android phones had cameras with more flexibility this way was part of what led me to switch. It’s possible that there is now an iPhone app that lets you do this, but I don’t know about it. The app side of this article is limited to Android, but the other techniques I’ll describe will extend to iPhone as well if you have a long exposure app.
Android phones have several apps that can do long exposures without aggregating a video feed. The longest exposure that I’ve seen advertised, in theory, is 30 seconds. In reality it’s a combination of what the app offers and what your phone offers. My Samsung Note 8 only seems to let me go up to 10 seconds per shot. Still, that is still long enough to allow us to create some fun shots. Realistically, I never leave home on a serious photo shoot without a normal camera, but this is something you can do whenever you happen to be somewhere spur of the moment, or where you don’t want to carry around a camera.
Most of my use of this technique has been at concerts, and all of the sample shots for this article are from live events, although you can do model or studio work with the same techniques.
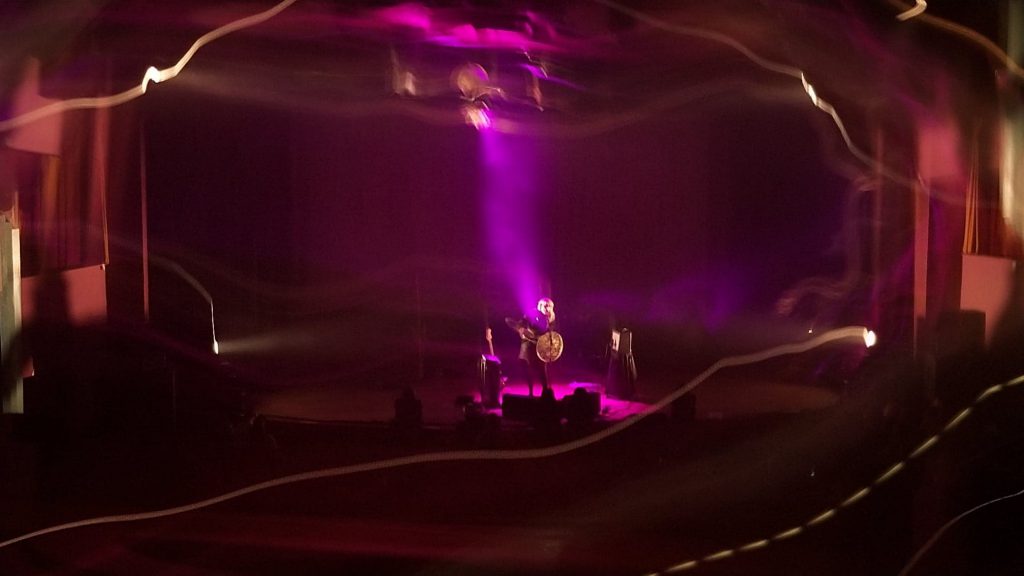
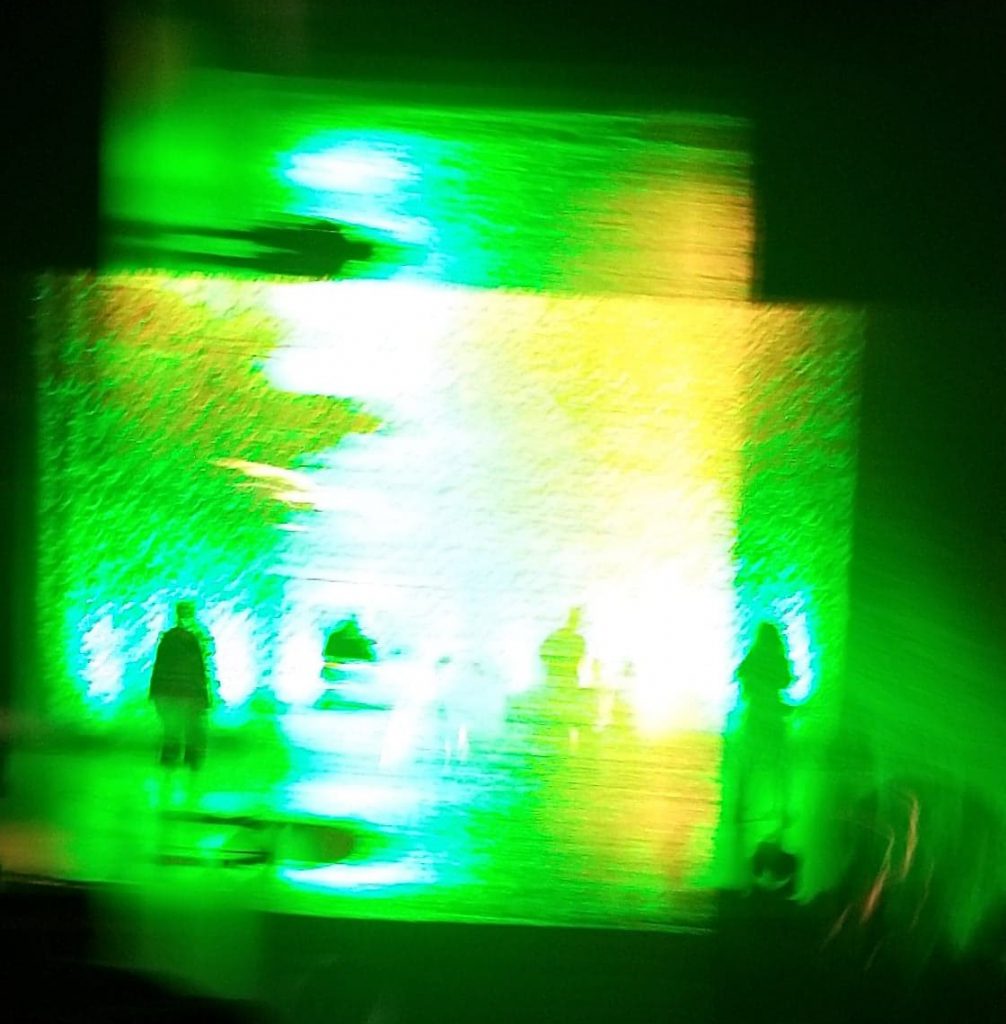
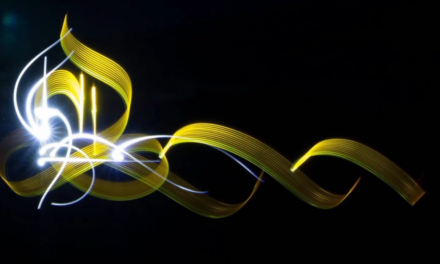
Eivor, by Dan Chick
My native Samsung Camera app supports manual mode and long exposure, and some other apps do too. A couple you can check out are Open Camera and Manual Camera. There is an API called Camera2 that allows other apps to tap into these features as well. If you find one that you specifically want to recommend, please leave a comment below!
It’s possible to use these techniques to do more traditional light painting shots, as well as kinetic photography shots. Both will be discussed in this article, although I suspect you’ll do more with kinetic, if only because you’ll likely use a normal camera if you’re planning ahead enough to do traditional light painting. It’s also worth setting expectations that you’re almost never going to take a shot that’s as good as when you’ve got a camera on a tripod with bulb mode and all your toys, but the best camera is the one you have with you and that’s why I’m writing this.
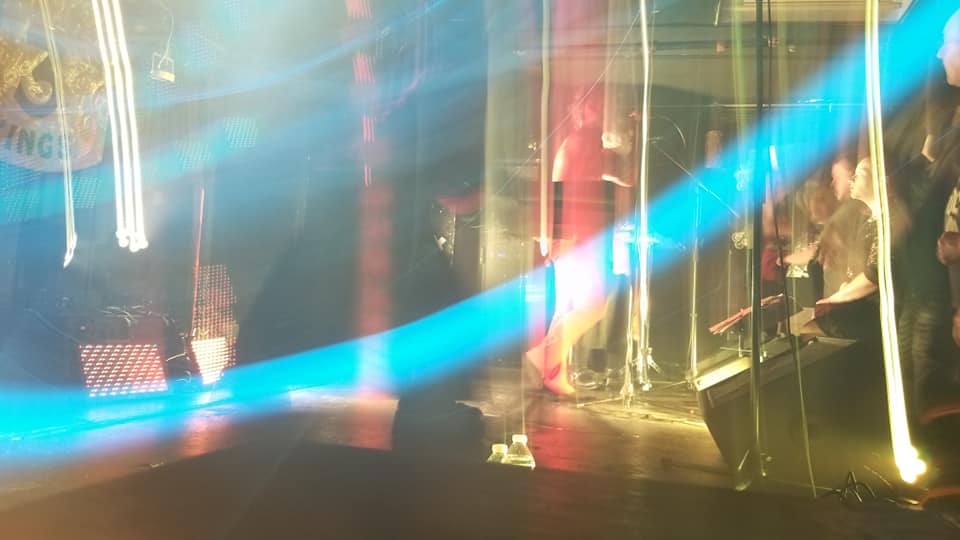
Das Ich, by Dan Chick
Camera Settings
Most cameras these days work on a fixed aperture, and that aperture is set to allow as much light into your camera as possible. This is great for low-light photography, but not great for long exposures and light painting. There are two settings that matter in the Samsung app I use. One lets me set the effective ISO, and the other the shutter speed. Neither of those terms are that accurate as we only synthesize ISO on digital cameras, and the camera phone doesn’t actually have a shutter, but that’s beside the point.
Set your ISO as low as you can set it. Mine will go down to ISO 50. The lower that is, the less sensitive it will be to light. Since we’re already dealing with f2.8, or something of the sort, we need all the help we can get on that front.
The other setting you’ll want to change is the shutter speed. This one comes down to a combination of what you’re shooting, and how dark it is where you are. You might not be able to get the full 30 seconds, or 10 seconds, but you can probably do 2 seconds, or maybe 4. For concert shots I tend to stay on the 2-4 second range.
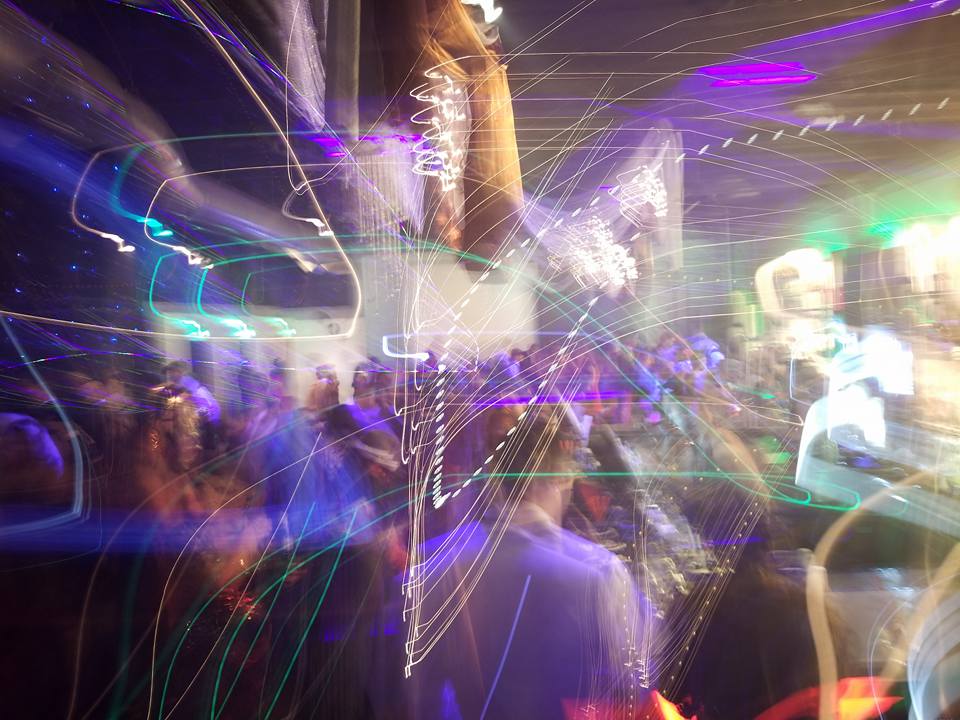
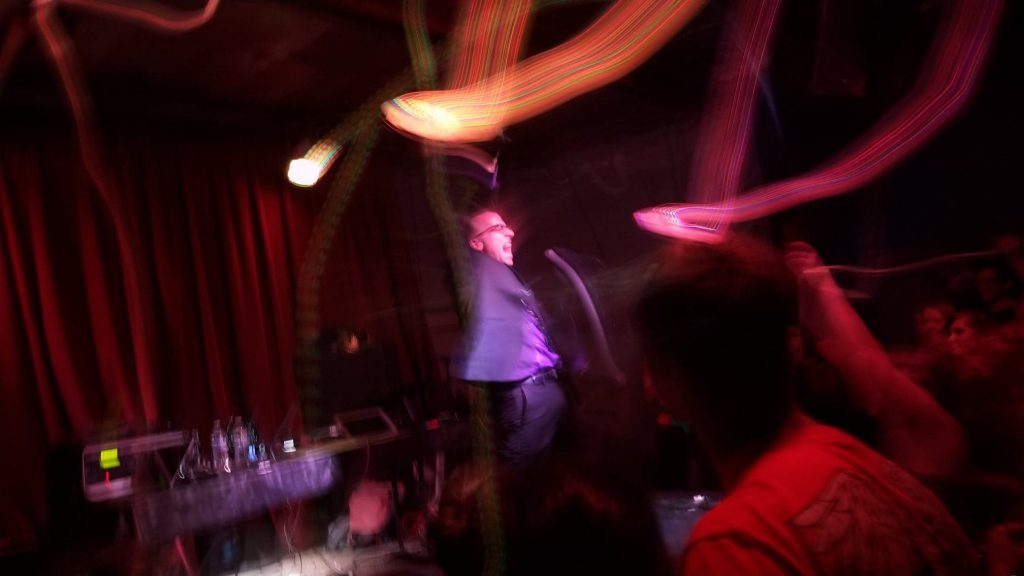
Fantastic Hosts Party, by Dan Chick
The Basic Concept
You may or may not have a tripod, or a way to make your phone stationary. If you do, then the next step I’ll share is easy. If not, it’s still possible but it’s harder.
With your phone in long exposure mode, start your exposure, then use conventional light painting or kinetic photography techniques to make your image. That’s it for the short version. Now that you know that you can access long exposure mode on your camera phone, it’s basically working just like a normal camera. With your fixed aperture though, you probably added too much light into the shot, maybe even resulting in a white image.
To address that you have a few options. One is to take a shorter shot. One is to aim towards something darker, or maybe a little farther away. Another is to mix the two techniques; this is what I started messing around with.
A Slightly Better Kinetic Technique
Most of the time when I’m shooting at a concert I try to capture what I’m looking at with some level of clarity and sharpness, then I try add additional light effects. I do this by holding the phone as still as possible for between a half second and a second, then moving the camera to streak some of the lights.
The stationary part of the image will capture more light and will make that part of your shot more pronounced. The kinetic part will add some additional visual interest. It’s worth saying that this techinque will be more successful with stationary subjects as well. Doing this at a concert is hard because the performers are almost always moving. Still, this can be done to a fun effect.
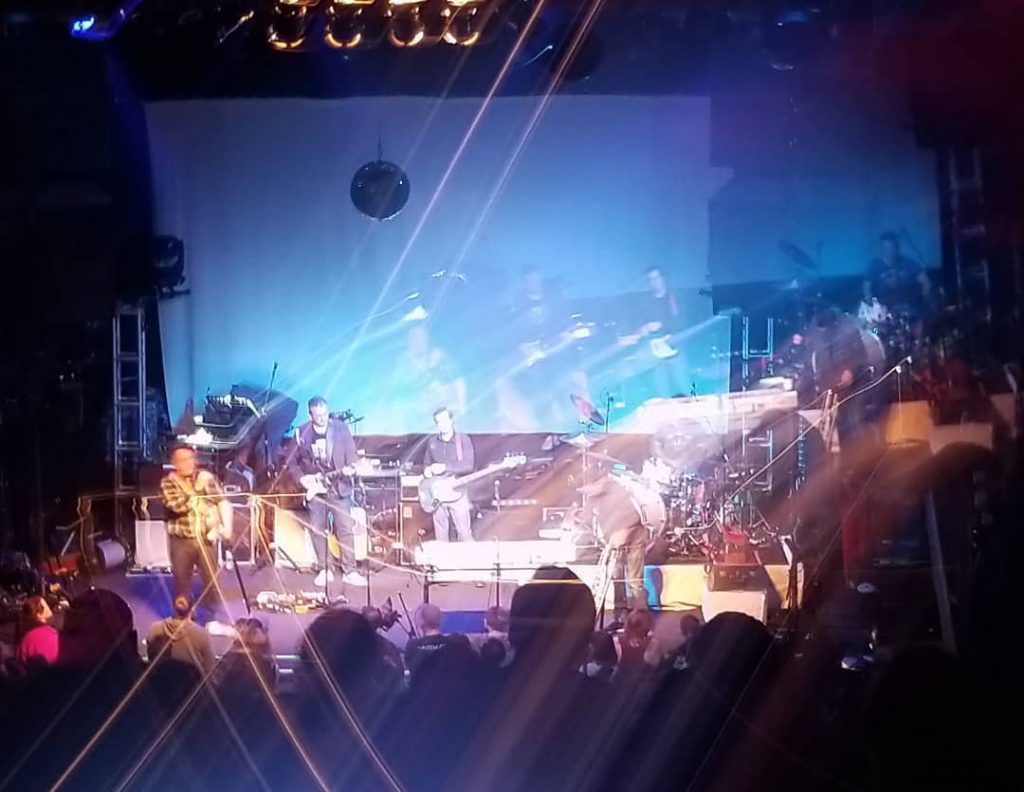
They Might Be Giants, by Dan Chick
For the kinetic part, keep in mind that your directions end up reversed. If you angle your camera up then it will have the effect of making the lights in your scene go down instead. Left is right, right is left. If you’re feeling ambitious you can do a longer exposure and try to incorporate multiple stationary parts in the same shot. Do this by pausing to capture the image, then pan left or right, then pause again. You’ll create a double exposure effect with additional light trails. For extra ambition, try to rotate your phone between stationary moments.
One challenge with this approach is that the light you capture of your subject is being captured with the same strength as you do the kinetic part. We’ll talk about that more in just a bit, but it’s often distracting, or at the very least more abstract, when you capture images this way.
Keep in mind if you shoot concert shots that you’ll also be dealing with incredibly varying lighting. If you can capture your subject in a bright flash and then do your kinetic effects while it’s darker you’ll likely get more pleasing results. If you have extra time on your exposure then cover it with your hand, point it at the floor, or maybe point it into the back of the person wearing black right in front of you.
They Might Be Giants, by Dan Chick
Wardruna, by Dan Chick
Still Too Much Light?
We don’t have any say over the aperture on our phone cameras, but we do have the option of decreasing the light sensitivity by using a neutral density (ND) filter. These come in various forms, but one of them is a sheet that you can cut to whatever size you’d like. If you would like to make it less sensitive overall you can attach a piece of ND filter over your lens. This can significantly compensate for your f2.8 aperture, and make it feel more like f11, or even higher.
The lens on your camera phone is small, and most of us carry some sort of wallet. This means you can cut a piece of ND filter that’s small enough to fit in your wallet, yet big enough to cover your phone’s lens.
A More Advanced Kinetic Technique
The last time I tried to capture kinetic shots on my phone I blended the basic technique with the better kinetic technique, and added use of the ND filter. These were the most satisfying results I’ve had yet.
This time I set up as still as possible, ready to capture the vocalist. One hand hovered over the shutter button, the other held a piece of ND filter that was not yet covering the lens. Both hand held the phone for stability. I started my exposure and, after about a half second, I flipped the ND filter down in front of the lens. This means that my subject was captured for half a second at regular light, then the ND filter was added, reducing the light intake. From there, the kinetic portion of the shot was added.
This resulted in shots that felt like they had motion lines more than they had streaky blurs, and I liked them so much more than what I’d previously captured.

MC Frontalot, by Dan Chick
Schäffer the Darklord, by Dan Chick
Community
I hope you liked this. If you share shots using this approach I’d love to see them. Tag them on Instagram with #phoneLP and I’ll try to check them all out.


