Creating Light Painting Photographs using Photoshop

In this article I’m going to tell you all about the accepted way within the serious light painting community to create light paintings with Photoshop.
In reality this could be a short article because I could probably sum it up in single word: “Don’t”. It’s technically a contraction of two words, “do” and “not” and pointing this fact out could make a short article longer… but there’s a little more to it than that.
What’s in a name, “Light Painting”?
The reason this is even gets to become a bigger conversation is because people don’t all agree on what light painting even is. Yes, it involves some measure of intentional light movement, or kinetic photography camera movement, or camera rotation, in order to create images with light trails, or various superpositions or captures of light. Beyond that, however, there are some differences of opinion.
Take, for instance, this page that I found while searching for other light painters in my area (and the inspiration for this post). This is from a description of a workshop that someone was giving:
This particular photographer is not taking part in the light painting groups I’m a part of or they might have had cause to reconsider this definition, but this is what they believe light painting to be. I’ll even say that he’s not wrong… what he’s doing does involve light painting but it’s not the light painting that most of reading this post would claim.
There are veterans of light painting, there are creatives who have used techniques over the years, there are groups and websites and artists, but there isn’t a single authority that gets to speak for the world on the definition of the phrase. Let’s look at a few options and a few ways that people light paint:
Straight Out Of Camera – SOOC
Most people who are serious about light painting take pride in achieving their entire image in a single exposure. Some of them advocate SOOC (straight out of camera) where the image is entirely captured and processed on your camera into a then-unaltered jpg file. This is what you shot, this is what you share. Dana Maltby aka Twin Cities Brightest, is a passionate advocate of this approach. A viral light painting video lately features the work of Hannu Huhtamo and a “featured artist” article I found by LightPaintingPhotography.com suggests Hannu is also in this camp.
Only Adjusting Cropping and Levels
For some people, myself included, Photoshop use is limited to cropping and color correction. In my case I rarely use Photoshop but what I do in “developing” my images through Adobe Camera RAW is pretty much the same thing. This approach is analogous to conventional darkroom techniques (yes, it’s not quite the same and it’s easier than traditional darkroom developing), but it’s not the same as advanced fancy darkroom-magic techniques that the masters of old used. I don’t mind removing a blemish or darkening the blacks a little bit, that sort of thing. The composition of the shot, however, remains as captured in camera. Sometimes we shoot SOOC, but we don’t feel like we are misrepresenting our work by making these changes. The parts of the photo that make a shot a light painting photograph were captured in a single exposure and presented as such.
In-Camera Live Composite
One recent advancement in technology is the O-MD line. All of the O-MDs other than the first version of the O-MD 5 have a feature called “Live Composite”. Live Composite merits its own article, and I’m sure we’ll have one soon, but the short version is that it’s an in-camera blending mode using a blend mode similar to Photoshop’s “lighten”. You click the shutter, a shot the length of your choosing occurs (0.5 seconds to 60 seconds) and that shot is saved. This is a conventional camera shot. Immediately a new shot starts, also a conventional shot, and when THAT shot is done it’s blended with the shot that came before it. The next shot is subsequently blended with the ongoing blend. When you click the shutter again the final blend takes place and the shot is over.
The single biggest advantage to shooting with live composite is that you are only susceptible to the ambient light effects of the duration of any of the single shots, as lighten mode from image to image won’t change the resulting picture. When one light trail passes back over itself it will add if you’re within the same shot but the additive effect will be generally neutralized if the first part of the trail is already part of the initial blend (ie. brighter in a single shot but lighten mode does nothing across frames). Another thing to keep in mind is that the photographer doesn’t get to selectively choose which individual pictures are going to be a part of this, you get everything from start to finish without editorial control. That said, it’s not hard to imagine that some day we’ll see an app, perhaps on one of the new app-friendly Sony cameras, that tracks the individual frames and actually does give you that control. Technically a live composite shot’s resulting jpg can be claimed as coming straight out of the camera but it doesn’t fall into the traditional meaning of SOOC. Most light painters still feel that these types of pictures meet the criteria for “light painting photographs” but some of them would like to see a disclaimer that live composite was used to create it. And of course, these images may or may not receive additional color adjustments or cropping per above.
Layering and Compositing Images in Photoshop
It’s also possible to take individually created light painting images, each of which may be SOOC or only cropped/balanced, and to create an entirely new work in Photoshop.
I ran into this when I attended a gallery show by David Quakenbush here in Denver and came across a piece called “Woman, River, Night”. It features Yasmin Sweets levitating calmly in the air, fire surrounding her. She was in the air and frozen perfectly there, with sparkler trails all around her indicating quite a long exposure. I was blown away at this gorgeous shot and wracked my brain trying to figure out the sequence that could have possibly created this. The answer, it turns out, is that there wasn’t a sequence, at least not one that took place in a single exposure. Each lit element of the picture was indeed manually captured but the final image was the additive result of 20+ layers in Photoshop, with light adjusted around the edges of the model or otherwise. Although it was a single fixed camera position and everything was shot consecutively it was always envisioned as a composite.
David and I have had a friendly back-and-forth over the semantics of describing the technique. Does this amazing image involve light painting? Absolutely. Does it fit the conventional definition of a “light painting photograph”? It’s not a single exposure, and was never intended to be, so in my mind it does not. Am I glad he used light painting techniques to make this image? 100% absolutely.
My challenge with the terminology here is that I could present my own images that were captured in one exposure, calling them light painting photography, and they would not possess the same level of polished refinement that you can see in this shot. If it is described as a light painting photograph it implies, to experienced light painters, that it’s one exposure. To say it was created using light painting techniques seems more appropriate and adds context to the shot. In the end, I think it makes a difference who the audience is. To the hardcore light painters of the world, this is a composite shot. To someone who sees this in a show, it’s a beautiful piece of work that might excite someone to try light painting themselves!
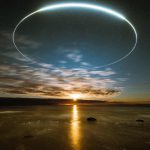
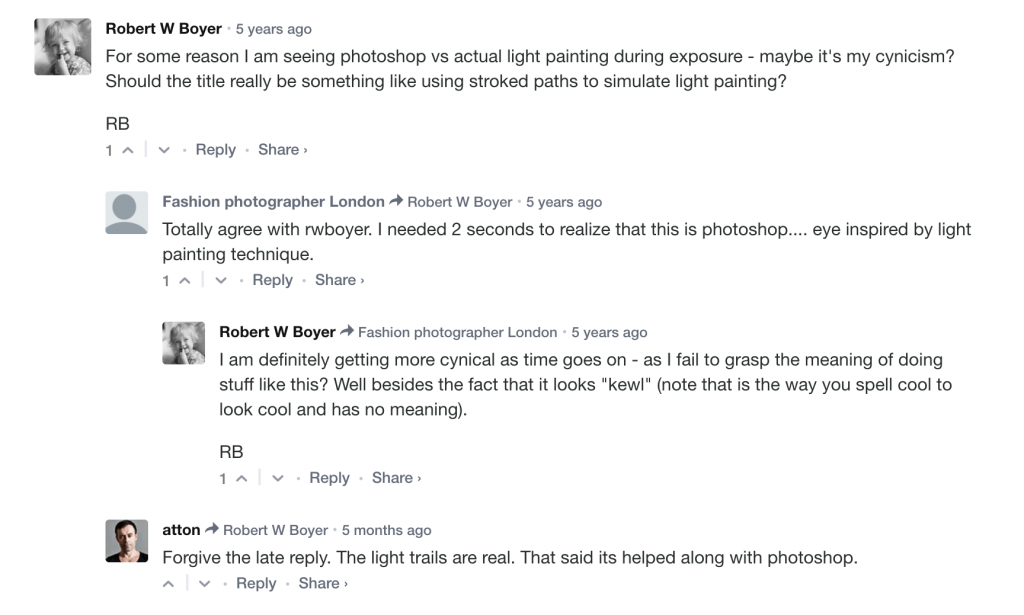
Here’s another example of an image by Atton Conrad with light that was all done by hand but was assembled in Photoshop after the fact. It was one of the first light painting shots I’d seen and I had hoped that it wasn’t Photoshopped together. It made me question my skills and whether I could ever really make it on the light painting scene. Here’s the shot along with one of the comments, including Atton’s reply:

I have to confess that a smile crossed my lips, just now, when a few comments lower I saw this:
Back then it seemed out of my league. At this point, I think I could come up with something at least kind of close to that in a single shot. Adding that to the list of things to do. Part of the challenge as a photographer or artist is that often times all you get to share is an image and there isn’t time or place (or reason) to put in a disclaimer targetted at the serious light painters of the world that it was “helped along with Photoshop”. You certainly don’t get that “luxury” when someone else reports on or shares your work.
Light Painting in Obviously Enhanced Works
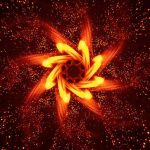
Another one of the early images I found when I started light painting was a collaboration between Eric Pare and Mike Campau. I loved what I saw but it didn’t even challenge my understanding of what light painting was because although it started with light painting the treatment it then underwent was so very and unabashedly done in post. This was never a secret and, in fact, Eric and Mike released a video that takes you behind the scenes in the creation of the image. Jason Page addressed this photo in an article where he (jokingly) also describes SOOC as meaning “Straight Out Of Computer”.
This shot involved an initial light painting image, additional images for creating a composite context, and 3d design/rendering add additional elements. If someone was a truly amazing light painter they could get a shot that includes many of the aspects of this shot but it still wouldn’t look like this. The world is better for having this shot in it, a celebration of practical light painting effects married with advanced digital effects. This is not a light painting photograph but it involves light painting.
Properly Representing what You’ve Done, When You Can
If you are reading this and light painting is a tool in your toolbox, but not your primary craft, and you don’t care about mingling with the light painting world then your art is your art and it will stand on its own. Share what you’ve done and enjoy the sound of jaws dropping on the floor around you.
If, however, you plan to interact with the light painting community in an ongoing way then you should probably just accurately represent what you have done during the creation of a piece if Photoshop is involved. Failure to do so will result in people-in-the-know telling what you what you did anyway. In the end it only matters when you put your work in a forum where others are endeavoring to push the limits of what they can do in a single camera shot.
Should any of this stop you from making the art you want to make, exactly how you want to make it? Not a chance, but when you enter into an established community it makes sense to learn their rules, their definitions (that sometimes even the community doesn’t fully agree on) before pushing back on what those definitions should be.








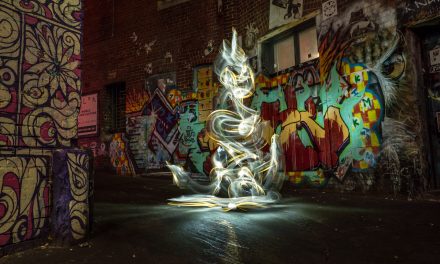
It’s a good discussion to have and it’s not over yet since it’s hard to draw a clear line between what is considered light painting or what is not. There is a gray zone and we should keep it flexible and open so we don’t limit or reject people’s process and creativity especially with the great tools we have available today. Again, I believe in each individual’s process of learning, exploring and sharing openly and comfortably. I do want to integrate rather than alienate people creativity in the community Composite in post prod or not. So I ask for honesty and transparency no matter what the process is. Let’s keep this community welcoming and the discussion open.