


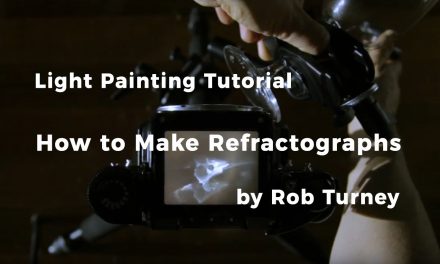
Tutorial – How to draw a lightman

Tutorial – How to draw a lightman
Adding the lightman figure to your photos is a great way to add more storytelling power to them. Ever since I first invented to trace my body with a lightstick in 2009 to create this luminous creature I have been totally hooked to it!
I have made the video at my studio in bright light in order to have a good quality for the video. Remember to always shoot the light painting photos in low light, otherwise, you’ll just end up with an overexposed image!
My first ever lightman. This was created by tracing my body with a 15cm ledstick. Ixus 40. Exposure 15 seconds, f2.8, ISO 50.
Drawing the lightman
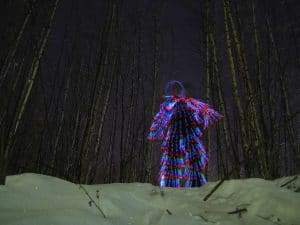
The basic trick to draw the lightman is very simple; just trace your or the model’s body with a small light source, always pointing the light towards the camera. Make sure your lines are close to each other in order to trace the body accurately.
A good thing to remember when drawing the lightman is to use as short light source as possible. If you use a long light source such as a flashlight, the lenght of the tool will be adding to the lightman’s size, causing it to look more like a light marschmellowman! I myself prefer small children’s led light toys you attach to the fingers that you can get from dollar stores, ebay, etc. with only a few dollars. But be creative and test what tool would be best for you!

The basic trick in drawing the lightman is to trace your own or the models body with light. Be sure to draw the lines as close to each other as possible. Pentax-K5, exposure 86 seconds, f6.7, ISO100.
The camera set up
Simple rule to the camera set up is to use a high aperture figure if you are using a very bright light and a low aperture figure for dimmer light sources. Starting to test the lightman from f9 is a good point to find your way to the optimal exposure. Also if you’re worried the light will not be visible enough for the photo, you can move the light slower, and if the light seems to overexpose move it faster.
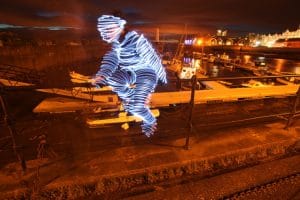
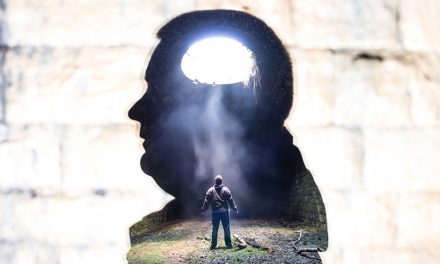
If you want to draw the lightman into a position where it’s hard to trace yourself it is good to use a model whom to trace with light. Sony a 850, exposure 114 seconds, f9, ISO100. The yellow color from the city lights is a nice contrast to the cold white of the lightman. Model: Ariadna Battich.
If you have a studio space that can be totally darkened you can easily draw as many lightmen into your photo as you can just fit. This photo is done with only one model who was posing in different positions. Be sure to decide the composition of the figures well beforehand, since it’s really difficult in a pitch black studio! Sony a 200, exposure 1540 seconds, f16, ISO100. Model: Jenni Granqvist.
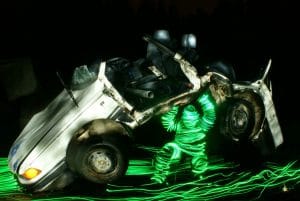
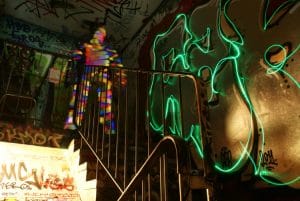
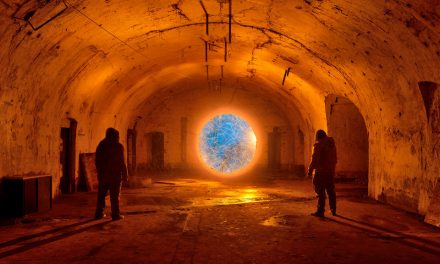
The lightman is a great tool to interact with the surroundings in the photos. Sony a 200, exposure 640 seconds, f20, ISO100.
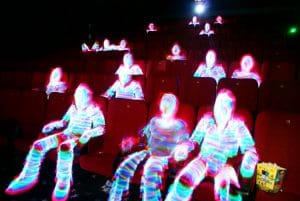
For this photo I got an opportunity to use a movie theater for two hours which was quite awesome! To speed up the process and to maximize the shooting time I shot the scene with three cameras at the same time and drew the lightmen with a helping hand from a friend. The projector light on the backround is a flashlight pointed towards the camera. Taken with Sony a 200, exposure 1237 seconds, f5, ISO 100.
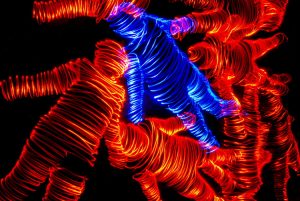
This lighman I drew using a color changing light painting application on an Android phone. Sony a 200, exposure 80 seconds, f10, ISO100.
In this photo I traced one model four times into different places. Sony a 200, exposure 1023 seconds, f16, ISO100. Model: Jenni Granqvist.
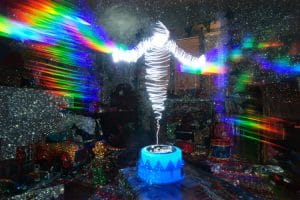
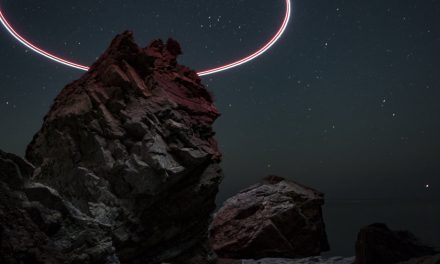
In this photo I have used a few other tricks beside the basic lightman, but we’ll get back into those in the later episodes of my light painting tutorials! Sony a 850, exposure 1311, f14, ISO100.
The lightman character is an awesome tool for any light painting photo and it is really easy to do, so next time you’re thinking of what to do, why don’t you give it a go! Only sky is the limit of what this luminous fellow can do, so don’t be surprised if you find him on your camera screen partying, barbecuing, lifting ice bergs, climbing into trees, finding treasures, on a board of a pirate ship or whatever your imagination takes him to!
