


The Art Of The Tripod Swap

Hello and welcome
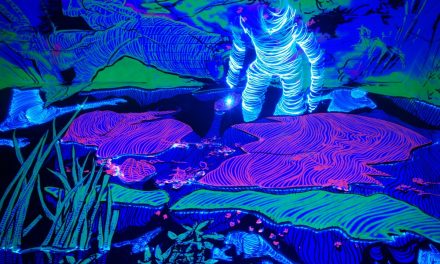
to my first proper post here. I thought it was high time I got started with this blogging adventure and what better way than to share a really useful technique used in many of my shots. This is part one of two where I’ll focus on the art of the tripod swap, put to good use in the image below.

Why swap tripods?
There are numerous reasons why you would want to utilise a mid exposure tripod swap. The main reason for me is to remove the guessing game element in my double exposure work, where accuracy is important in lining up the different elements. All you need is two tripods with the same quick release head and you can get going.
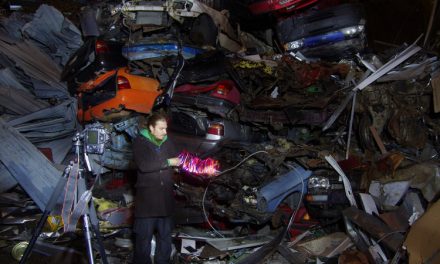
Tripod One
This is generally my starting position as I see this as a frame for the second half of the exposure. My friend Paul kindly held position whilst I frame up and fire a flashgun on full power at the wall behind him. Primarily so none of the second half of the exposure bleeds into the exterior of the first. This can look untidy and potentially draw the viewers eye away from the main subject which isn’t what you want. Furthermore, using a flashgun freezes your subject resulting in a crisp and clean silhouette.

Top Tip
Always take a drywipe marker pen with you if you wish to do a tripod swap such as this. You can draw around the silhouette on the camera screen so when you come to set up the second part of the exposure, you know exactly how to frame it up using Live view.
Tripod Two
Here I set up tripod number two in portrait orientation as it worked better aesthetically. Once more my friend Paul held position but this time under the hole in the ceiling, which lined up perfectly with where the brain would be in the outer silhouette. The air was filled with vapor from my electric cigarette and I worked out best exposure. Once happy with focus, exposure and framing it was time to put everything together in one long exposure. Markers are placed on the ground for Paul’s standing position and a pencil one placed on the lens for the correct focusing position.

Putting it all together
We begin on tripod number one, matching the drawing on the screen and start the exposure. Next the flash is fired and the lens cap is replaced. Swapping to tripod number two as Paul takes up position by his markers. Finally a change of focus and the lens cap is removed for the second half of the exposure to finish.
If this has raised any questions feel free to leave a comment and I’ll get back to you.
A few other shots created using this technique

Tripod swap from zoom pulled and rotated el wire to back garden fence.

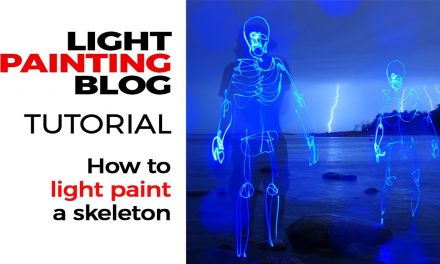
Swapping from a hand silhouette to a tunnel scene

Tripod swap from tabletop drawing to diffused girlfriend

Swap between a diffused girlfriend and zoom pulled and rotated black fiber optics
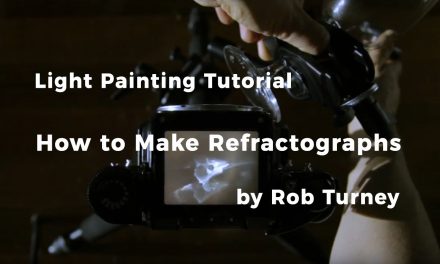
The Art Of Swapping Pt 2
As I mentioned above this is part one of two. Part two will focus on another technique used here to obtain the desired effect. The dark art of the mid-exposure lens swap. Come back next time and I’ll tell you all about it.
Please note that this is not a technique pioneered by me and I’m unaware who’s awesome idea it was. Whoever you are thanks very much.
I hope you have enjoyed this and I haven’t confused you to death.
Catch you next time.
Tim.
