


Flashlight Review: Nitecore MT22C

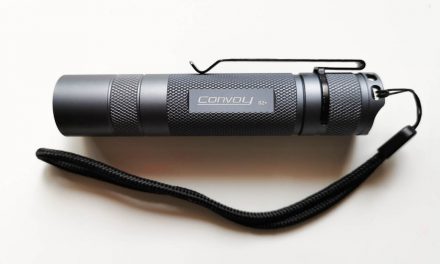
The Nitecore MT22C is the little brother of the previously reviewed Nitecore P26 flashlight / torch. With a more floody beam profile, a rotary brightness control, and momentary switch, on paper this looks like a fantastic light. Lets see if it lives up to the hype?
Disclaimer
The Nitecore MT22C was sent to me for an honest review by Banggood. I receive no commission from links or sales. Product Link. 20% off with code: LTNH
Construction
The Nitecore MT22C arrived in a Nitecore branded cardboard box. Included in the box were the flashlight, clip, lanyard, holster, and spare O-rings. Optional accessories include the RSW1 remote pressure switch and cone diffusers.
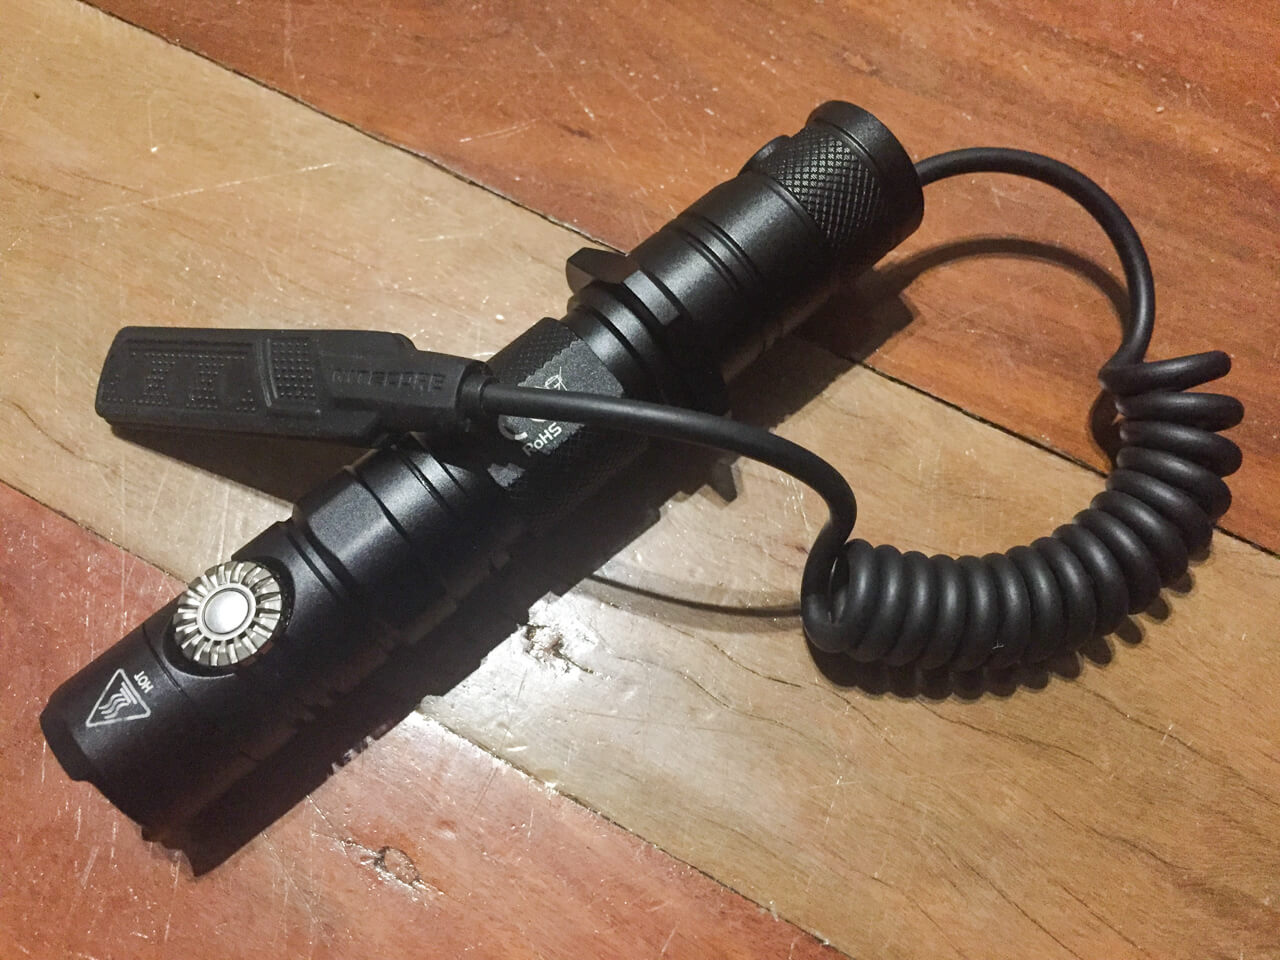
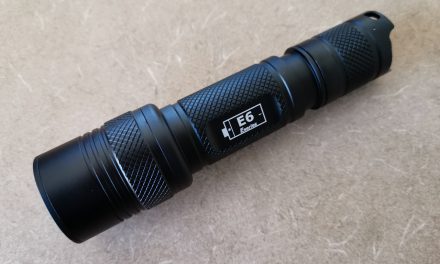
Nitecore MT22C with RSW2 Remote Pressure Switch
The Nitecore MT22C uses a single li-ion 18650 battery, and has a 25.4mm diameter head that is the same width as the battery tube. This head easily fits in commercial light painting connectors such as the Light Painting Brushes Universal Connector, Light Painting Paradise Adapters, T8 tubes, and Eric Paré’s new Light Painting Tubes. A rotary dial switch is located on the head, and a forward clicky tail switch is located at the tail. The light has good knurling for grip. There is also a tactical ring and crenelated bezel for “tactical” people. The tactical ring was a bit annoying as it kept unscrewing, preventing the tail cap from screwing in properly, and thus preventing the light from working until it was re-tightened.
The tail cap and head can be unscrewed, with the former used for battery insertion. Partial unscrewing of the tail cap will lock the light to prevent accidental activation. Due to physical reverse polarity detection and the shock protection system, only li-ion 18650 batteries with button tops will fit. I had no issues with fitting obese protected batteries such as the Klarus 18GT-36. Unprotected button top batteries such as a Sony VTC6 with added button top also fit OK. Two CR123A or RCR123 batteries can also be used. For those unsure of what batteries to use, I would recommend the Nitecore 3400mAh 18650 battery. Unlike the P26, there appears to be no shock protection at the +ve end of the battery tube.
There is no internal USB charging and no included 18650 battery. This may reduce appeal to the consumer market. Personally, I prefer to use dedicated analysing chargers for charging and testing 18650 batteries anyway.
User Interface
The star feature of the Nitecore MT22C is the combination of a rotary dial for brightness, and a momentary (forward clicky) tail switch. The rotary dial is placed near the head. Turning it anti-clockwise moves from 0.5 to 1000 lumens output. If you keep turning it, the light goes into strobe mode. There is a slight click before strobe mode, but it is easy to accidentally advanced into strobe mode when not intended. Turning the rotary dial clockwise does the above in reverse. Unlike the larger P26, the rotary dial is not accessible when in commercial light painting connectors, so the light needs to be removed for any adjustments. I also found the light has to be pushed into the connector straight, with no twisting, otherwise the rotary switch can move. The twisty head Nitecore SRT5 is possibly better for light painters who want finely adjustable control, but the model was recently discontinued and in increasingly limited supply.
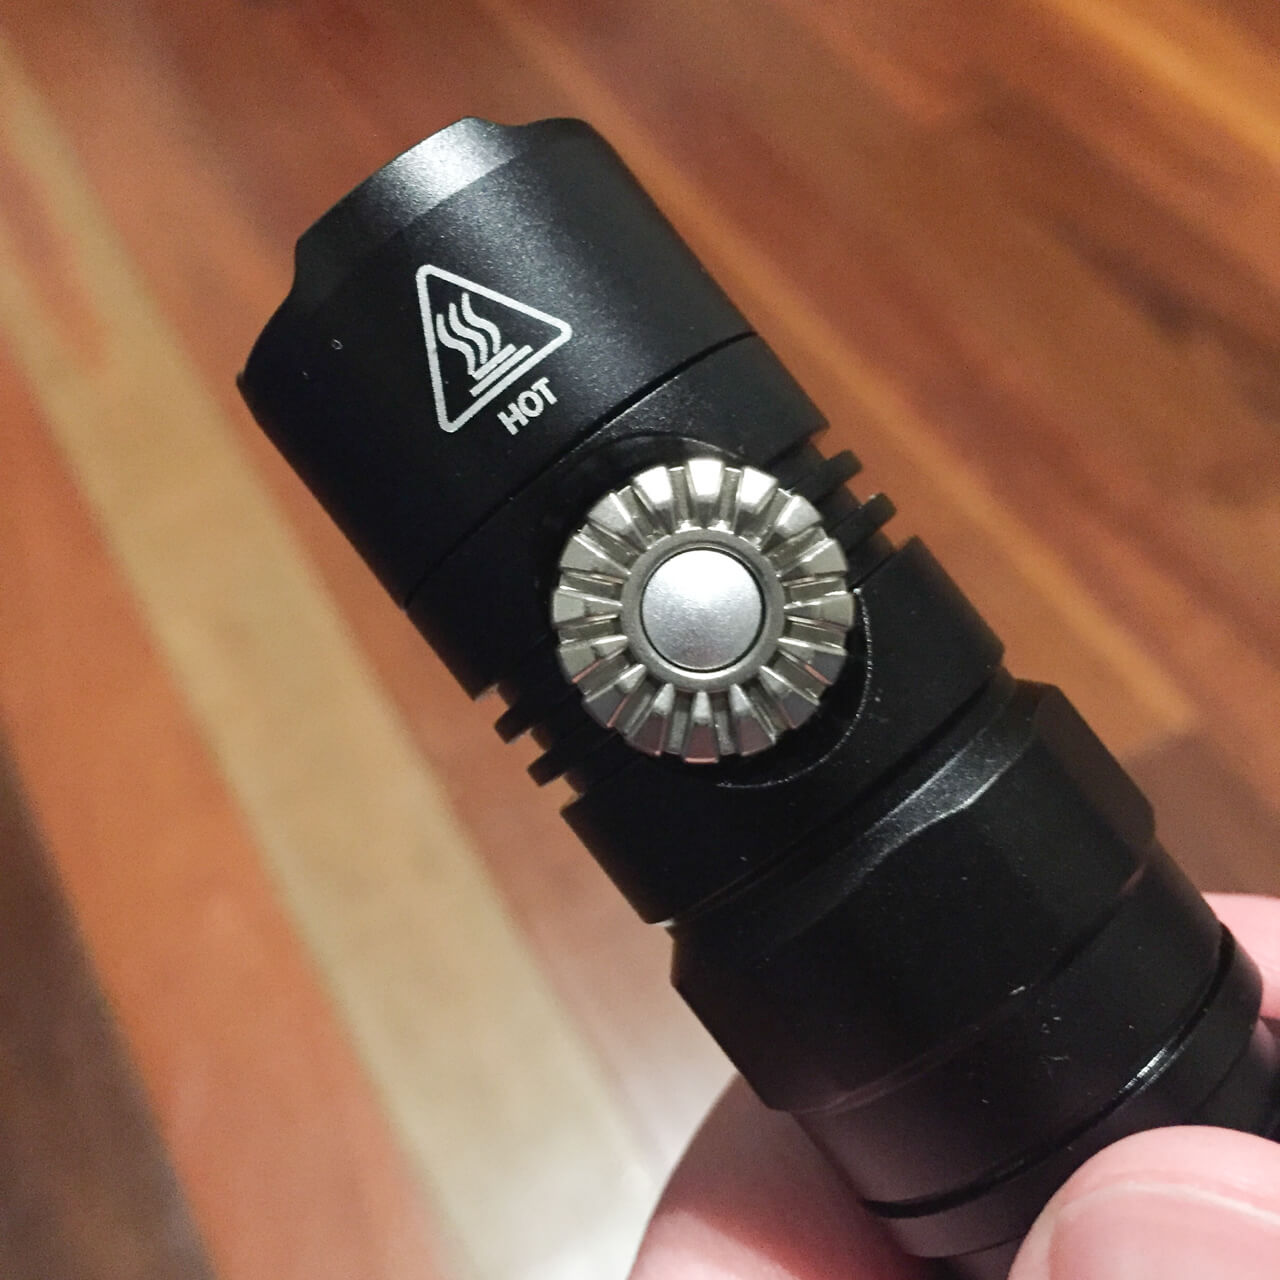
Nitecore MT22C Rotary Switch
The main advantage of the rotary dial is that you can set any output level between 0.5 and 1000 lumens. This is very useful for fine tuning the perfect brightness levels required for a light painting scene, rather than dealing with steps in brightness of up to x10 on some other flashlights. This is most useful at the lower end of the brightness range, when exposing for moonlit scenes or Milky Way background.
The downside with no discreet output levels (e.g. 100, 500, 1000lm) is that you have to guess the output level by eyesight, something which humans are generally not good at. This is not great for consistency between light painting sessions, and makes it difficult to estimate remaining battery runtime as well. Users should be aware of both the advantages and disadvantages.
As with the Nitecore P26, the strobe is a very fast single frequency strobe, estimated at 19Hz, and 33% on/66% off time. The strobe is at maximum output.
19Hz strobe of the Nitecore MT22C
The tail switch is a momentary switch, also known as a forward clicky or tactical switch. A full press turns the light on at the brightness set by the rotary dial, including strobe (mode memory by default). A full press then turns the light off. A half-press turns the light on for as long as the switch is depressed. This is very useful for light drawing.
The P26 can also be controlled by an optional RSW1 remote pressure switch (I also successfully tested with the RSW2 remote pressure switch), which can be useful in some use cases when accessing the tail switch may be tricky, such as light blading.
Beam and Output
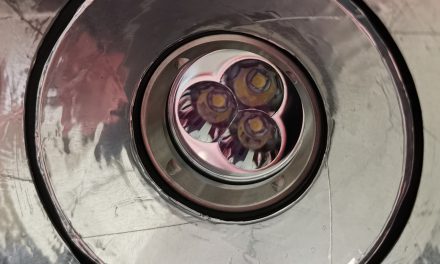
The Nitecore MT22C has a shallow smooth reflector, a Cree XP-L HD V6 LED, and an anti-reflective lens. This results in a very wide floody spill beam, with a defined hotspot, at up to 8,600cd peak beam intensity. The maximum lumen output is reasonably conservative (for 2018) at 1000 lumens. The emitter is cool white, I would estimate at around 6500k spill beam, and 5500k “yellow” hot spot. The tint shift is expected with Cree XP-L emitters and smooth reflectors. The Colour Rendering Index (CRI) appears to be in the usual (very) low 70s.

Beam comparison – Nitecore MT22C (left) vs Nitecore P10GT (right)
The previously reviewed Nitecore P26 fell short on its beam profile, as the hotspot was too narrow for most light painting purposes (though excellent at illuminating the LPB light whip). The MT22C does a much better allrounder job due to the floodier beam, and is great for illuminating most light painting tools including light blades, swords, light flutes, and fibre optics.
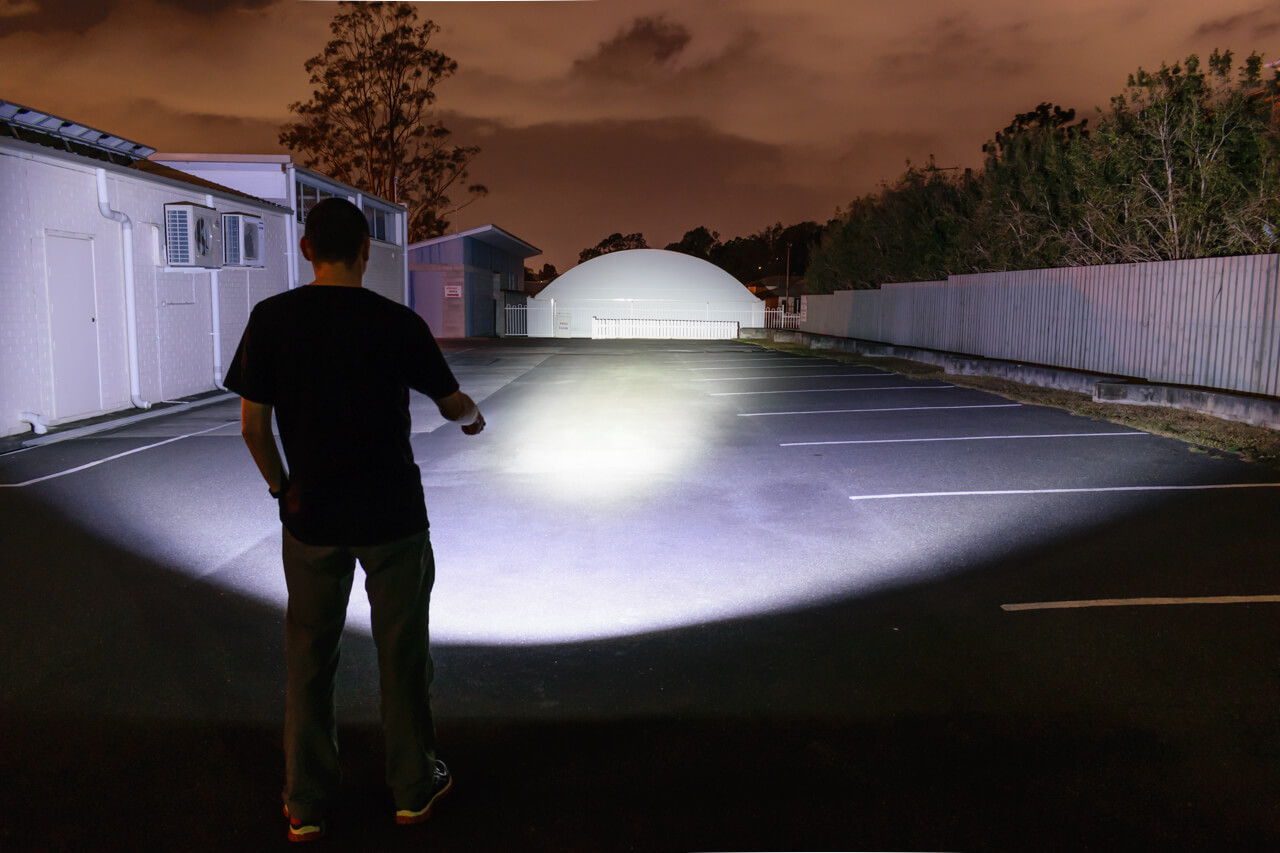
Beam shot on 100% output – f/6.3, 2secs, ISO400.
Output varies between 0.5 and 1000 lumens, though I tested maximum output to be at 1100 lumens at 30 seconds. 1100 lumens is still quite conservative in 2018, where outputs of 1500 to 2000 lumens can now be found in 1×18650 flashlights. However, this has the advantage of good heat handling as the light takes longer to reach excessive heat levels. At 1100 lumens, the light lasted for 4 minutes until the Advanced Temperature Regulation (ATR) module reduced the output down to 350 lumens, before stabilising at around 600 lumens from 7 minutes. From there, the light output was fairly stable until 90 minutes when it gradually declines to ‘moonlight’ output by 140 minutes. The light will not suddenly turn off, so won’t leave you in the dark. The excellent heat handling and regulation means that the P26 is great for longer light painting scenes, where step-down is not desired mid-scene.
There is no Pulse Width Modulation which is a big improvement over the otherwise excellent Nitecore P10GT.
Conclusion
Things I liked:
* Very easy to use
* Useful beam profile
* Momentary tail switch can be used for all output levels and strobe
* Rotary dial (side switch) allows for fine tuning of brightness
* Mode memory for any output level including strobe (by default)
* Good brightness
* Good build quality
* Excellent heat handling – 4 minutes until step-down
* Fast single frequency strobe
* Optional RSW1 or RSW2 remote pressure switch can be used
* No PWM
Things I didn’t like:
* No discreet output level options – difficult to guess output and remaining runtimes
* Care is required to stop rotary switch from moving when inserting into connectors
* Only accepts button top 18650 batteries
* No internal USB charging or included battery
* Tactical ring keeps unscrewing
Nitecore are consistent at producing quality flashlights, and the MT22C is no exception. There are advantages and disadvantages of having variable output that the user needs to be aware of. This light has a great combination of a rotary dial for brightness selection, single frequency strobe, momentary tail switch, and useful beam profile. However, care is required when inserting the light into connectors to avoid accidental output adjustment. You will need to supply your own 18650 battery and charger.

