


Flashlight buying guide
Buying a flashlight (torch) for light painting can be a bit of a minefield, especially for those new to the art. Whilst light painting is possible with even the cheapest $2 flashlight, for professional looking results, decent flashlights are an essential. This Flashlight buying guide looks at what options and features you need to consider when purchasing flashlights for light painting.
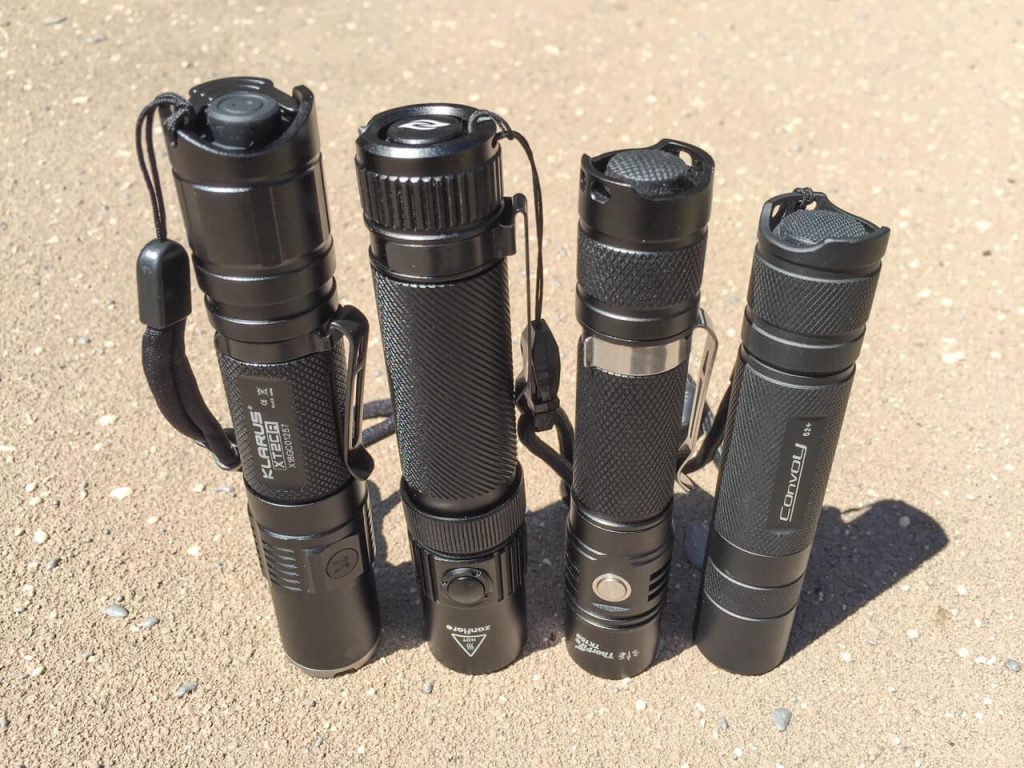
Selection of 18650 tube lights
Beam profile
Flashlights can have a beam that varies between being a “flooder” (wide angle spill beam beam with less intense hotspot), and “thrower” (narrower spill beam and more intense hotspot). Many flashlights are somewhere in-between. The beam profile depends upon the reflector, optics, and LED emitter. A floody beam (for example a Cree XM-L2 LED and orange peel reflector) will have less candela per lumen, and may be better for light blades. A throwier beam (for example a Cree XP-L HI emitter and smooth reflector) will have more candela per lumen, and is generally better for lighting longer tools such as tubes and swords.
Zoom lights are quite popular with light painters, and allow for a beam to be varied between an even flood beam (with no hotspot) and narrow zoomed beam. This allows for more flexibility and control when illuminating an object, but usually at the expense of heat handling and waterproofing. More expensive zoom light manufacturers such as Coast, Ledlenser, and Walther Pro have excellent TIR optics that captures almost all of the available light when in throw/zoom mode. However, most budget zoom lights use aspheric lens, where a lot of the lumens are lost when the light is zoomed. The Wowtac A3 is decent budget aspheric budget zoom light.
Lumens and step-down
Many consumers purchasing flashlights just look at the lumens, in the same way, that many consumers buy cameras based on megapixels. Lumens are the total amount of light produced by the light source. However, there are two major things that buyers need to be aware of – fake lumen ratings and step-down timing.
In the last few years, many budget lights (especially budget zoom lights) have increasingly exaggerated lumens ratings and fake Cree LEDs which are not as bright as genuine Cree LEDs. These lights are still value for money if you have paid less than US$5 for them, and don’t have high expectations.
Most reputable flashlight manufacturers with genuine Cree LEDs have accurate lumens ratings, usually recorded at 30 seconds. However, they do not always publish how long the light lasts until it automatically steps-down the brightness to a lower setting to avoid overheating (more lumens=more heat). For example, the 1600 lumen Klarus XT2CR steps-down after 30-60 seconds, compared to a similar sized 1050 lumen Thorfire TK15S which steps-down after 180 seconds. Thus you need to consider “maximum lumens” vs “time before step-down”. You don’t want a sudden drop in brightness in the middle of your light painting scene! Most lights allow for a return to near maximum output after the step-down. Also, don’t get too hung up on lumens, you would be hard pressed to tell the difference between, for example, a light with 800 lumens and one with 1100 lumens. Overall runtime is less of an issue for light painters than other flashlight users, as lights are not usually on for a long time.
Peak Beam Intensity (Candela)
Lumens are not the only light measurement that needs to be considered. Peak beam intensity (candela) is the brightness at the center of the beam (hotspot), and a factor in how far a light throws. Peak beam intensity is also sometimes referred to as beam distance or throw, with the distance (down to “full moon” equivalent brightness) shown in meters. The Klarus XT11GT and XT12S have great peak beam intensity for lights that fit commercial light painting connectors.
Tint
The tint is an often overlooked flashlight option, however, mixing different tints in a photo can create some impressive effects. Most flashlights are cool white, with a CCT of between 6000k to 7000k. This can be pure white, but can also have a hint of green, blue, and purple. These can be picked up more so by the camera than by the human eye. Some manufacturers such as Olight offer neutral white versions of many lights, which are typically between 4000k and 5500k CCT. This usually offers a more pleasing tint between pure white and yellow, and is also better at rendering colours. Now that most lights use LEDs, warm whites of around 3000k are a rarity and pretty much your only option is Convoy.

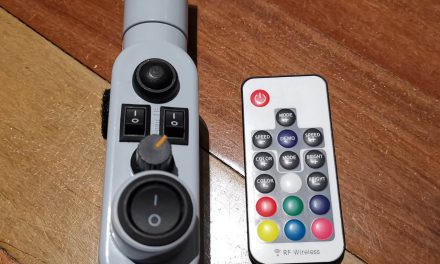
Convoy S2+ flashlights with Warm White (7A), Neutral White (4C), and Cool White (1A) Tints.
Cree LEDs are sometimes denoted with a bin and tint number. For example U2-1A. The first number is the bin, which denotes the relative brightness compared to other bins. The second number of the tint. A tint starting with 0 is very cool white at around 8000k CCT, through to 8 which is 2500k warm white. Tints ending in A and D tend to be more pleasing.
A small number of lights offer high Colour Rendering Index (CRI) options, usually using Nichia 219B and 219C LEDs. This improves the rendition of colours (particularly red) of illuminated objects to the eye, but less so to cameras.
User Interface and Modes
User interfaces are critical for good light painting. Here we’ll talk about switches and modes. Switches can be located in the side or tail of a flashlight, or in some cases both. Just be aware that when using connectors (such as the excellent LPB Universal Connector), that using side switches can be rather hit and miss. Tail switches are most common on flashlights. Some lights have “forward clicky’ switches that allow for momentary bursts of light with a half-press, this can very useful for light drawing as your have more precise control over when the light is on/off. A “reverse clicky” switch just allows for on/off, sometimes with a half-press changing modes. Some “tactical” flashlights such as those in the Klarus XT series, the Nitecore P10GT, Olight M2R and M2T have different variations on dual tail switches for momentary bursts of light on turbo or strobe. A few manufacturers such as Klarus and Fenix also sell remote pressure switches, which can be useful for more ergonomic control when using connectors.
A good light should have multiple mode options, such as different brightness levels. This allows multiple elements in a light painting photo to be balanced in the exposure, rather than one being much brighter than another. Memory mode is also very useful for light painters, as the light will remember the last mode used, and thus you can be confident of turning the light back on in the desired output level instead of fumbling through various output modes.
If the strobe can be instantly accessed or memorised then that helps with some light painting scenes as well. There are also lots of variations in strobes varying from 0.5Hz to 20Hz, which will create different effects. Some strobes are linear, with flashes at the same frequency, which is generally more preferable for light painting. Some strobes are variable/two frequency, thus there will be a series of flashes at one speed (e.g. 5Hz) followed by a series of flashes at different speed (e.g. 10Hz). This can create some interesting effects, but is not always desirable.
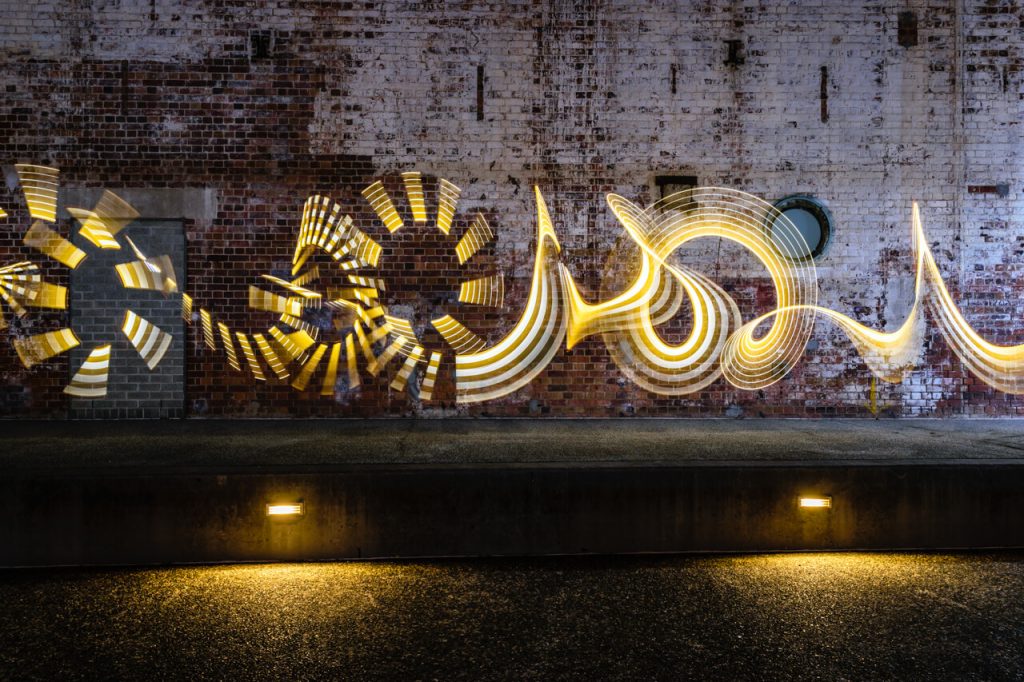
Transitioning from Strobe to Turbo modes on the fly with Klarus XT2CR
Size
The head diameter is critical to fitting within connectors, whether they be off-the-shelf products such as the LPB Universal Connector (25mm to 38mm), or home-made connectors. I find that 18650 tube lights with head diameters of 25mm are a perfect fit for the Universal Connector. Examples include the Convoy S2+, Wowtac A1S, Thrunite TC12v2, Zanflare F1, Thorfire TK15S, and Eagtac P25LC2. Head sizes nearer the maximum diameter dimensions of conical connectors will have a loss of some lumens due to light being attenuated by the conical connector shape. On the plus, larger head sizes also allow for more peak beam intensity and better heat handling – the Klarus XT11GT, XT12S, and Thorfire VG10S being good examples. The popular Eagtac D25LC2 is a few mm narrower than most 18650 tube lights, and it is possible to fit 2 within a T12 tube.
If you are not using a connector, then head diameter is much less of an issue, but you still need to consider space in your camera bag. Larger lights for high brightness flood illumination or throw include many offerings from Acebeam, Fenix, Olight, Thrunite, Convoy L6, and the BLF Q8. High brightness lights often use multiple Li-ion batteries which require advanced li-ion safety knowledge. If you have the money and need zoom, the LED Lenser X21R.2 is popular.
Batteries
Most consumer grade flashlights use non-rechargeable alkaline, or rechargeable NiMH AAA, AA, C, and D batteries. Li-ion batteries have a much better size to power ratio compared to alkaline and NiMH and are found in the majority of compact lights with more than around 400 lumens. An increasing number of consumer grade flashlights have USB or magnetic charging cables, to allow for internal charging of li-ion batteries. Battery and charger purchases needs to be considered when purchasing flashlights. Future lightpaintingblog articles will look at batteries, Li-ion safety, and battery chargers in more detail.
Other considerations
Some flashlights use Pulse Width Modulation (PWM) to lower brightness. If this pulse frequency is low enough, it will create a “fast strobe” effect from the light painting tool in the photo. This can be very creative in some cases (particularly for light blading), but undesirable in other cases. Some Klarus XT series lights and LED Lenser lights with “smart light technology” have noticeable PWM in lower modes.
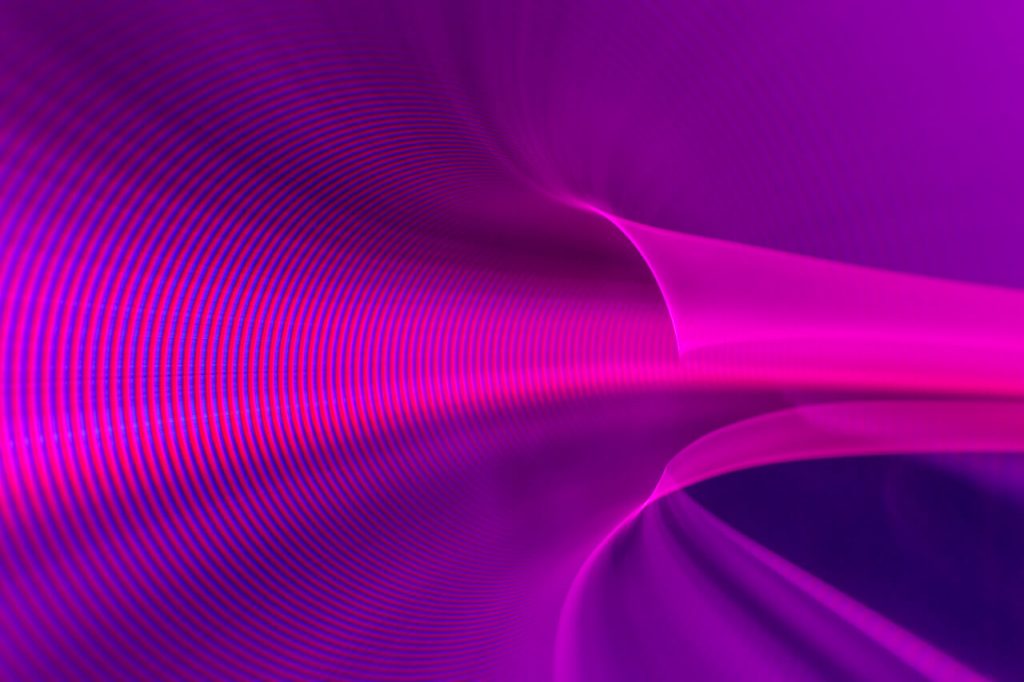
Artistic effect from PWM
Other considerations when purchasing flashlights include waterproofing (e.g. IPX-8), drop proof testing, warranty, and even in-built tripod mounts.
Conclusion
There is no one flashlight that will meet all requirements and a reason why many light painters have a very large selection of flashlights. Many manufacturers do not state all of the information covered above. Due to this, I would highly advise searching for reviews of flashlights on forums such as budgetlightforum.com , candlepowerforum.com , and taschenlampen-forum.de , especially reviews with runtime graphs. Do not believe reviews on seller websites, as positive reviews are often “encouraged” by various methods. Consider the specifications of lumens, peak beam intensity, step-down time, head size, user interface, modes, type of strobe, battery type, tint, PWM, and waterproofing when making buying decisions.


Great to read! Your overview is a good help for everybody who´s looking out for a new flashlight! Cheers! 🙂