


Flashlight Review: Nitecore P10GT
Disclaimer
The Nitecore P10GT flashlight was sent to me for an honest review by FastTech. No other payment was received, and I receive no commission from links or sales.
Product page link. 5% off with code: saving
Introduction
The Nitecore P10GT is a “tactical” 18650 tube light, which has not received as much review attention as some other lights in its class. Time for a review then!
Construction
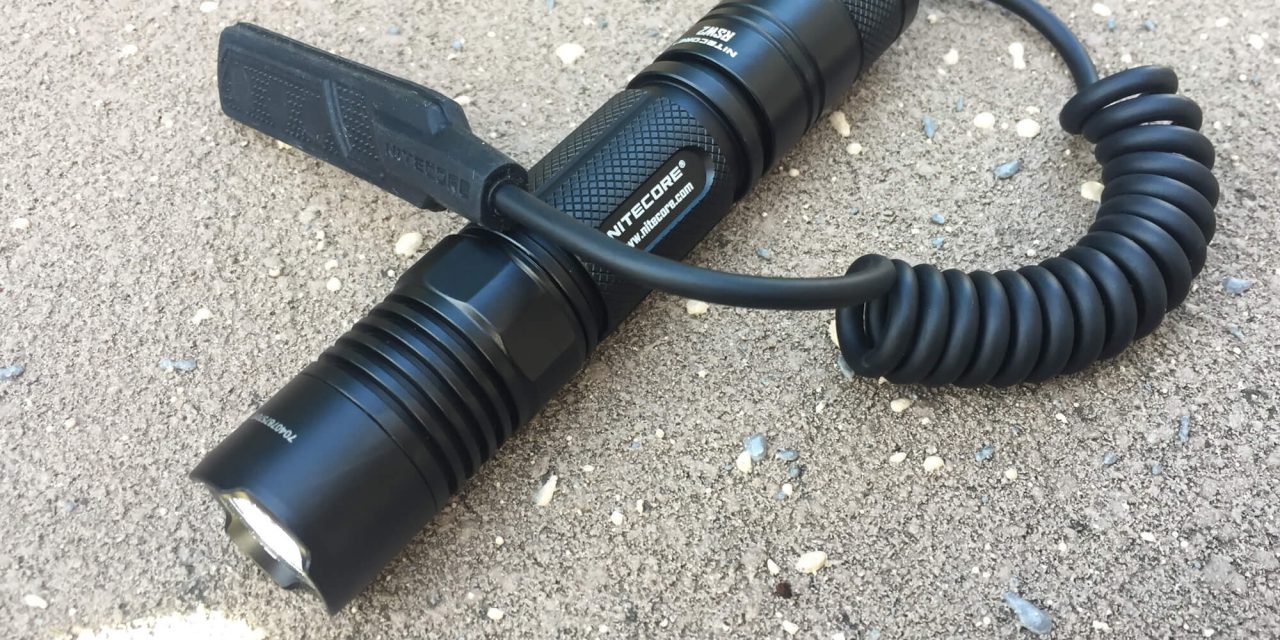
The Nitecore P10GT came in a Nitecore branded cardboard box, and contained the flashlight, instructions, warranty card, lanyard, belt clip/holster, tactical/anti-roll ring and spare O-rings. This is a pretty good selection of accessories.
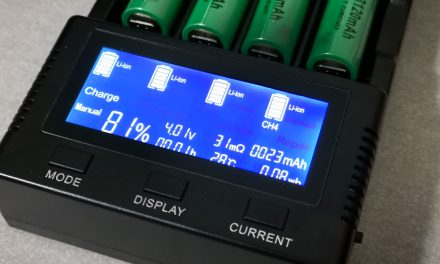
The Nitecore P10GT is an 18650 tube light class – i.e. head is the same size as the body at 25.4mm. This means that is fits commercial light painting connectors such as the Light Painting Brushes Universal Connector and Herramientas Cone. It uses a cool white Cree XP-L HI V3 LED, with a fairly conservative output (for 2017 released lights) of 900 lumens. There are dual tail switches, similar to the Klarus XT range of lights, though I find the Nitecore’s secondary switch easier to find in the dark. There is also a light in the tail cap which displays an indication of battery charge. User interface will be explained in more detail in a later section. There is a crenelated bezel, which is thankfully not too aggressive, but is sadly not removable. The body has cooling fins near the head, an anti-roll section, and grippy knurling on the body. Unlike some lights in this class, there is no USB or magnetic charging, and no battery is included.
The light is in three sections, with the battery tube unscrewing from the head and body. This light only fits button top 18650 batteries, which is a step back from most newer 18650 tube lights. I tested the light using the somewhat obese Klarus protected 3600mAh 18650 battery, which fitted fine.
User Interface
The Nitecore P10GT has two tail switches, the circular main switch, and the paddle like “strobe ready” or mode switch. There are three mode groups – Tactical, Law Enforcement, and General. To change between the modes, the light needs to be off. The head needs to be un-tightened, then tightened at the same time as holding the strobe switch. A light then flashes the mode number. This needs to be repeated until the light is in the desired mode.
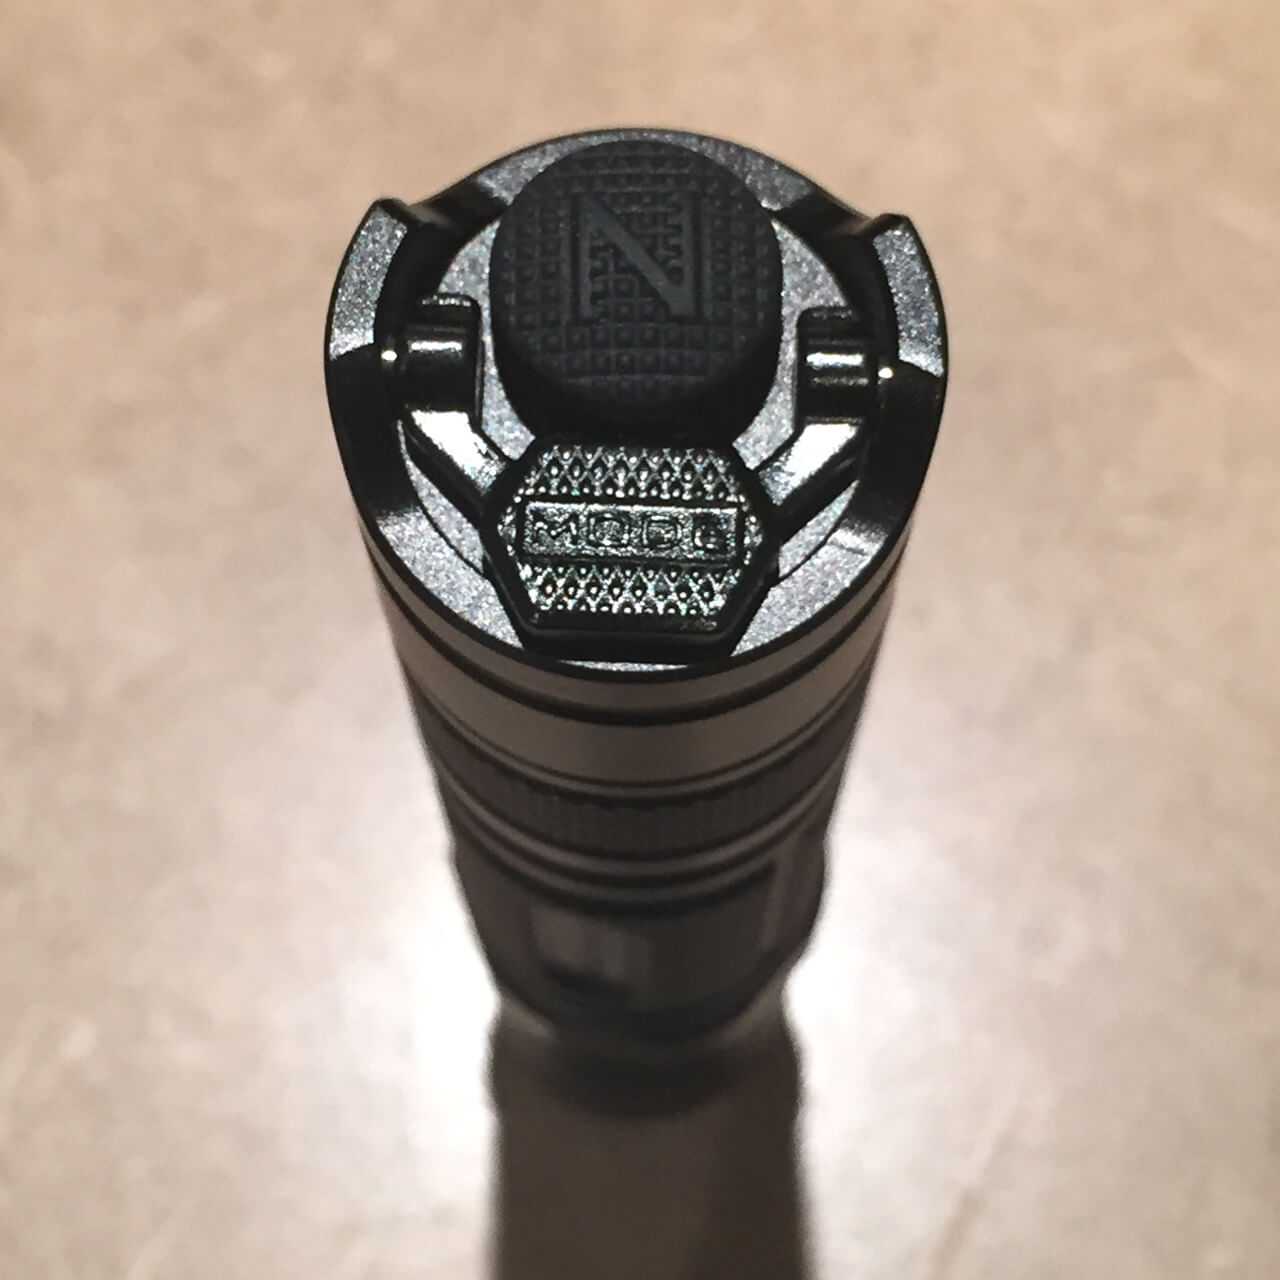
Nitecore P10GT dual tail switches
Tactical mode (1) has high mode only from pressing the main switch – both full on or momentary; and strobe mode from pressing the mode switch from off – momentary only. If the light is on high, the mode switch toggles strobe on and off.
Law enforcement mode (2) has high mode from pressing the main switch – both full on or momentary; the light can be toggled to/from low mode by a quick tap of the mode switch; strobe mode from pressing the mode switch from off – momentary only. If the light is on high, holding the mode switch for more than half a second toggles strobe on/off.
General mode (3) enters the memorised mode from pressing the main switch – both full on or momentary; the light can be switched between high>low>mid>high by a quick tap of the mode switch; strobe mode from pressing the mode switch from off – momentary only. If the light is on high, mid, or low, holding the mode switch for more than half a second toggles strobe on/off.
I really like this user interface, which is fantastic for light painting photography. There are options for momentary in all modes (including strobe), and the ability to move between any mode and strobe on the fly.
There is also the option of using the Nitecore RSW2 remote pressure switch (sold separately). The remote pressure switch has a side button on the tail cap, and 4 buttons on the pressure switch – one for strobe/mode, and three that have the same function (I assume they may have different functions in other Nitecore lights). The following instructions are for mode 3. If the side switch is off, then the strobe button is momentary strobe only, and the other buttons are high mode momentary. If the side switch is on (and thus the light is on), then the strobe button can change output level (quick click) or enter/exit strobe (long click). Pressing the other 3 buttons will then turn off the light, and subsequent presses will have momentary in the selected output level.
Beam, output, and runtime
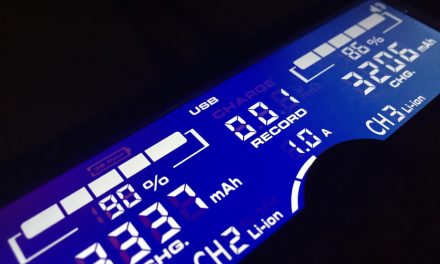
The claimed max output of the P10GT is 900 lumens, and 20,500cd. However, this is for 2xCR123 rather than 18650. For those with 18650s, the claimed outputs are:
High 820 lumens (approx. 18,500cd) – step down from 3 minutes
Mid 250 lumens
Low (mode 2) 140 lumens
Low (mode 3) 40 lumens
My testing showed these claims to be accurate within +/- 10% at 30secs.

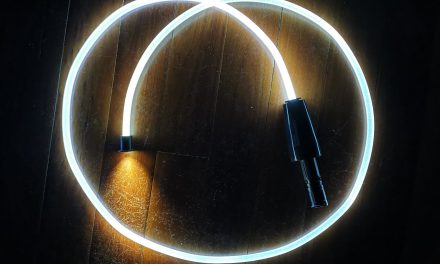
Comparison of Low, Mid, High, and Strobe modes via a lightblade. f/11, ISO100.
The light stepped down from 3 minutes to 85%, at 4mins 15secs to 66%, and at 6mins to 52%. Changing modes will return to 100% output. This allows sufficient time to light paint most light painting scenes before the output decreases. This is considerably longer than 30-60secs for XHP35 based lights in the 1500-1600 lumen category such as the Klarus XT2CR and Olight M2R.
The deep and smooth reflector, combined with a Cree XP-L HI LED emitter results in an impressively throwy beam for this class of light. This makes this light better for illuminating longer light painting tools such as swords, tubes, and lightflutes.
The tint is cool white, I would predict around 6500k CCT. The tint on my sample is very pure white. The CRI appears to be around 70, meaning that illuminated objects can appear quite washed out. There is PWM effect (and associated audible whine) evident in all modes when using 18650s (I didn’t test with CR123A). This is noticeable in light painting trails, but only just. The strobe is a single frequency strobe (great), but with an on/off ratio of 33%/66% (I prefer 50%/50%).
Conclusion
Things I liked:
Fits commercial light painting connectors
Impressive peak beam intensity for this class of light
“Sensible” lumens output – with relatively long time till step-down
Flexible user interface
Memory for any output level (mode 3)
Momentary for high and strobe (all modes), and on any output level (mode 3)
Single frequency strobe (but I would prefer even on/off time)
Ability to change between any output level and strobe on the fly
Good build quality
Good range of accessories including excellent remote pressure switch
Things I didn’t like:
Only accepts button top batteries
No internal charging or battery included
CRI is not as good as its peers
The Nitecore P10GT’s lumen output is fairly conservative/sensible, which allows for a relatively long time until step-down. Peak beam intensity is impressive for this class of light. The user interface is excellent – with momentary for high and strobe, and momentary on any memorised output on mode 3. The strobe is an increasingly rare single frequency strobe. Lack of internal charging and included battery may decrease consumer appeal. I would also like to see a neutral white version. This light is among my favourite “tactical” 18650 tube lights, and is a great addition to a light painting photographer’s kit.
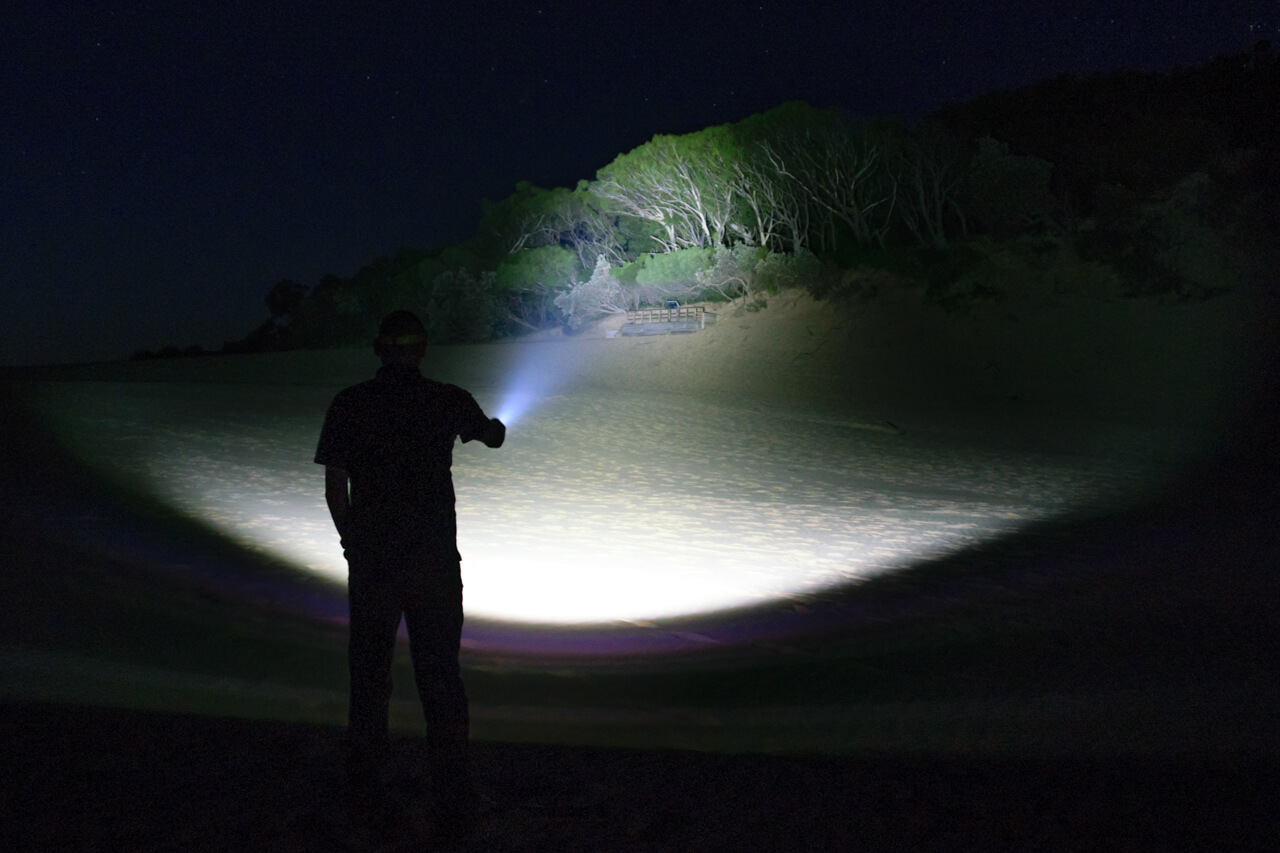
Beamshot on sand dune. f/5, 3secs, ISO400.

